
In the last few blogs, we have looked at how you can install windows 11 on KVM and VMware workstation hypervisors with TPM enabled. In this blog, we will see how you can install Windows 11 on Microsoft hyper-v with TPM and secure-boot enabled.
When windows 11 was in beta, I installed Windows 11 successfully with most of the default hyper-v settings. However, things changed when Microsoft officially released the Windows 11 ISO to the public on October 5th. If you don’t have the secure-boot and the TPM enabled during the installation, you cannot install windows 11 on hyper-v, instead, you will end up with an error in Hyper-v that says your PC cannot install windows 11.
So let’s take a look at how we can install windows 11 on hyper-v.
Pre-requisite.
- Windows operating system with Microsoft hyper-v enabled.
To enable hyper-v on your windows machine, you could goto
- Add or remove programs
- click on Turn Windows features on or off.
- Select Hyper-v from the list and click on Ok.
- And restart the machine, you will have the hyper-v enabled on your machine.
- Windows11 iso image – follow the guide here to see how you can download windows 11 officially from Microsoft.
1. Create new windows 11 VM in Hyper-v.
Click on the start menu and search for Hyper-v Manager and open it.

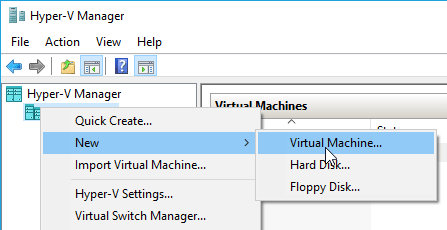
Right-click on your machine name and click on New-> Virtual machine.

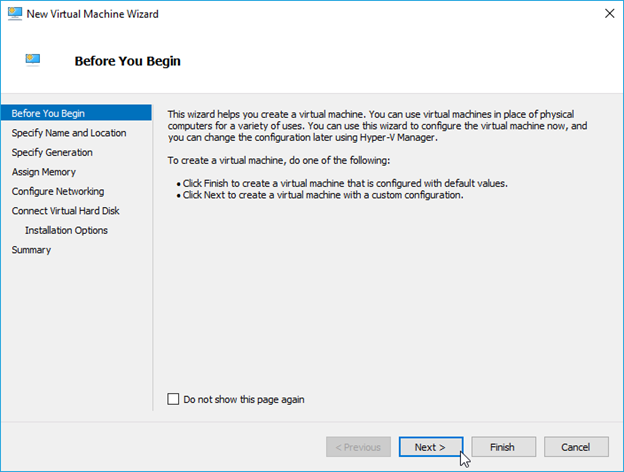
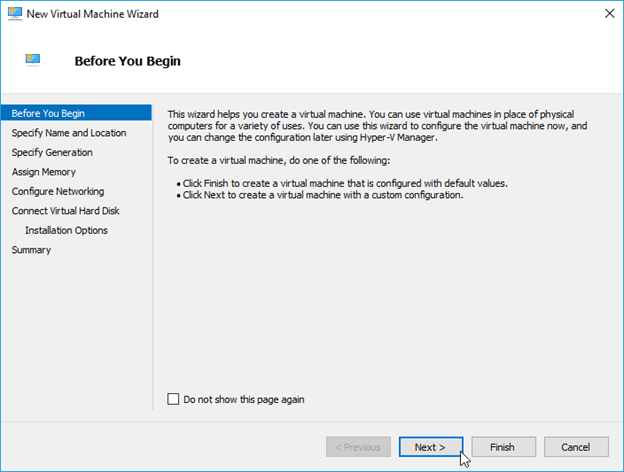
The virtual machine creation wizard will now open up. Click on Next.
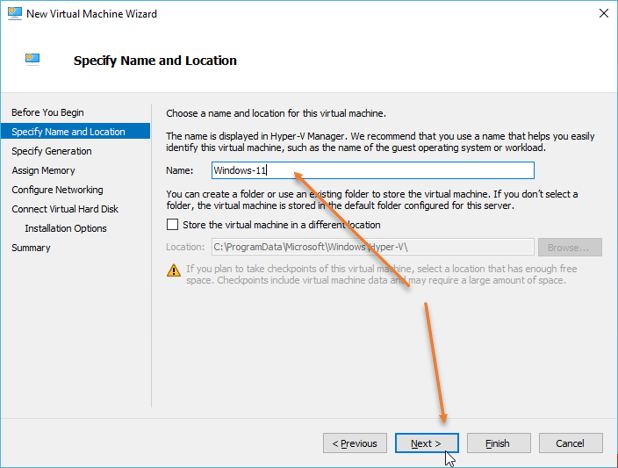
2. Specify the VM name and the location.
Enter a user-friendly name for the VM. I chose the default folder to save my virtual machine file.
If you would like to use another location, you may select the option Store the virtual machine in a different location, specify the location by Browsing it.
After that click on next.

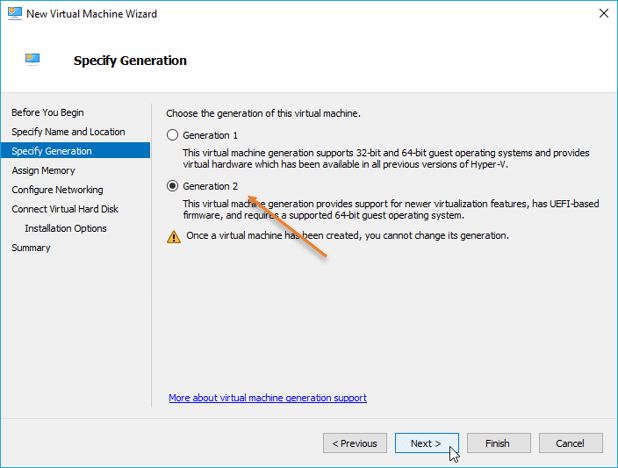
Since Windows 11 requires UEFI and the TPM, we will use Generation 2 and click on Next.

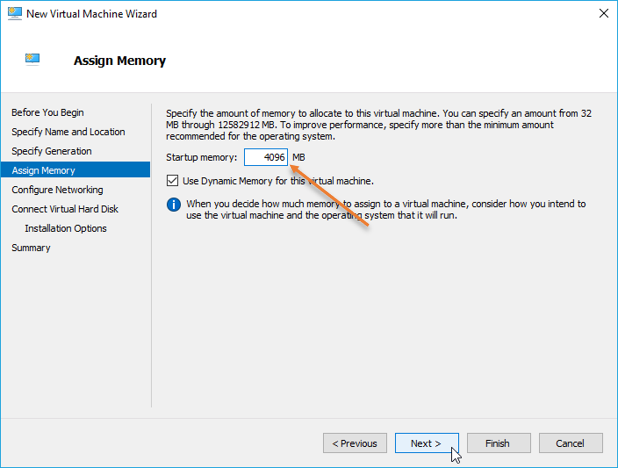
3. Configure the Memory.
The recommended memory is 4GB. Hence, I configured with 4096, checked the option Use Dynamic Memory for this virtual machine as well.
You may decrease or increase the virtual memory size depends on your host Memory.

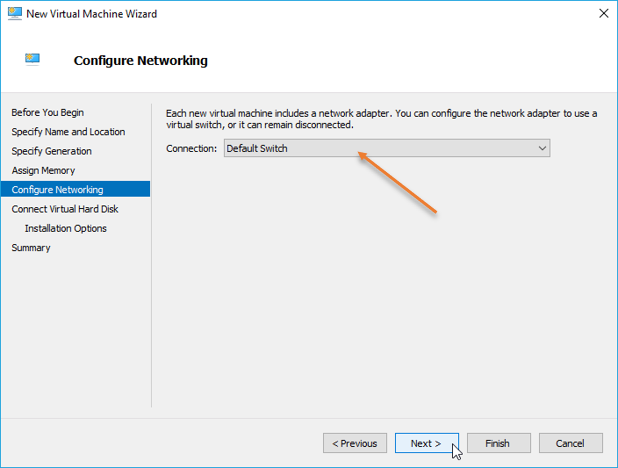
4. Configure Networking.
We need to use a virtual switch to enable the network connectivity for the VM. I am choosing the default switch, which will work as NAT (Network address translation.) device, with which the VM can go off to the internet.
In case if you would like to use a different switch, you may choose it here.
After the switch selection, you may click on Next.

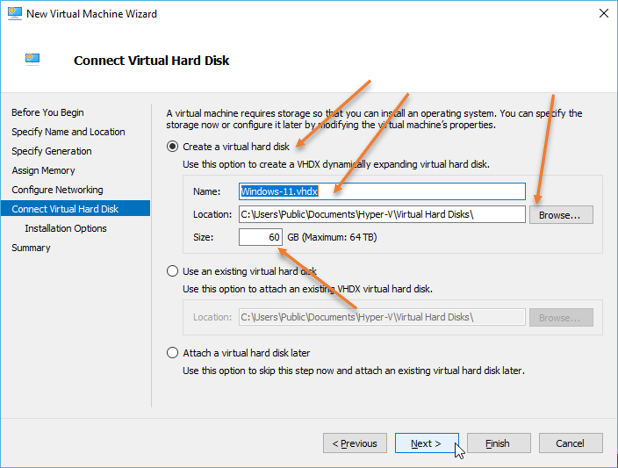
5. Configure the virtual Hard disk.
We are going to configure the virtual hard disk for the VM, you may;
- Name the VM Virtual hard disk.
- Choose the location you would like to store the virtual hard disk. I leave the default one.
- By default, Hyper-v would pick up 127GB as the virtual hard disk. You may use the same storage, increase or decrease, based on your need.
I am reducing down to 60GB for this setup. After that, click on Next.

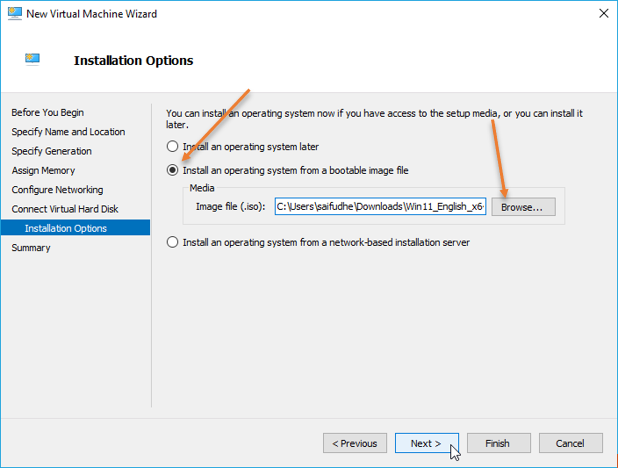
6. Choose the installation media.
You can either install the operating system using an ISO image or with a network. We have already downloaded the ISO on our machine, and we will use the same ISO image to install the operating system.
Click on Browse and attach the ISO that you downloaded earlier and click on Next.

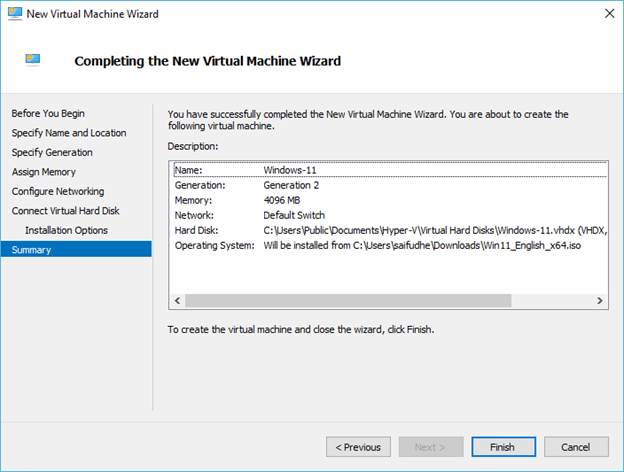
You will get the summary of the Virtual machine configuration. Click on Finish on the installation wizard.

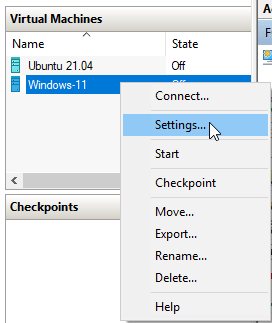
7. Configure the minimum requirement for windows 11.
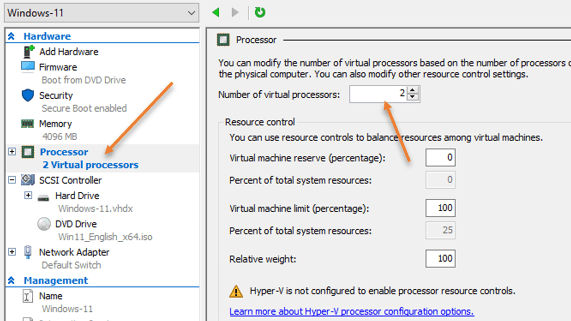
Change the CPU configuration.
The minimum CPU requirement for the windows 11 installation is 2, so you must meet the minimum requirement; else, you cannot proceed with the windows installation.
Right-click on the VM and click on Settings.

Click on Processor under Hardware and increase from 1 CPU to whatever number you want.
I am going to use just 2. If you have more cores, you can add them here.

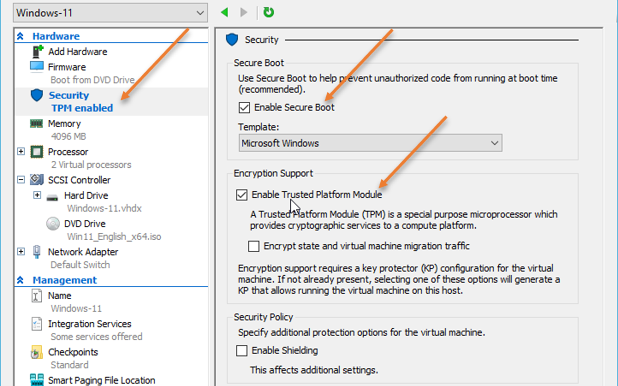
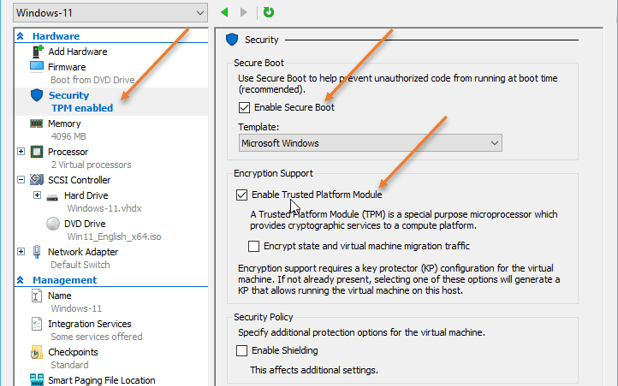
Enable TPM and secure boot.
After the CPU configuration, click on security under Hardware;
This step is crucial because the secure boot and TPM are minimum requirements for the windows 11 installation.
- Check the option that says Enable Secure Boot.
- And Enable Trusted Platform Module as well.
After that, click on Ok.
8. Begin the Windows 11 installation on Hyper-v.
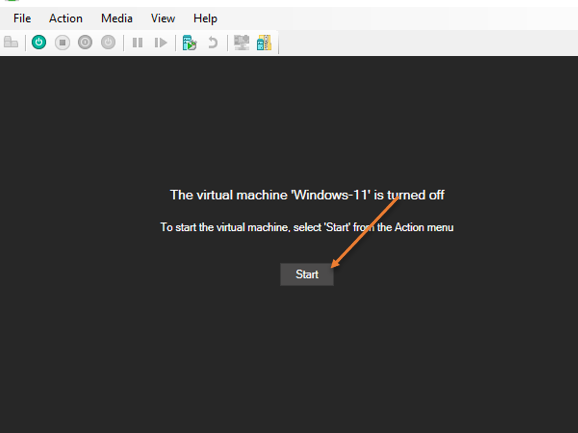
Right-click on the Windows 11 VM and click on Connect.
You will see a window where it says The virtual machine Windows-11 is turned off.
You may click on the start button to start the VM and proceed with the windows installation.

After few seconds, you will get a message that says Press any key to boot from CD/DVD, so enter any key to boot. Or you may wait for the hyper-v to pick up the CD/DVD as the boot location automatically.
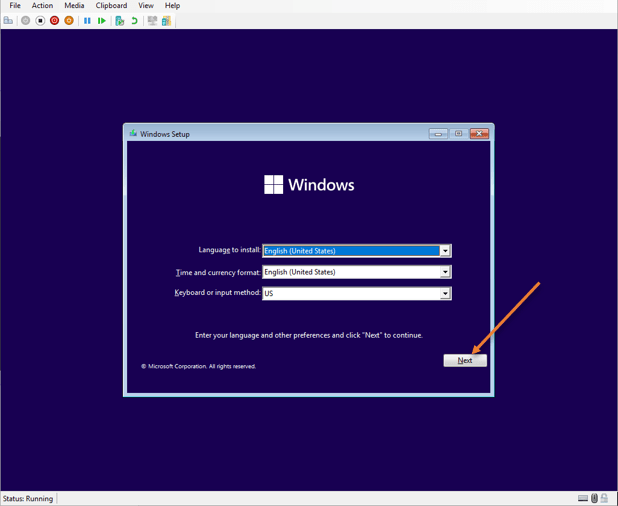
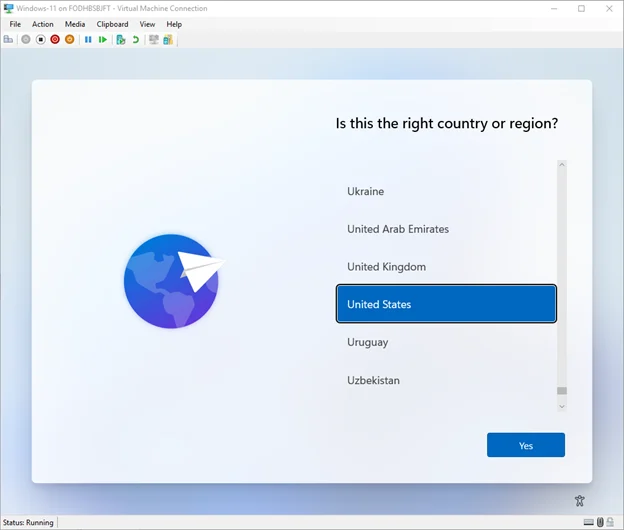
You will get the Windows 11 installation wizard screen now.
Choose the language, Time, and keyboard layout of your choice and click on Next.

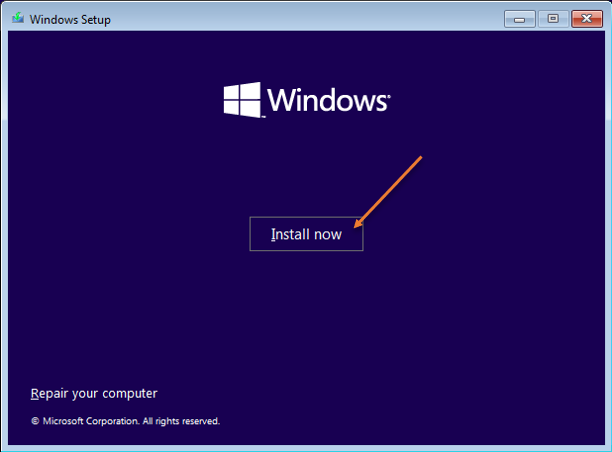
You will get a prompt to install. Click on Install now.

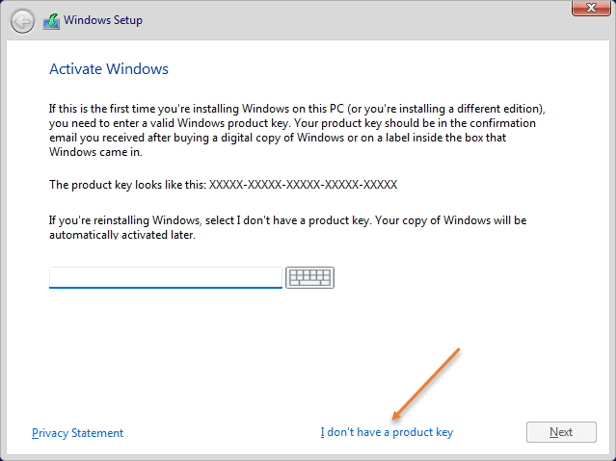
Click on the option that says I don’t have a product key.

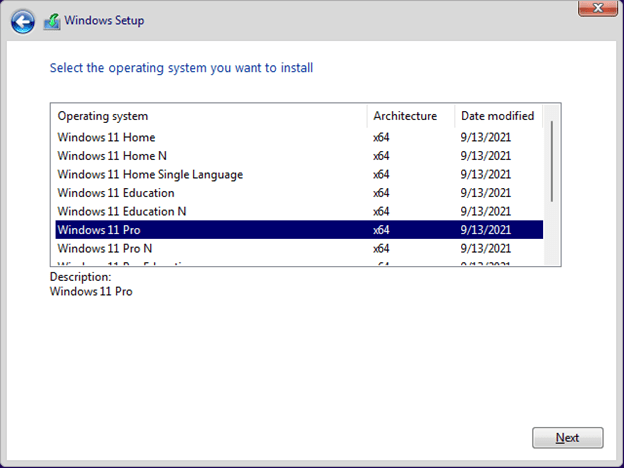
Choose the version of windows that you would like to install. I am choosing the Windows 11 Pro.
After selecting the desired version, click on Next.

Note : If you have not met the minimum requirement at this time, you will get an error message that says Your PC can’t install Windows 11 on the next screen.
So make sure you have 4GB of Ram, 2 CPUs, Secure-Boot, and TPM enabled.
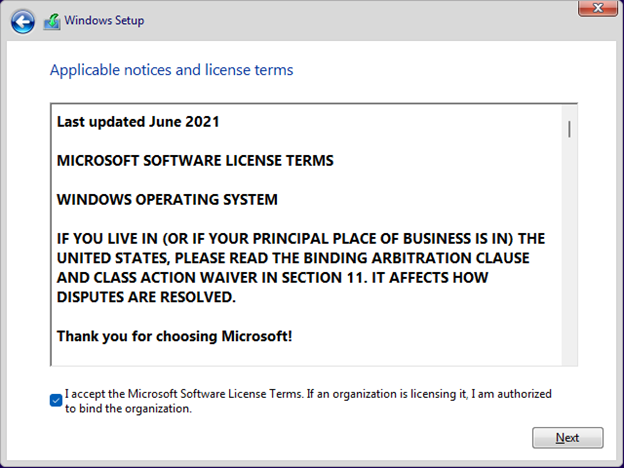
If you got the license agreement, then congrats!!, You have the minimum requirement to install windows 11. Accept the license agreement and click on Next.

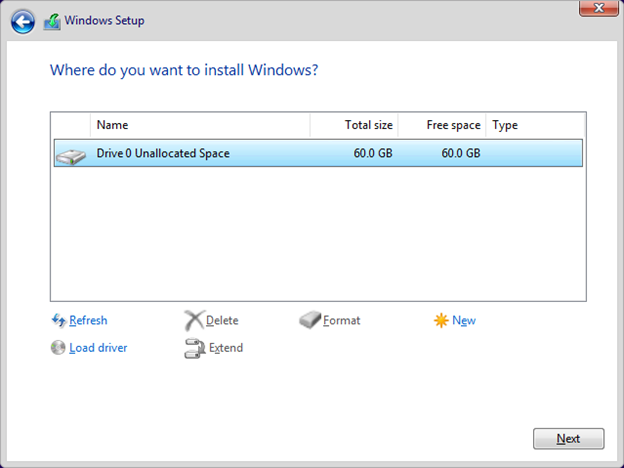
Choose the Custom installation option.


Select the virtual hard disk that we defined, and click on Next.

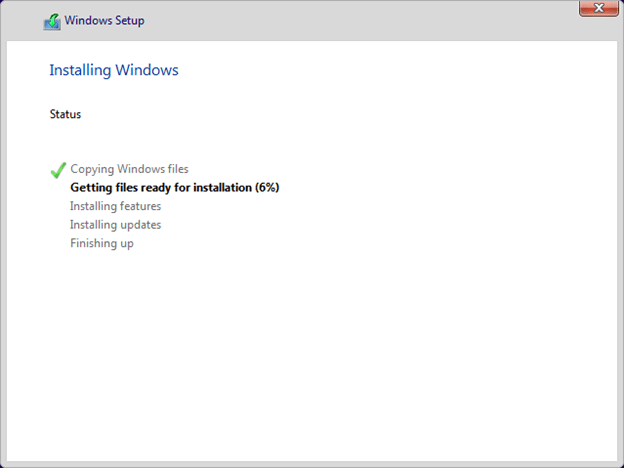
The installation will now start, and it will take some time for the installation to finish.

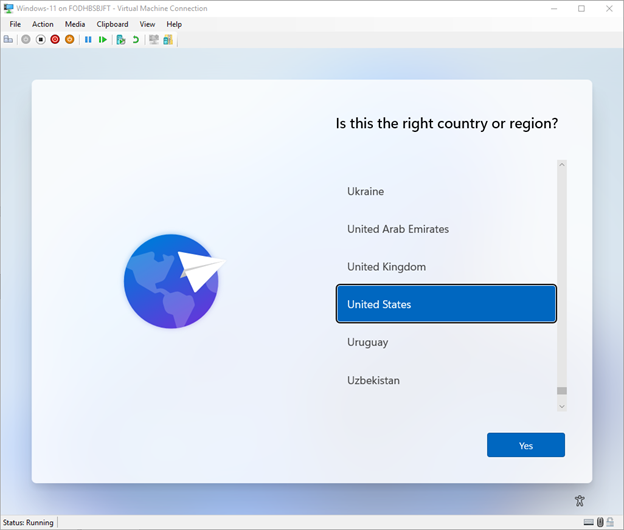
9. Complete the windows installation wizard.
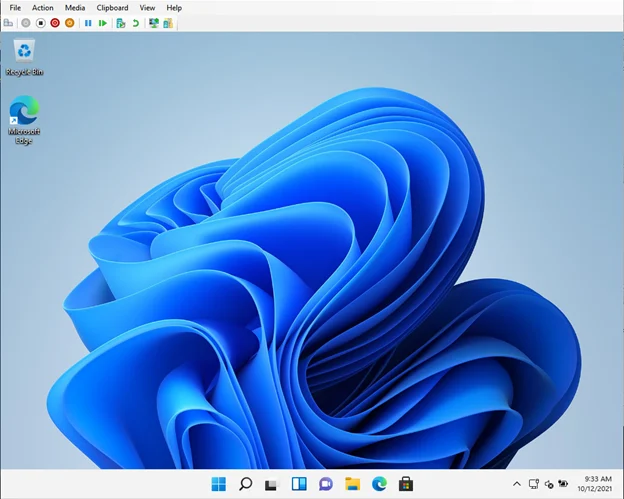
After the installation and a couple of reboots, you will be presented with the windows 11 setup wizard, you may go ahead and finish the setup wizard.
And there you go, you have successfully installed the windows 11 operating system on hyper-v with TPM, and secure boot enabled.

Stephen P. Molnar
Saturday 9th of March 2024
This is an excellent tutorial and I have installed Debian Bookworm on my Windows 10 Laptop without any problems. I have also installed Windows 10 to use as a test bed.
Unfortunately, I am plagued with the cyclic Disconnect/Reconnect problem that has been reported. Google has been no help in finding a solution to the problem.
I would be most appreciate fo any guidance from you.
Thanks in advance.
Stephen P Molnar
Thursday 8th of February 2024
Once I figured out to Login to a local account, rather than to my Microsoft account, I finished the installation. However, I got the Disconnect/Restart multiple times as random intervals. reconnect worked every time. but Windows opened to the login window. This is very annoying, to say the least.