
Our last blog post covered the installation of windows 11 on the KVM hypervisor, and it works well. In this blog, we will look at the installation of windows11 on the Proxmox server. The Proxmox server is based on KVM itself.
If you want to learn how to install Proxmox on a server or on an old PC, you may follow the article here on how to do that.
Does windows 11 support the Proxmox?
Windows 11 is the latest client operating system from Microsoft. The only thing to keep in mind is that unlike Windows 10, Windows 11 requires more hardware recommendations, including TPM and secure boot. Without this, you will end up getting an error message on the Proxmox installation screen that says this PC can’t run window11. So to install windows 11 on Proxmox successfully, there are two ways. You can enable the TPM and secure-boot on the Proxmox server, or you can entirely bypass it so it will never check the minimum requirement during the windows 11 installation. After the successful installation of Windows 11, you can access the virtual machine without any issues and it works fine in Proxmox.
Can I create a local account in Windows 11?
You can create a local account in Windows 11 editions except for home. During the setup, you need to ensure no internet connectivity for the windows 11 virtual machine. So windows 11 will redirect you to choose a limited setup, and then you can create a local account and start using it.
I will connect the network adapter to the Windows 11 VM setup. Still, there is no DHCP server configured for Proxmox, which means even though I have network connectivity, there is no Ip address assigned to the windows 11 machine. As a result, I will not have internet access, which will help me to set up the local account in Windows 11.
So if you have DHCP configured in your Network, you may not connect the network adapter during the virtual machine installation.
Before you begin,
You need to have windows 11 iso – follow the article here to download the windows 11 iso image.
VirtIO Drivers– For the windows 11 image to function correctly, you will require additional virtio drivers. Click here to download that.
Proxmox server installed with the Network- we have already installed the Proxmox in one of my servers. Follow the article here to learn more about the Proxmox installation.
1. Upload the windows 11 and Virtio iso images to Proxmox.
We have already downloaded the Windows 11 iso image from Microsoft. Let’s go ahead and upload it to Proxmox.
Login to Proxmox-> Choose the Proxmox node-> Local-> ISO images-> Upload.
In the new upload window, choose the ISO image you downloaded by clicking ‘select file’ to browse and clicking on Upload.
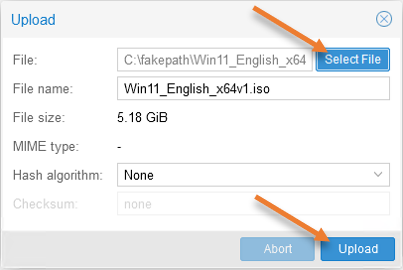

The Upload will take some time, depending on where you upload the file. If it is within the same LAN network, it will be faster.
2. Upload the latest virtio drivers.
Like the windows 11 iso upload, you have to upload the virtio iso file to the Proxmox.
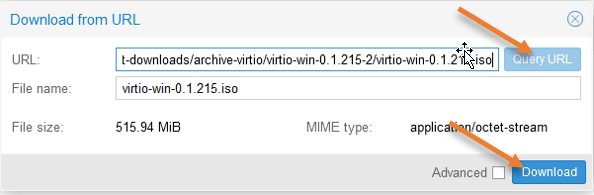
I will use the Download from URL option, click on that, and paste the URL in the URL.
And click on Query URL, and you may click on Download.
The Download will take time, depending on your internet speed.

3. Create the Windows 11 virtual machine.
To create the windows 11 virtual machine, click on Create VM.
General.
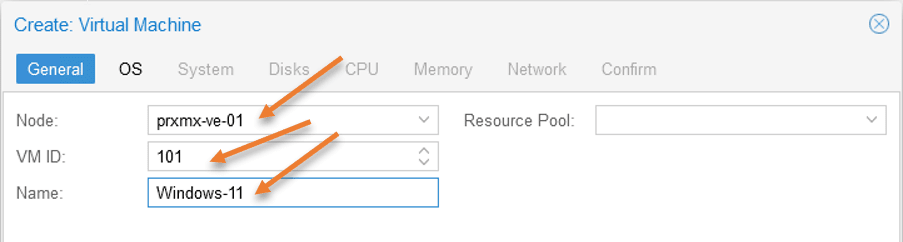
In the General configuration, configure the following.
Node: Since I have only a single node, it has been chosen that. If you have multiple nodes, you will have to select the correct server where you will install the Windows 11 virtual machine.
VM ID: The VM ID will be the unique value given by the Proxmox to identify the virtual machine, starting from 100. As I already have 100 assigned to other VM, it has picked up the following available ID, which is 101.
Name: Windows-11
Click on Next.

OS.
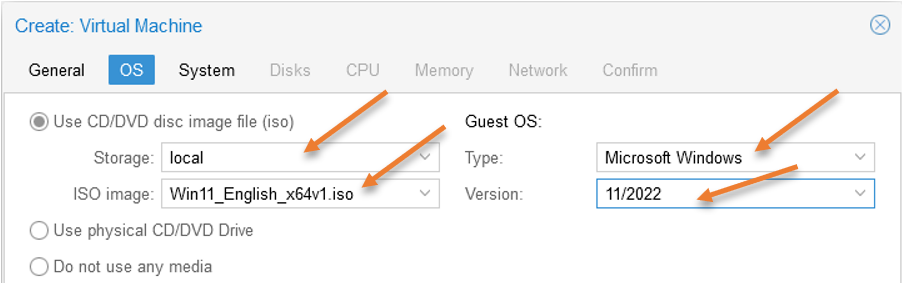
In the OS configuration, you need to choose the storage as Local, and in the ISO image, you will have to point to the Windows 11 ISO image that we uploaded in Step1.
Type: Choose Microsoft Windows.
Version: 11/2022 –The latest version for windows 11.
Click on Next.

System.
- Graphic Card – Default.
- Machine – i440fx.
- SSCI Controller VirtIO SCSI.
- BIOS: OVMF (UEFI) This is important, as it will enable the secure boot, which is essential for the windows 11 installation.
- EFI Storage: Choose the local-VM storage.
- Add TPM: Checked.
- TPM Storage – Choose the same storage as the EFI storage.
- Version: v2.0
Click on Next.


Virtual hard disk.
We have selected windows 11 as the virtual machine, it has picked the BUS/Device as IDE, changing that to VirtIOBlock.
Storage: This is where you would save the virtual hard disk. Choose the same local-lvm storage.
Disk Size: Proxmox assigned 32GB, which is not enough. Hence I have chosen 80GB, more than the Microsoft recommended size 64.

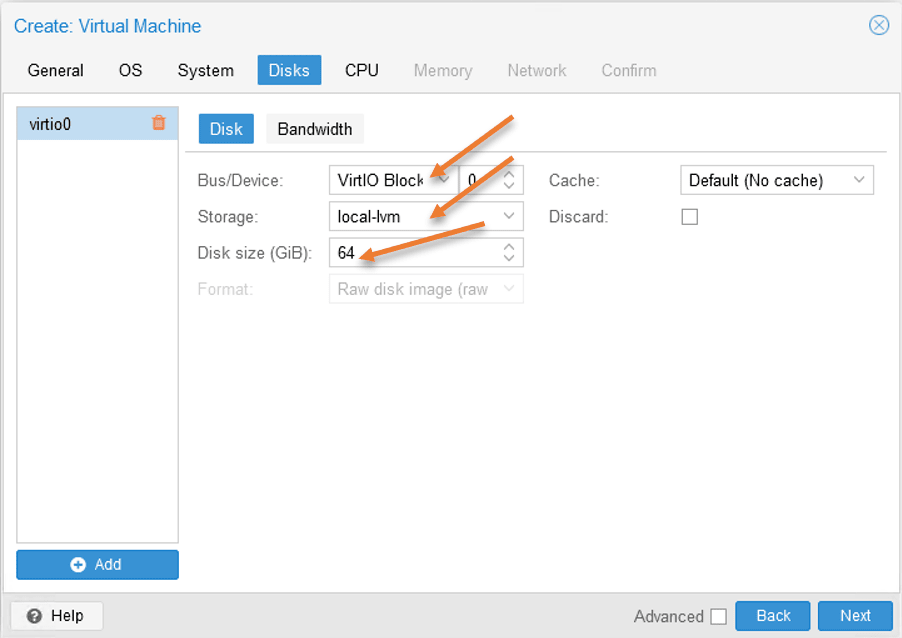
If you are using SSD storage, you might as well check the Discard option. I am not checking that for now.
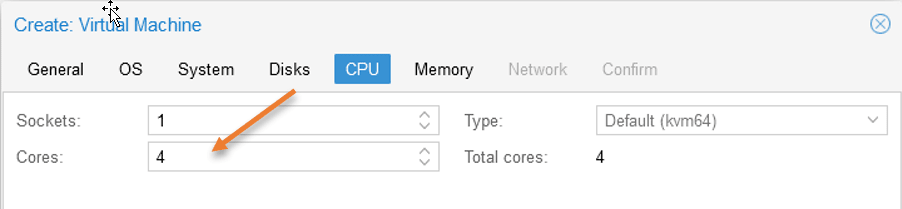
Configure the CPU.
Microsoft recommends at least 2 CPUs, and we are going to give 4 CPU total, and click on Next.

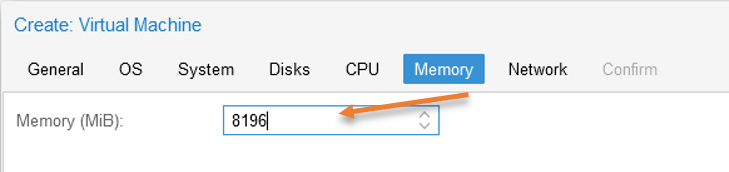
Configure the memory.
In the Memory configuration, it has taken 2GB of RAM, which is not enough for the windows 11 operating system to function, you should give at least 4GB of RAM. I am giving 8GB of RAM which is good for the windows 11 virtual machine.

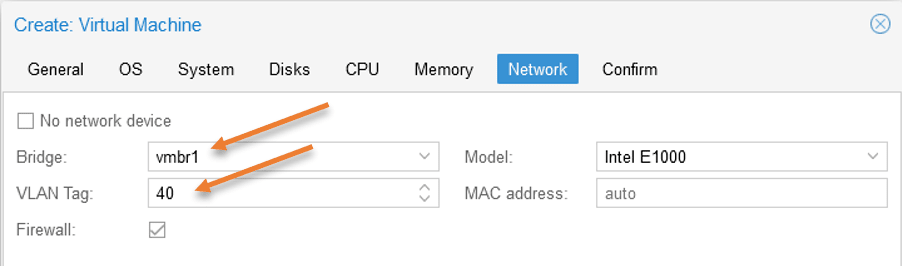
Choose the Network for windows 11.
I have two Networks, vmbr0 is for the Proxmox management, and vmbr1 is for the VM network. Hence I have chosen vmbr1 for the bridge.
VLAN Tag: My Network is configured with a VLAN tag of 40, hence add that. If you are not using the VLAN tag in your environment, you may leave this blank.
Leave the firewall option checked.
Model: Choose the default E1000 for the intel adapter.
That’s it and click on Next.
Note: If you are planning to use a local account in windows 11, you can choose No network device, which will disable the network connectivity for the VM and help you create the local account.

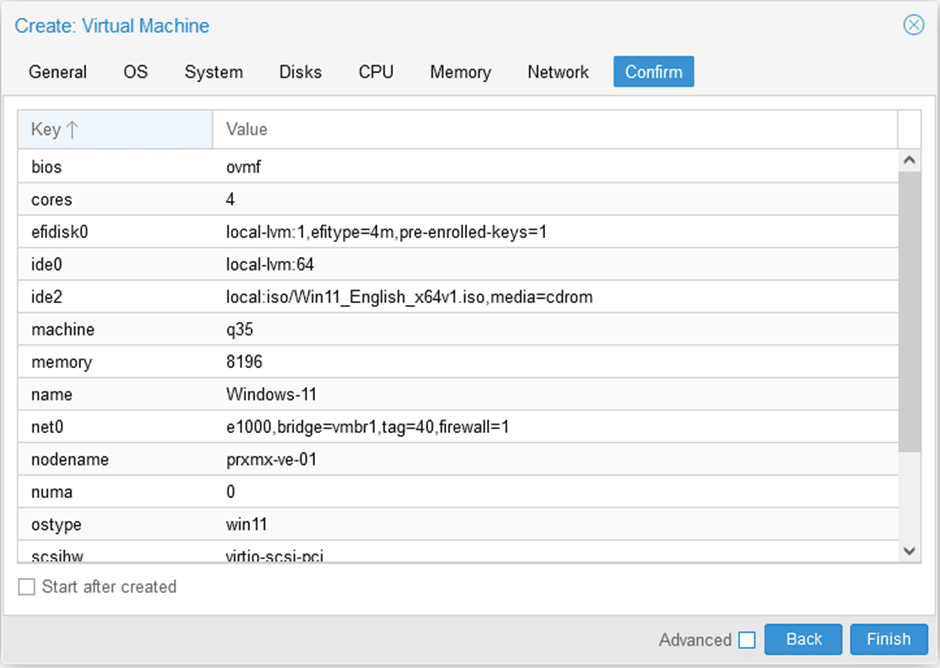
Eventually, you will get the summary of the configuration that you have made thus far, go through the configuration and make sure everything looks good. You need to ensure that the Start after created option is unchecked. As there are a few more things to do before proceeding with the windows 11 virtual machine installation in Proxmox.
Click on finish.

4. Attach the virtio drivers to the Proxmox for windows 11.
We have just deployed windows 11 in Proxmox, and before we proceed with the installation, you need to add VIRTIO Qemu drivers to make the Windows communicate with the Proxmox, which is based on Linux.
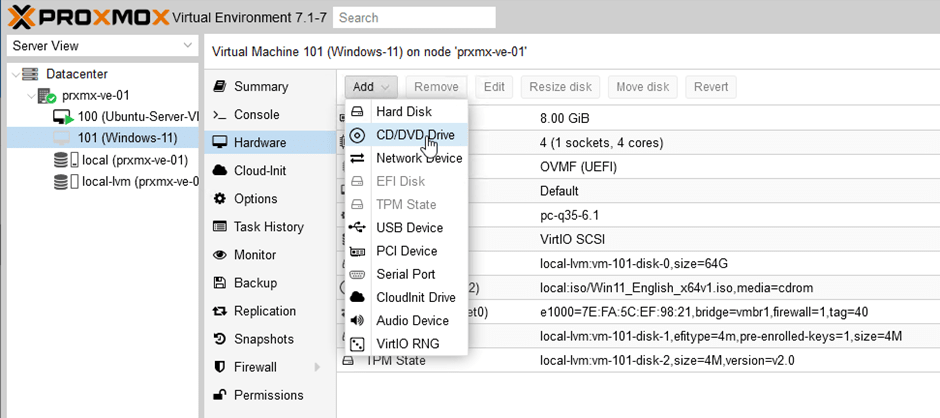
Select the newly created windows 11 virtual machine.
Click on Hardware, and click on Add CD/DVD drive.

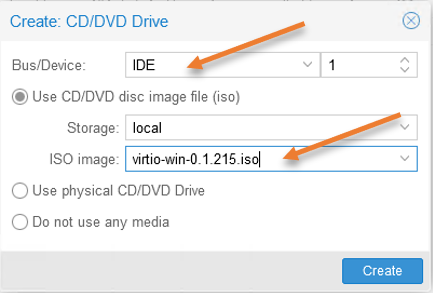
Leave the Bus/Devce to IDE.
Choose Use CD/DVD image file (iso)
Storage: local
ISO image: Choose the virtio ios image that you added earlier.

5. Start the Windows 11 installation on Proxmox.
We have configured the windows 11 virtual machine in Proxmox let’s go ahead and install the operating system.
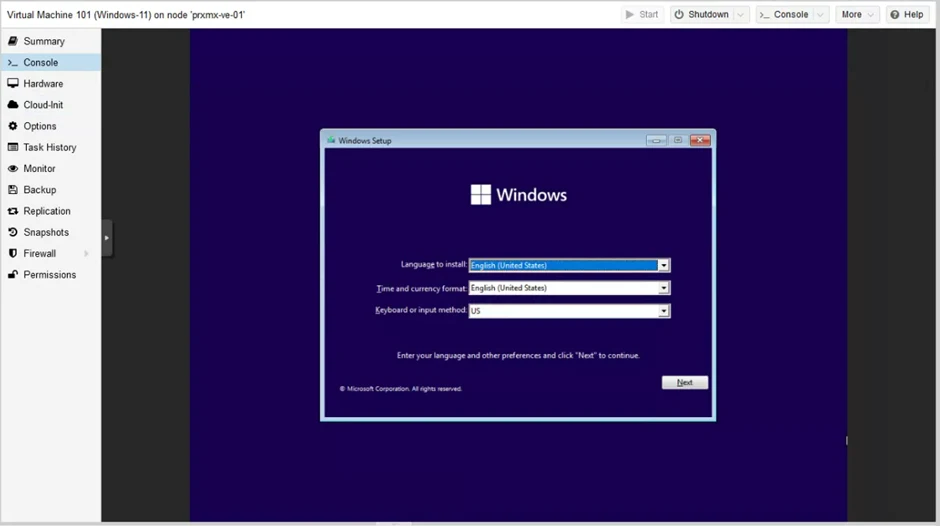
Select the Windows 11 operating system and click on console on Proxmox and click on Start.
After a few seconds, you will have a proxmox screen and the windows 11 installation will now begin.
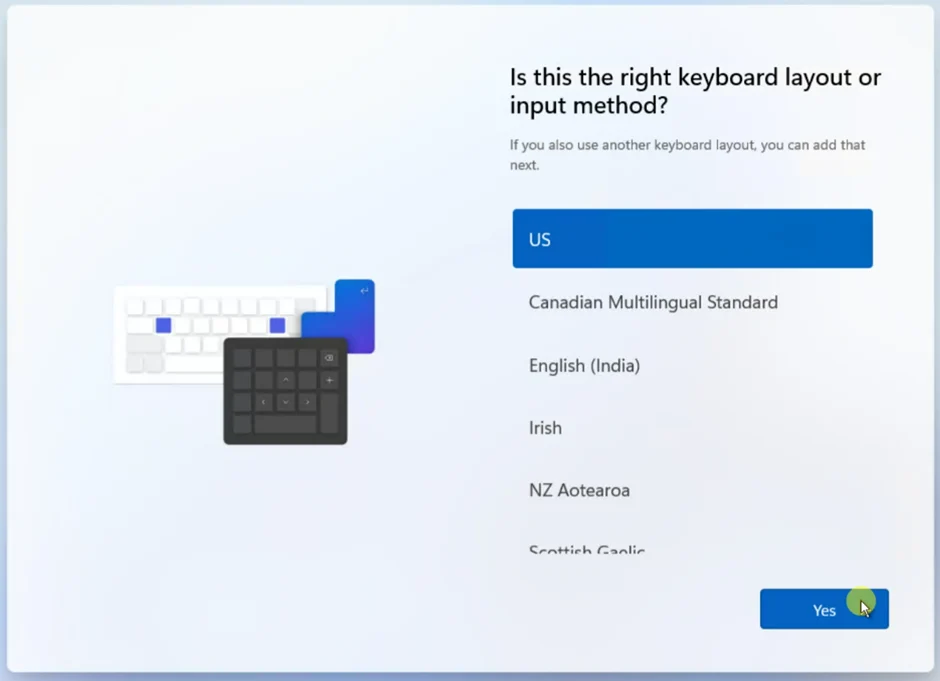
Choose the language and the keyboard layout of your choice and click on next.

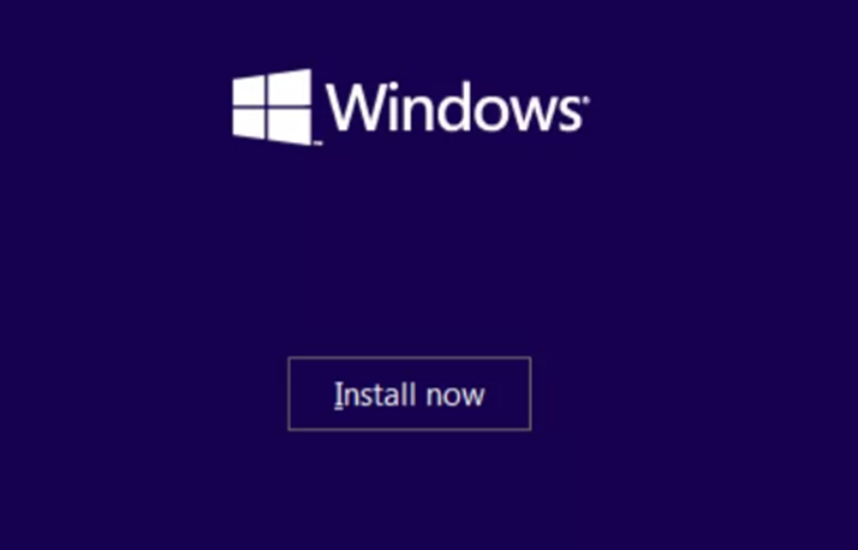
After that click on install now.

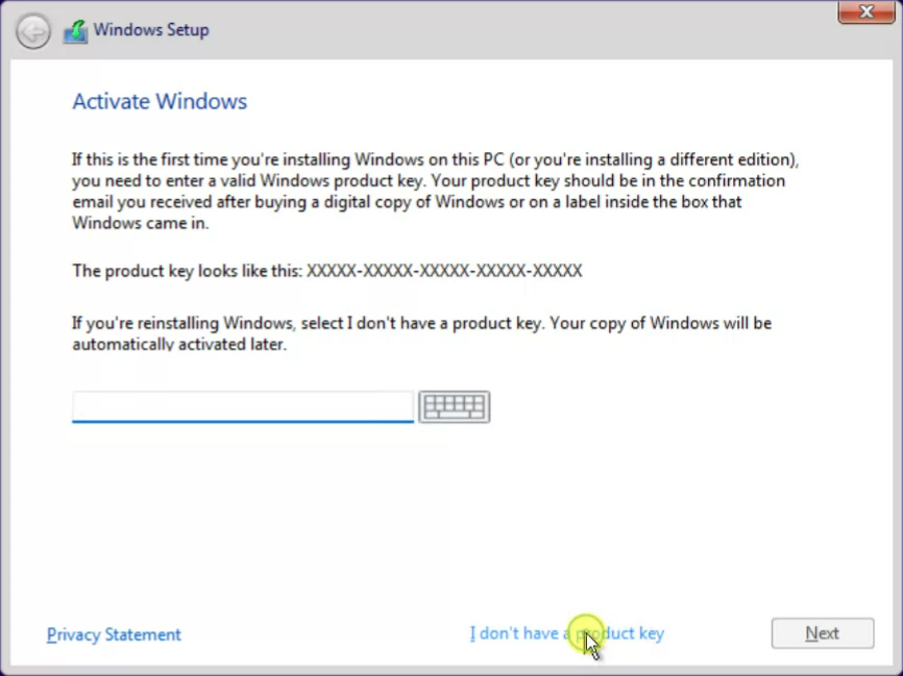
Since it is a vm, you most likely will not have license, hence choose I don’t have product key.

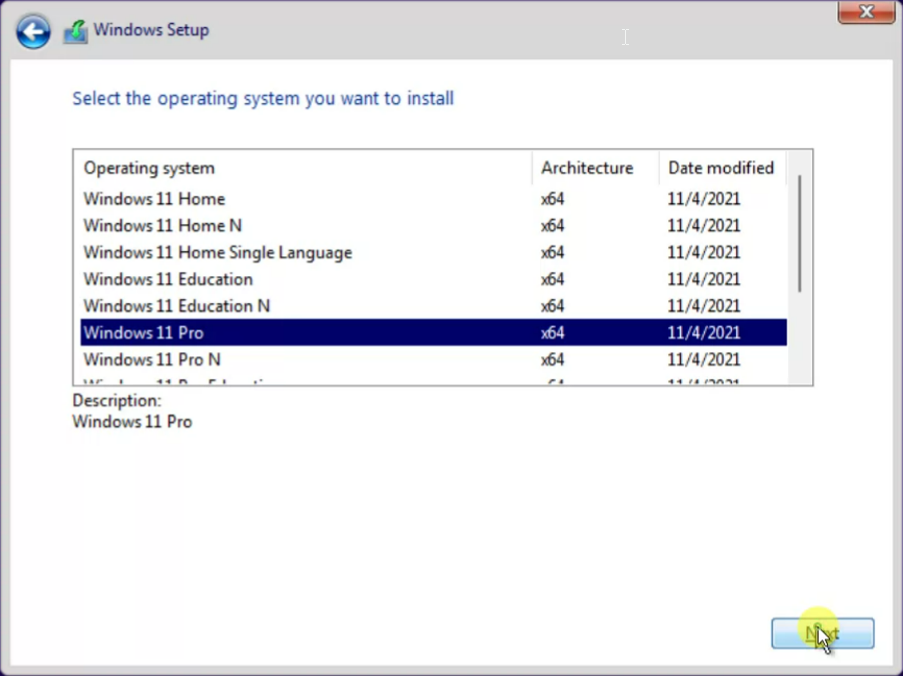
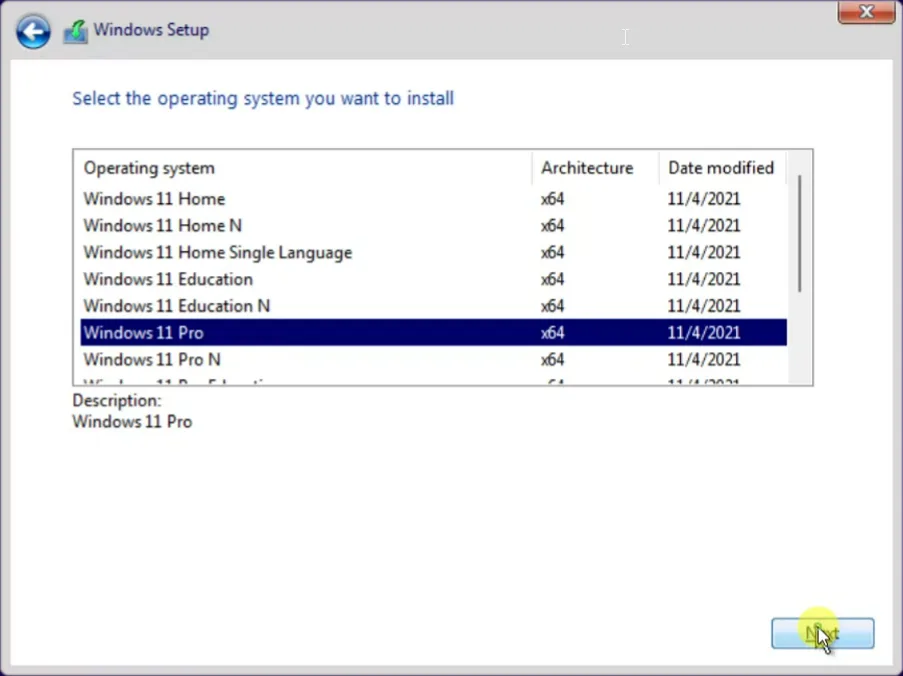
Choose the Windows 11 edition that you would like to install and click on next.
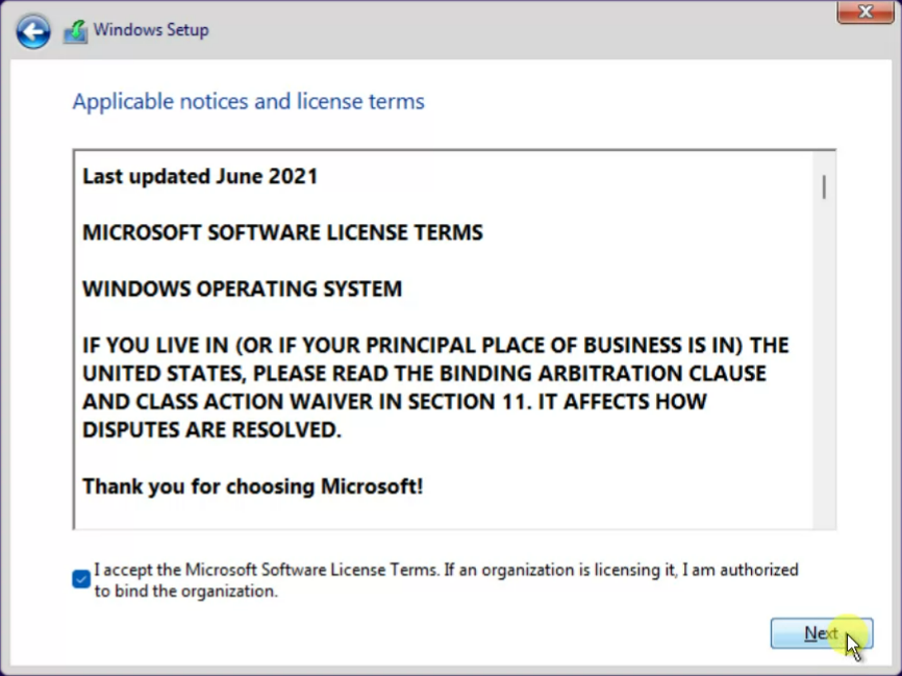
Accpe the license agreement, and click on next.

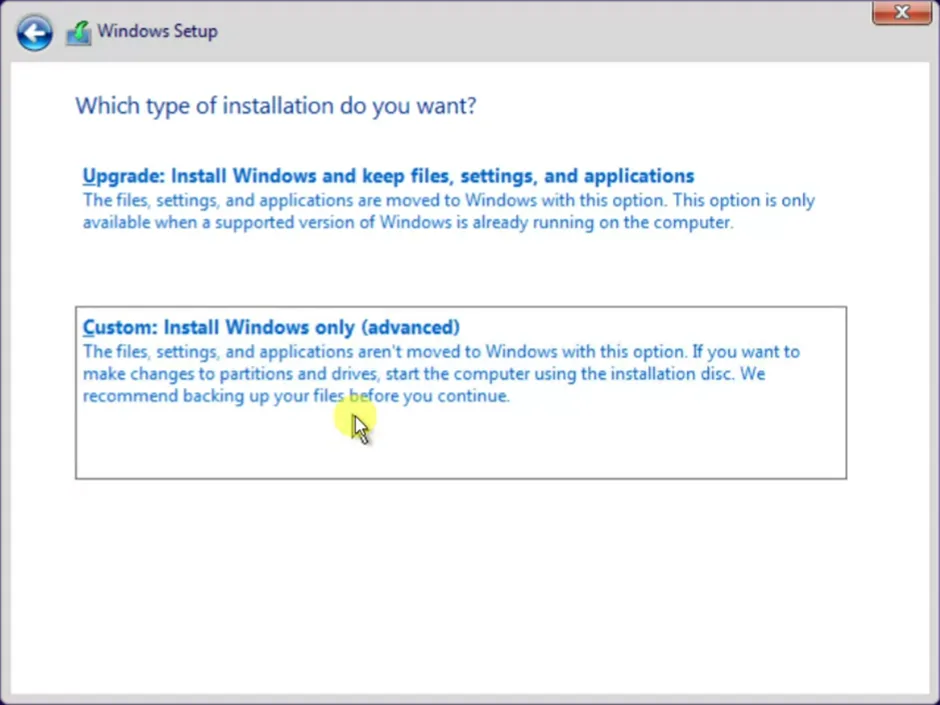
Choose custom installation.

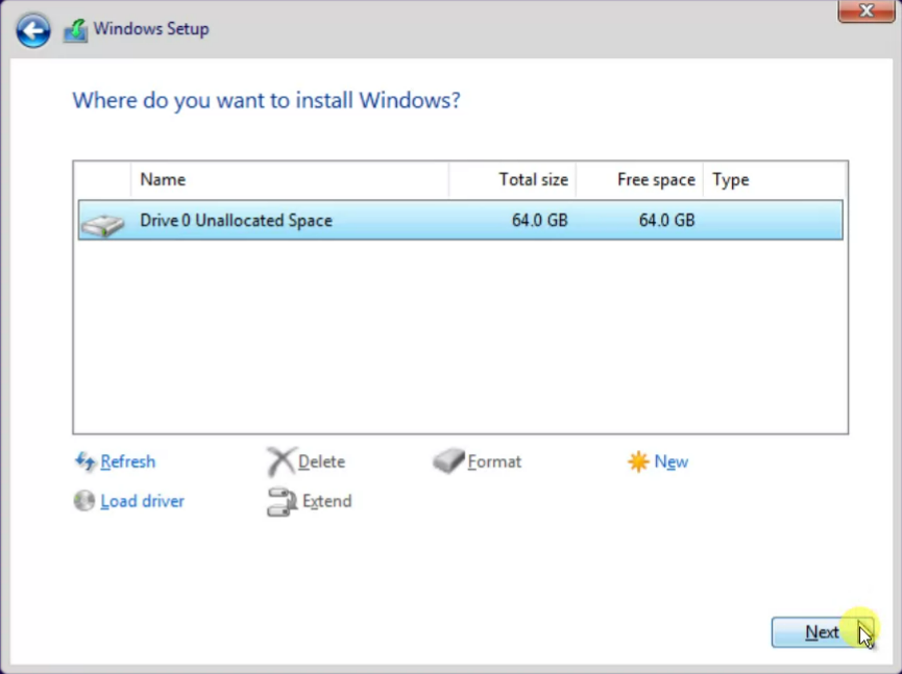
You will get the virtual hard disk that we defined in the Proxmox server, choose that and click on next.

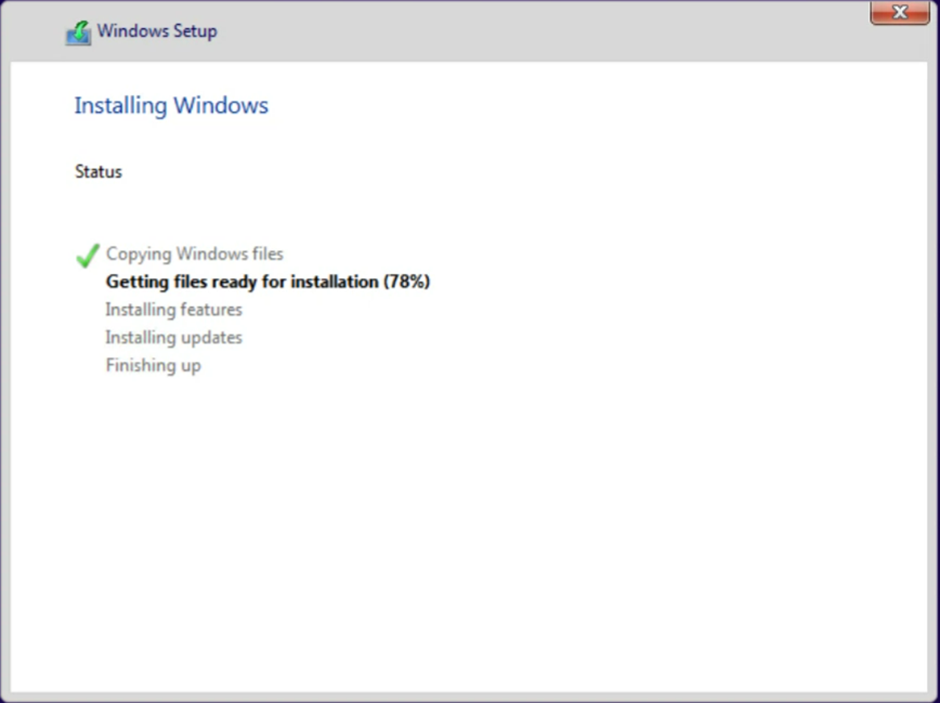
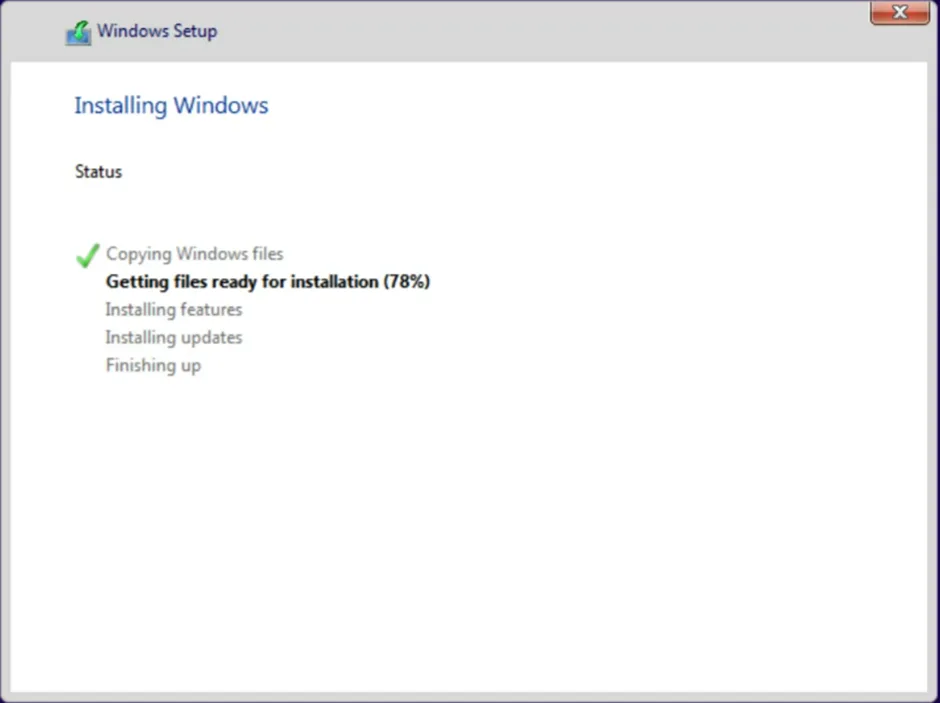
The installation will now begin, and it will take some time for it to finish.
After the installation, you will get the windows initial setup wizard, choose the region, and click next.

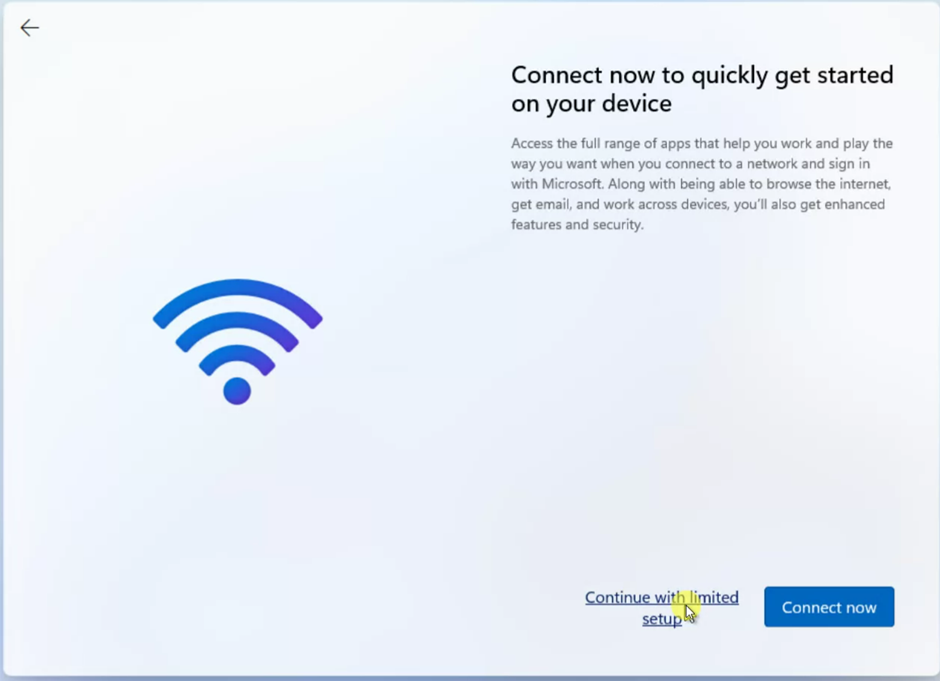
6. Create the local account in Windows 11.
Since I don’t have internet, I clicked on Continue with a limited setup which would help me to set up my local account instead of a Microsoft one.

You will be asked to enter the username password for your local account and some security questions as well, that’s it and after a few mins, the installation will be completed and you will be taken into the windows desktop.

7. Install the windows 11 dirvers.
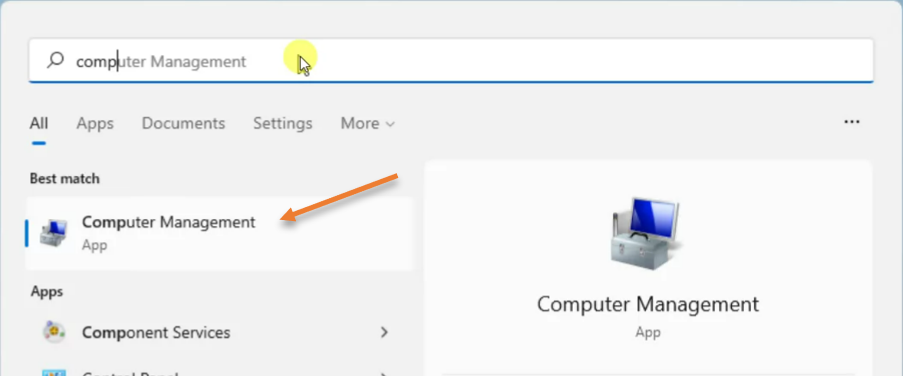
Unlike KVM, in Proxmox you will have most of the drivers installed on the windows 11. However, you need to install one driver, so click on the search button in windows 11 and type computer management.
And click on on it.

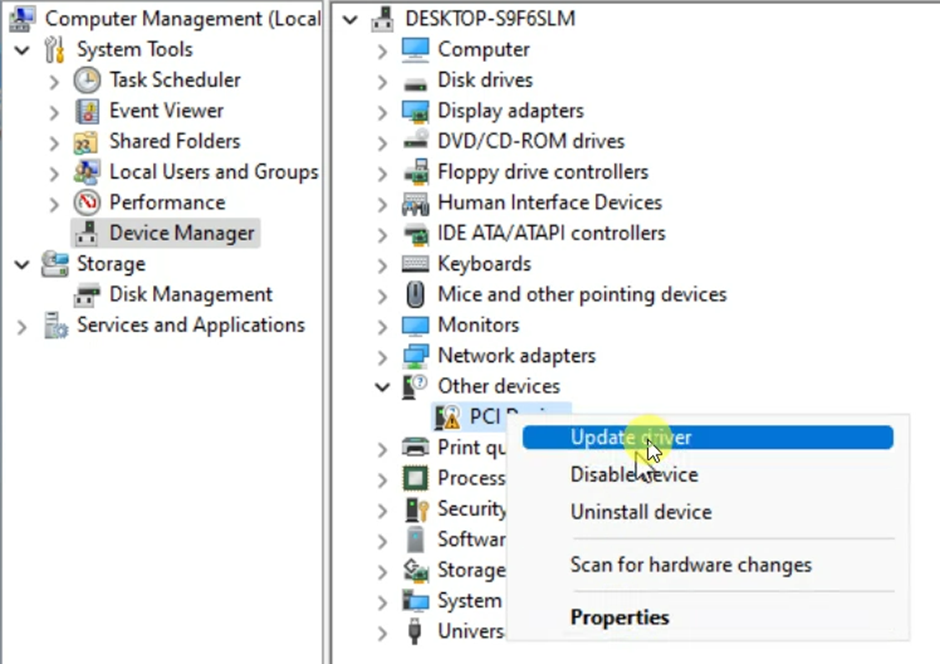
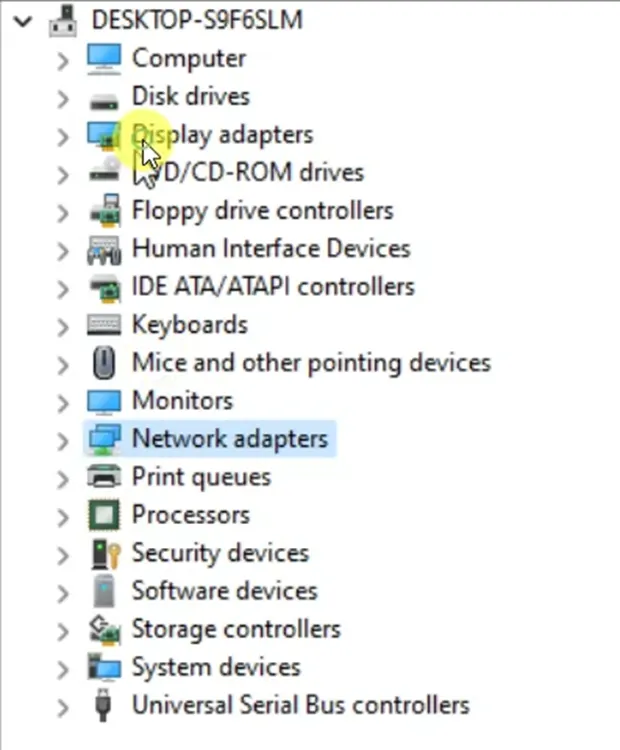
In the computer, management chooses device management.
Only one PCI device under Other device doesn’t have a driver.
Right-click on the PCI device and click on Update driver.

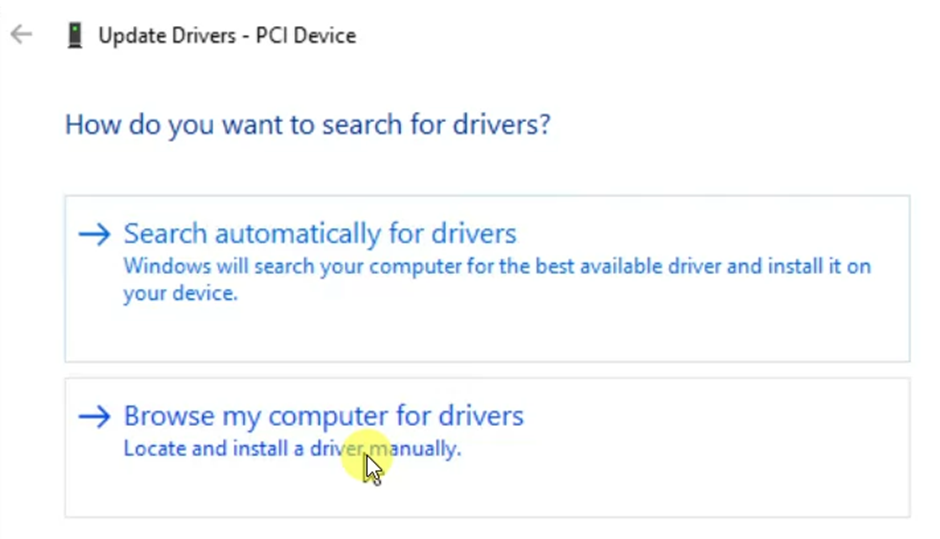
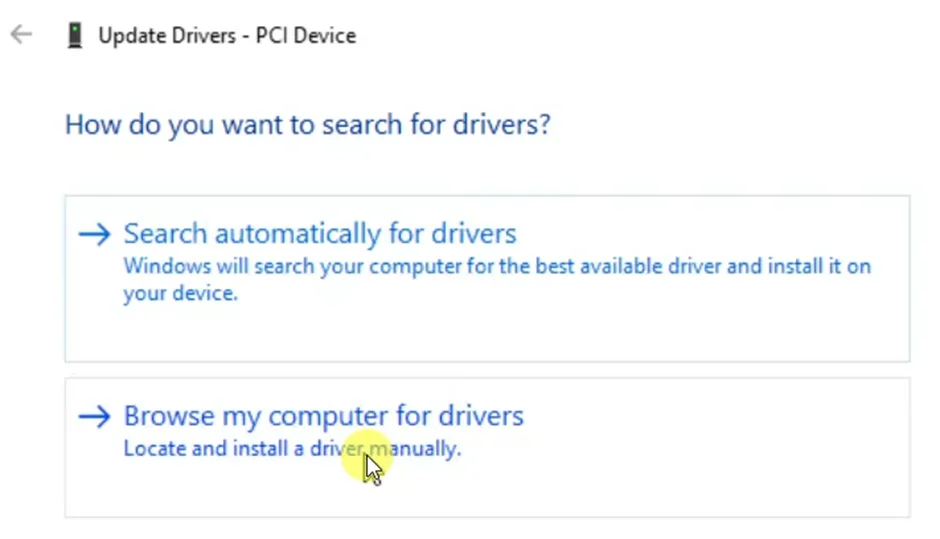
The driver is located in the virtio driver iso we attached as a secondary cdrom during the installation.
So choose to Browse my computer for drivers.
Choose the Virtio cdrom and click on Next.
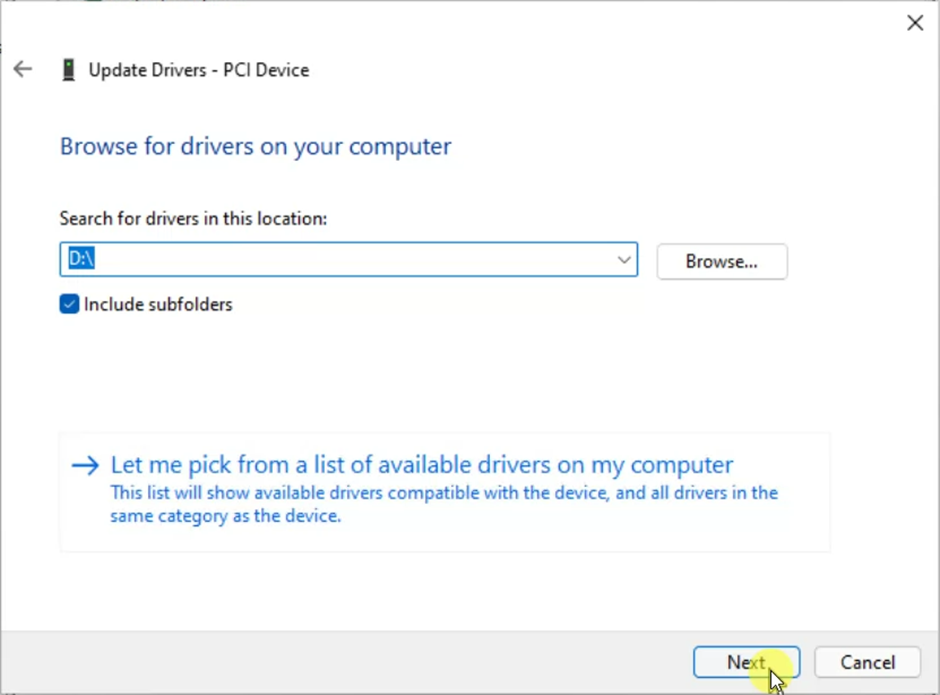

The drivers will be installed and you will see no other drivers requires update.

8. Install the QEMU/KVM guest agent on Windows 11.
For the windows 11 virtual machine to work perfectly, you will also need to install the KVM guest agent on the VM.
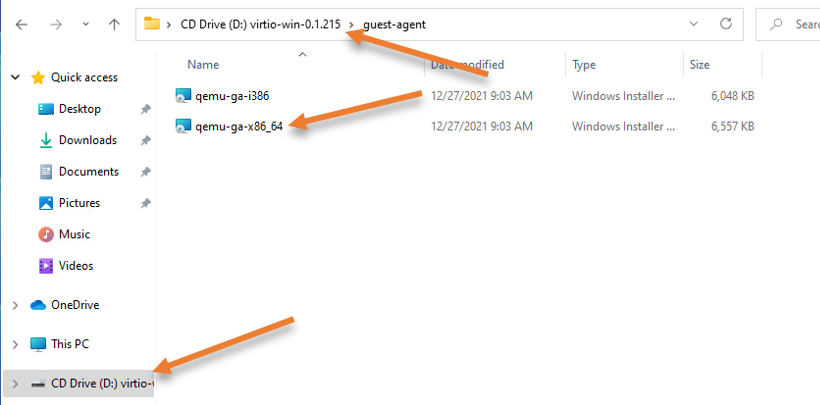
Go to file explorer, Open the virtio driver that we attached as CDROM.
Open Guest-agent.
Since we have 64bit OS, double click on qemu-ga-x86_64
The installation will begin, and you may go ahead and install the Guest agent on the virtual machine and reboot the machine.

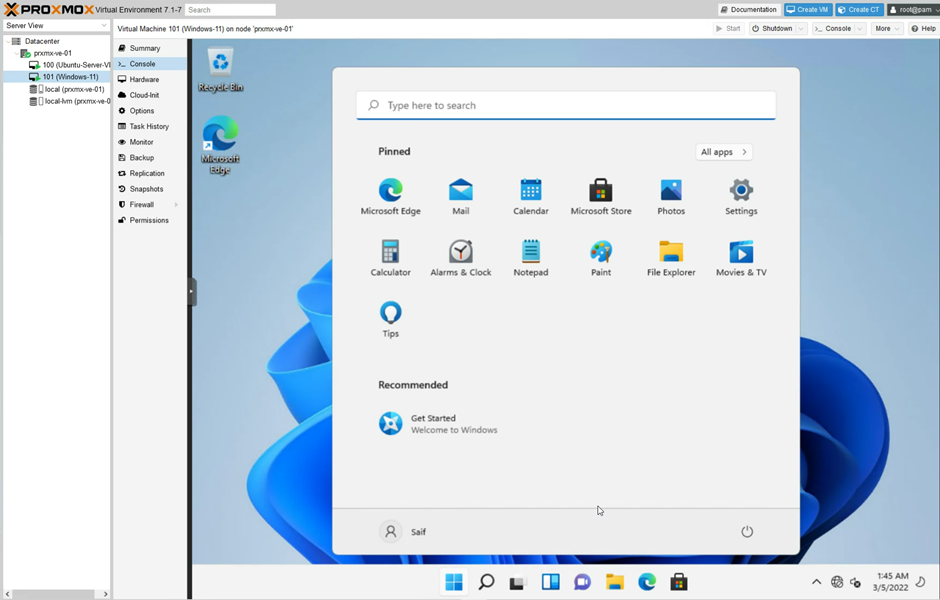
That’s it we have successfully installed the windows 11 virtual machine in the Proxmox server. You can either use Windows 11 through the Proxmox console or enable the RDP on the windows 11 machine and start using it.
You need to make sure to connect the network adapter back or configure the IP address for your virtual machine if you don’t have a DHCP server. Based on how you have configured the Network.
And using Windows 11 with RDP is the best option, and as you can see, I was able to access the windows 11 machine using the RDP, and I can access the internet as well.


Lee
Monday 4th of December 2023
hi. i install windows 11 in my old proxmox and allocate 100 G. however, the next day, it already take all the balance space in local-lvm. after i setup the windows11, local-lvm still have 400 G space left. i don't know where i did wrong. pls advice