We have covered the installation of Ubuntu Linux on the Vmware workstation in the past. Both the Desktop and the server version of it. This blog will look at how you can install Redhat enterprise Linux on a VMware workstation.
Read also,
How to install Ubuntu 20.04 server on VMware workstation?
10 Easy Steps to install Ubuntu 20.04 Desktop On VMware Workstation.
Can I install Redhat on the VMware workstation?
The RedHat is one of the popular Linux distributions used by many users to run their applications. Sometimes, you might want to run the Redhat operating system in a lab environment to test things out. And the best way you can do that is by installing Redhat in a virtualized environment. And you must be able to install and run RedHat Enterprise Linux on a VMware workstation, and it should work great. One drawback with the Redhat is that you cannot get the update from RedHat until you have the subscription. Other than that, everything should work fine.
In this blog, we will look at the installation of Redhat Enterprise Linux on the VMware workstation. Afterward, we will test the network connectivity and ensure Redhat VM can go out to the internet.
Do I need to install Vmware tools in Redhat?
For most of the virtual machine installation in the VMWare workstation, you must install the VMware tools, which will increase the virtual machine performance and the manageability of the VM. However, when you install Redhat in the VMware workstation, you don’t need to do any of that. By default, the VMware tools installation will also happen along with the RedHat virtual machine installation. And after the installation, when you try to resize the VMware workstation window, you should see the guest machine desktop also get resized automatically, which is the sign that the installation VMware tools installation was also completed successfully.
You can also check the VMware tools’ status by typing the command in the terminal systemctl vmtoolsd status.
This command will show you the status as Active. If it is by any chance stopped or inactive, you will have to restart the demon by typing systemctl vmtoolsd restart .


Before you begin;
- You need to have VMware Workstation installed. You can get that from here.
- Red hat enterprise Linux iso image- Click here to download.
1. Create a new Redhat virtual machine.
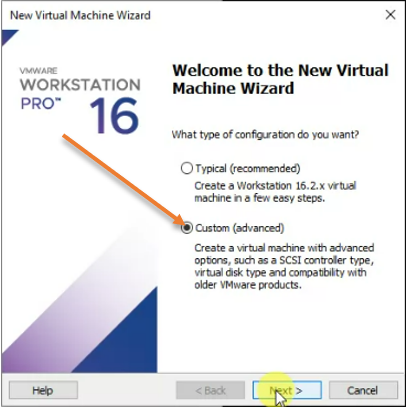
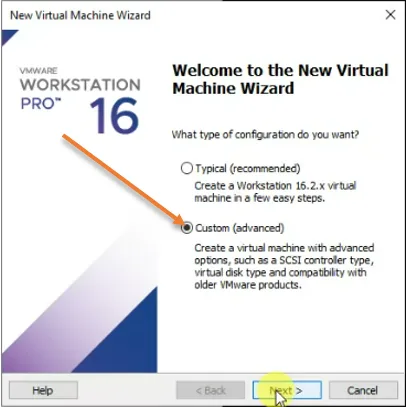
Open the VMware workstation and click on Create new VM. You will get a new pop-up to install the virtual machine, choose the Custom (Advanced) option, and click on Next, which will give you more control over the virtual machine that you are going to install, instead of choosing typical.
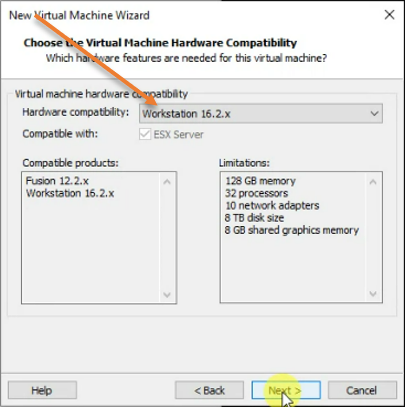
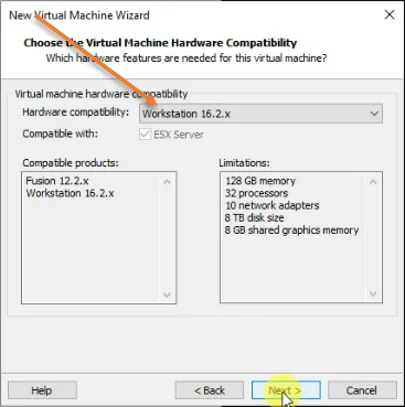
I am using VMware workstation 16.2; hence, I have to choose the version I use for hardware compatibility. If you are using the older version of the VMware workstation, the RedHat enterprise will work fine as well, just that you need to make sure you choose your workstation version in the hardware compatibility and click on Next.
2. Attach the Redhat ISO image.
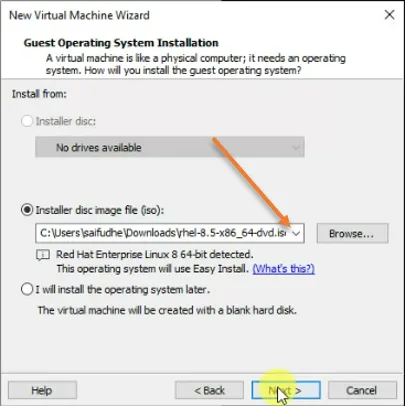
The Redhat ISO image needs to be attached to proceed with the installation.
In the guest operating system installation, choose the Installer disk image file and browse the redhat ISO file you downloaded earlier.
As you can see, the operating system is auto-detected as RedHat, and click on Next.

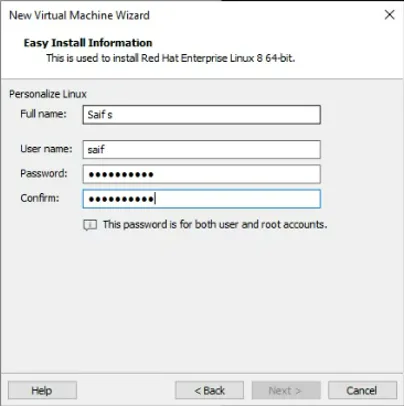
3. Setup the Redhat VM credentials.
One cool thing about the VMware workstation is that it is mostly unattended installation. Once you specify the details in the VMware workstation, it will feed into the virtual machine and automatically finish the installation.
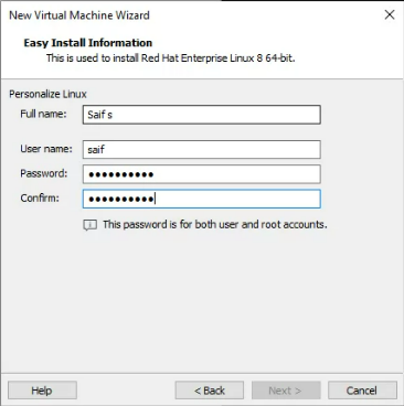
In the personalize Linux option, you must enter your virtual machine’s full name and credentials and click on Next.
You can also notice a message that says ‘this password is for both the user and root accounts’. This means you don’t have to manually set the password for the root account as we do with installing RedHat on physical servers or other hypervisors.
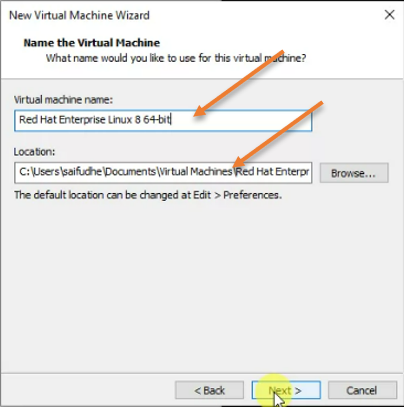
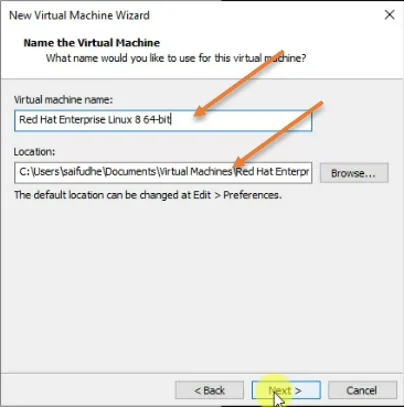
4. Name the VM and the location.
You will have to define the virtual machine name and the location to save the virtual machine files. If you would like to make some changes to the location, you can do that by clicking browse.
Alternatively, you can change the default location to a different one by going to Edit preference, as shown in the message below.
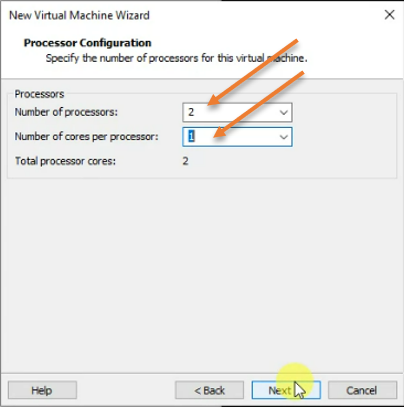
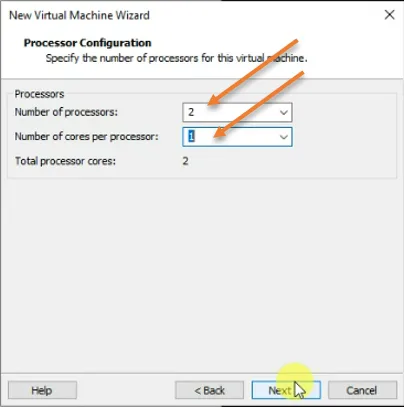
5. Configure the CPU.
You will be required to specify the CPU for the virtual machine. By default, it would pick up the CPU as 1. Since I would like to have a good performance on the virtual machine, I choose 2 instead.
Based on your requirement, you may choose the CPU.
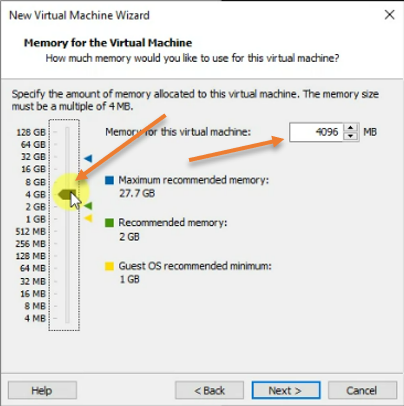
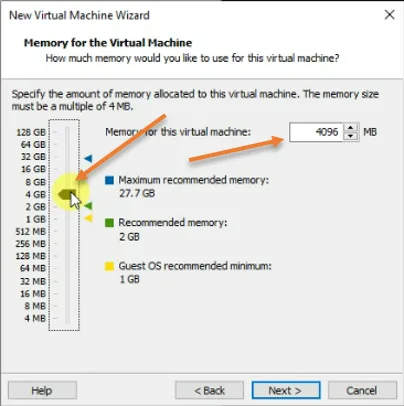
6. Configure the memory.
By default, a VMware workstation would add 2GB of memory, which would be enough for most cases, but I am giving 4GB of storage. Based on your requirement, you may provide the memory.
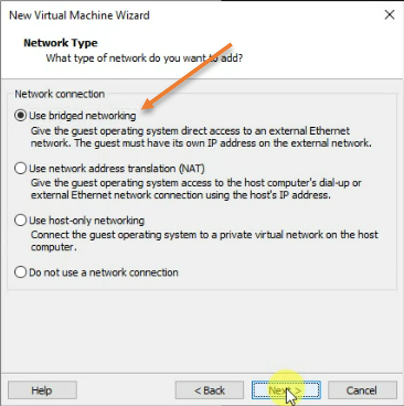
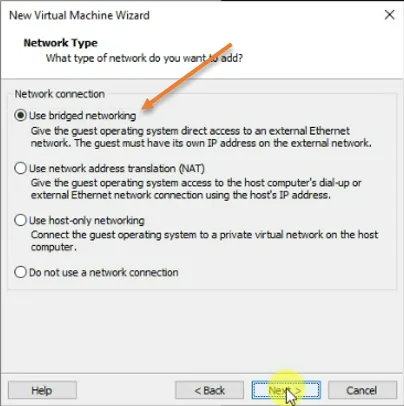
7. Configure the network.
In the network type, chose to use Bridge networking. This means your Redhat VM will become part of your LAN network and get the IP address automatically from your LAN DHCP server.
If you don’t want to expose your virtual machine to a LAN network and provide only internet access to the VM, you may choose NAT, which will be the secure option.
Click here to learn more about the VMware network types.
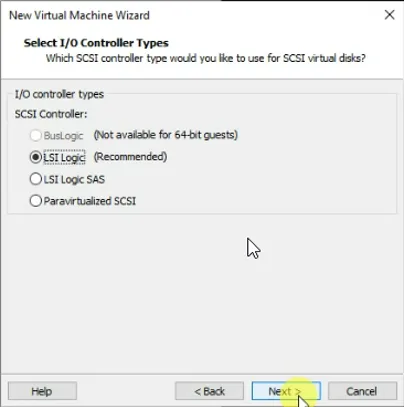
8. Configure the storage.
Next, let’s go ahead and configure the virtual storage for the RedHat VM, in the select I/O Controller types, choose LSI Logic and click on Next.

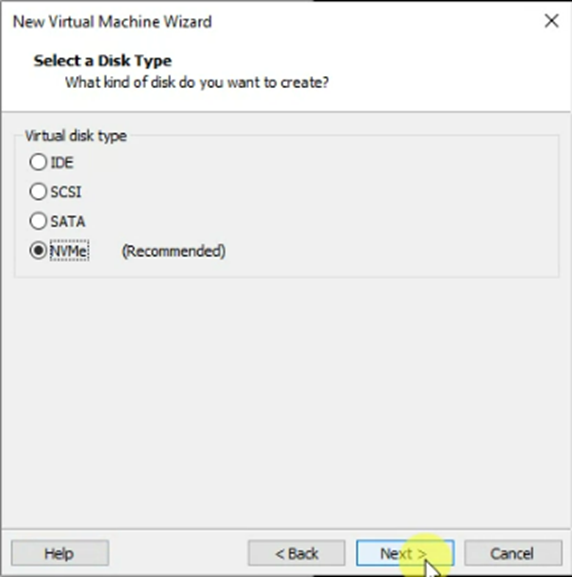
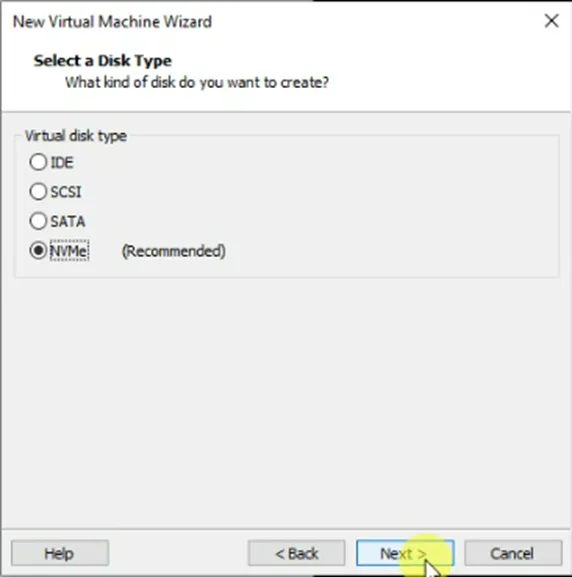
Choose the default NVMe disk type in the Disk type and click on next.
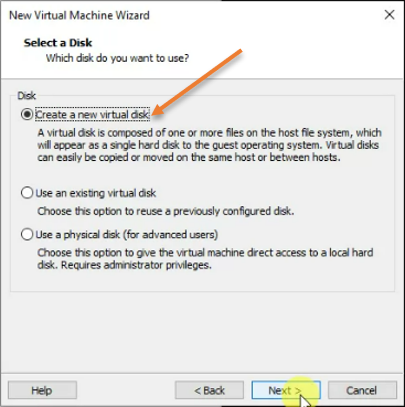
We will now create a virtual hard disk for the VM, choose Create a new virtual disk and click on Next.

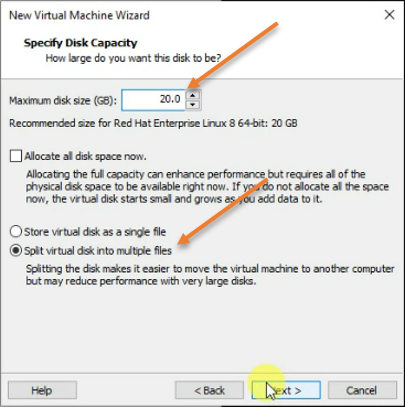
By default, VMware workstation would add 20GB of storage. I am okay with the size. If you require more storage, you may change it here and click on next.

Based on how you have set the operating system name, the virtual disk is created with the same name. If you would like to change the location of the virtual disk, you can do that is by clicking browse.
Click on next.


9. Proceed with the Redhat installation.
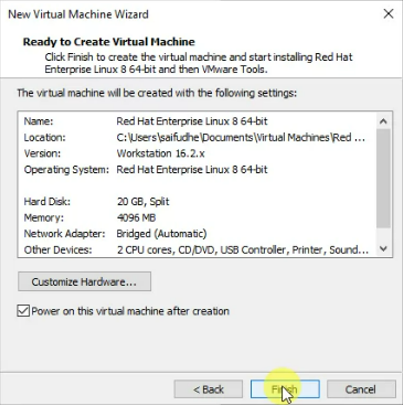
You will get a summary of the virtual machine. If you want to make any changes, you can do that by clicking customize hardware.
Also check the option Power on this virtual machine after creation, so the installation of the virtual machine will start right away.
Click on a finish to proceed with the installation.

Usually when you install the RedHat enterprise on a physical host or any other hypervisors, you will be required to define the installation source, installation destination, keyboard.. and so on..
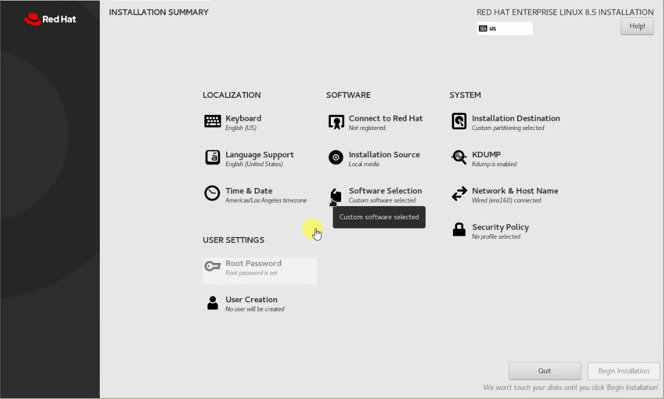
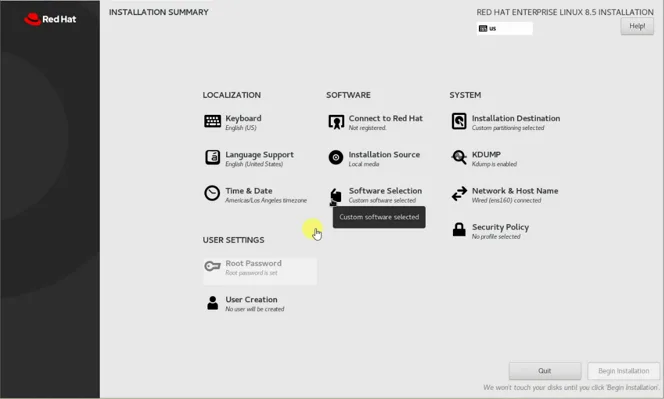
However, the Vmware workstation will automatically fill everything in a few seconds based on your selection.
After that, the installation will begin automatically.
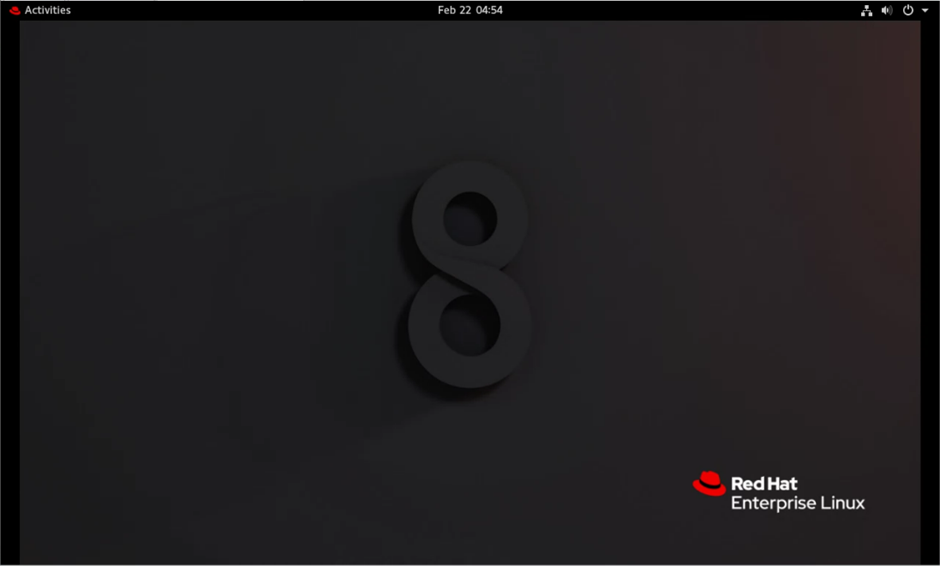
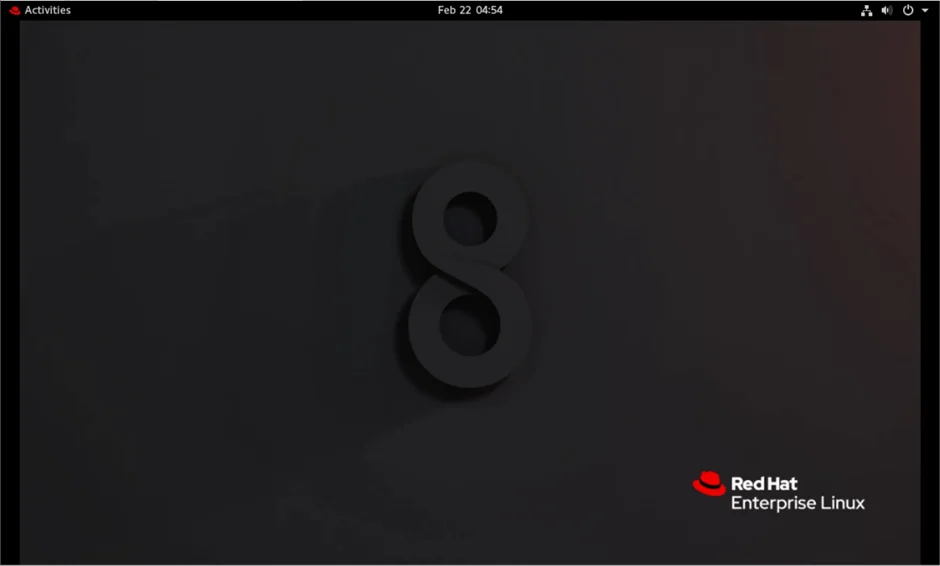
The installation will take some time to finish. Once completed you will be taken into a login screen. Enter the username and password you set during the VM creation, which will let you in. And you should see the Desktop of the Redhat Enterprise Linux 8 as shown below.
How to log in to Root from Redhat virtual machine?
If you would like to switch to root user in GUI, you can do that by logging out or locking the machine.
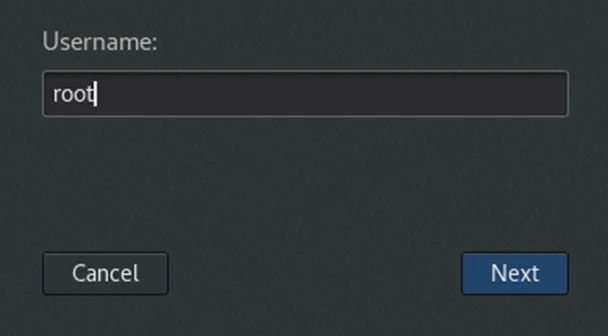
In the login screen, click on Not listed instead of typing the password for the existing account.

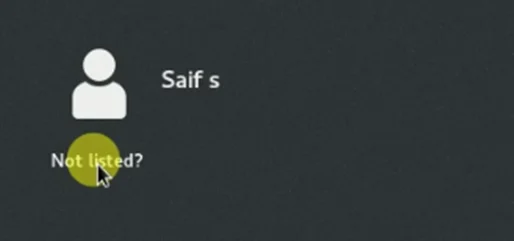
It will prompt you to enter the username, where you need to enter root as the username and click on Next.

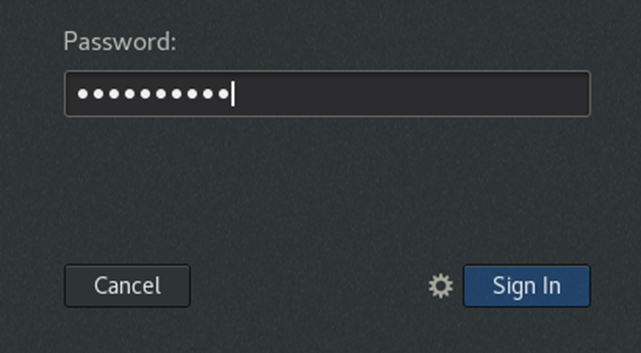
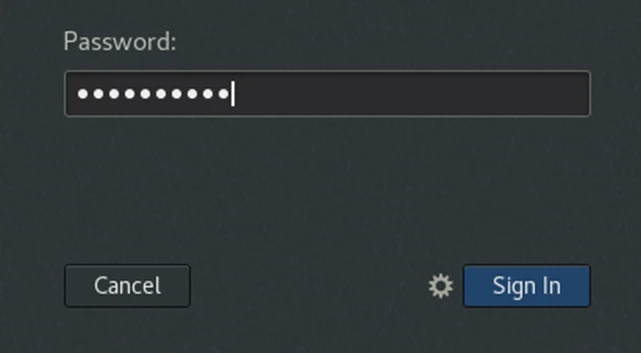
In the password, use the same password you used for other accounts and click on sign in.
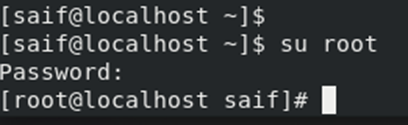
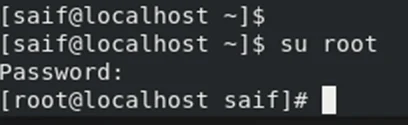
How to switch to the root user in CLI?
Switching to the root user in CLI is pretty simple, you will have to enter the command SU and the root as the username, and it will ask you to enter the password for the root username.
Su root
Check the internet connectivity.
Since we have a bridge interface configured to get the IP address for the virtual machine from LAN, the VM should have received the IP address from the local area network and it can reach the internet.
You can easily confirm that you have internet access by looking into the LAN icon on the top right corner with white color.
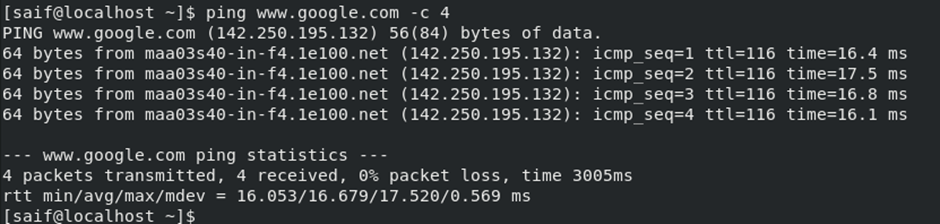
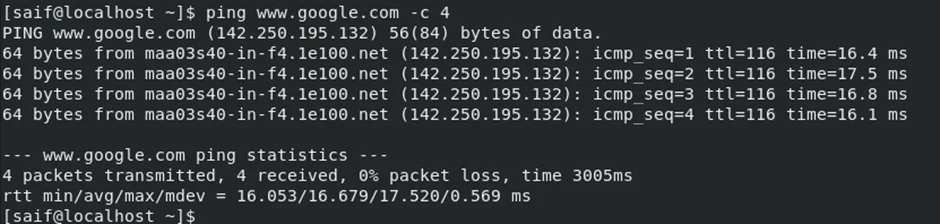
As you can see, I typed Ip addr command, and I got an IP address 192.168.0.119 from my LAN network.
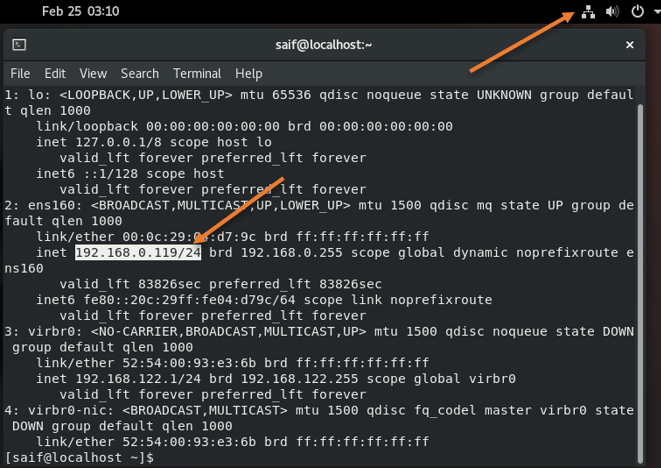
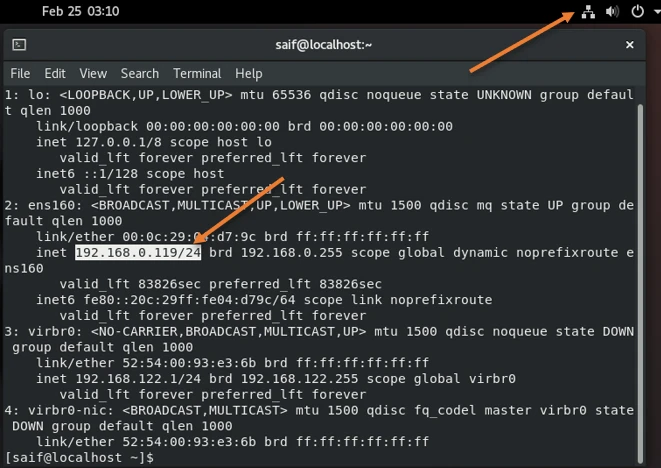
I can also reach the internet just fine.