
The Microsoft Active Directory (AD) is one of the most popular centralized domain controllers available today. In most enterprises, you will find Microsoft AD deployed as the primary system. Sometimes, you may want to manage your VPN or network infrastructure using the same centralized server to act as a RADIUS server. To accomplish this, you need to install the NPS (Network Policy Server) role on your Windows Server.
What is Windows AD NPS?
Windows Active Directory (AD) Network Policy Server (NPS) is a server role in the Windows Server operating system that functions as a RADIUS server. NPS allows administrators to create and enforce network access policies, including authentication and authorization. It plays a key role in integrating with Cisco AAA for network security. Assuming you have already set up the Windows Active Directory services on your server, let’s proceed with installing the NPS role.
Install the NPS role in Windows server.
To begin, follow these steps to install the NPS service on your Windows Server:
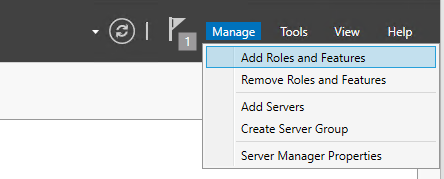
Click on the Start menu and open the Server Manager.
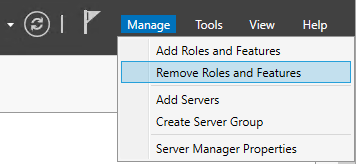
In the top right corner, click on the “Manage” dropdown and select “Add Roles and Features”.
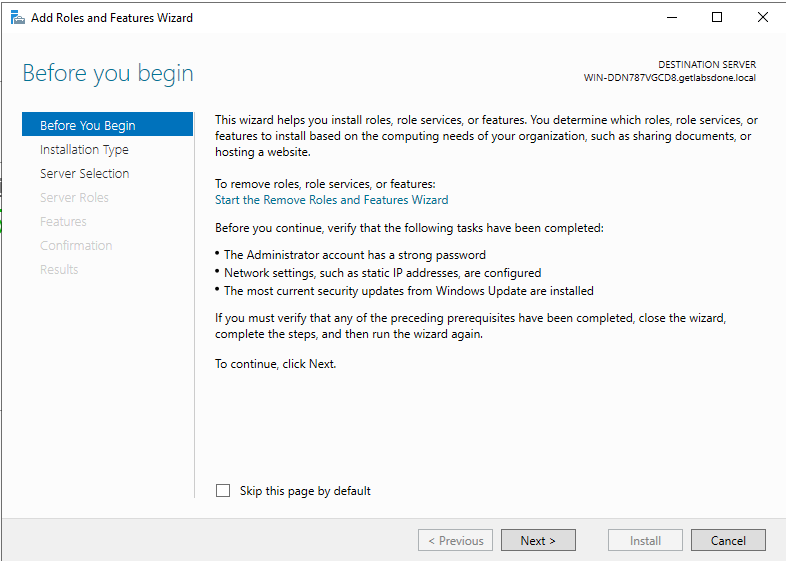
This will launch the Role and Feature Installation Wizard. Click “Next”.
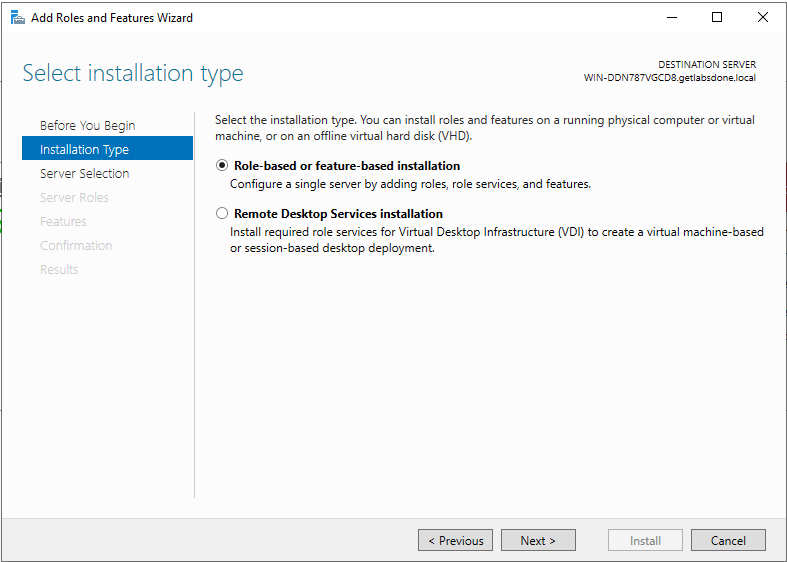
In the “Select installation type” option, choose “Role-based or feature-based installation” and click “Next”.
For the “Select destination server” option, choose “Select a server from the server pool” and select your server from the list. Then click “Next”.

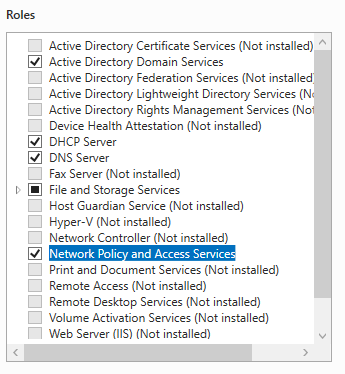
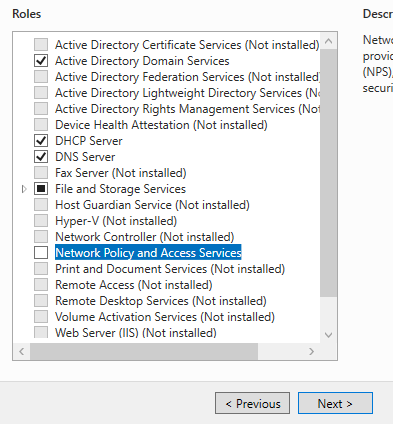
Under the “Roles” option, check the “Network Policy and Access Services” box.

When prompted, leave all the default settings and click “Add features”.
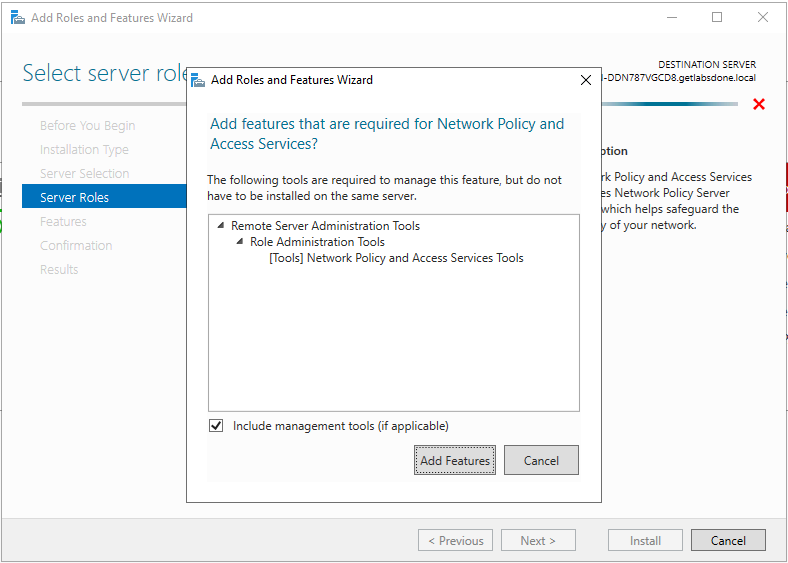
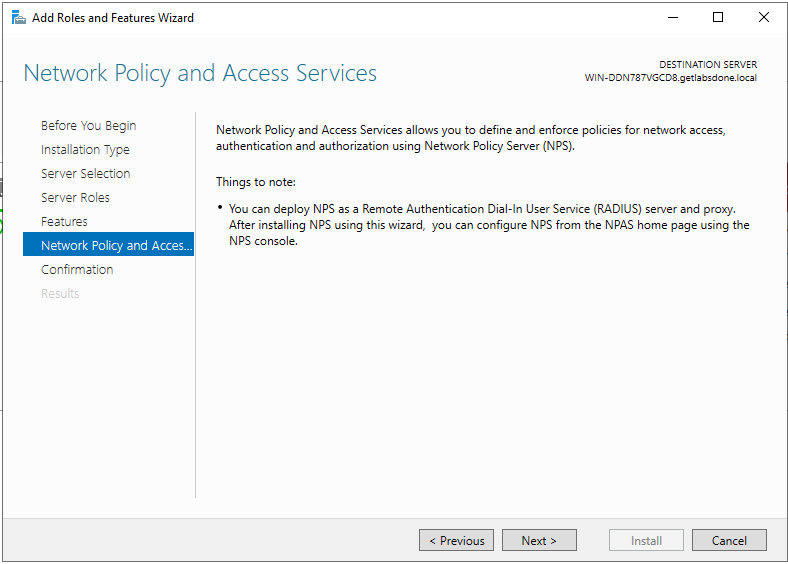
The “Network Policy and Access Services” role will now be selected. Click “Next”.

In the “Select features” option, you don’t need to choose anything at the moment. Click “Next”.

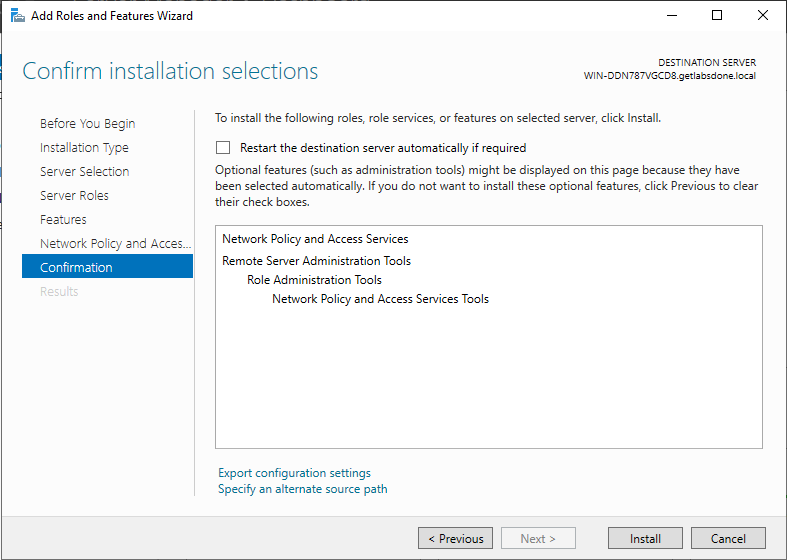
Review the installation summary and click “Next”.
Finally, click “Install” to begin the installation of the NPS role on Windows Server 2019.
The installation process will take some time. Once it’s complete, you will see a message indicating a successful installation. You can close the window now.

Validate the NPS Installation
To validate the NPS installation, follow these steps:
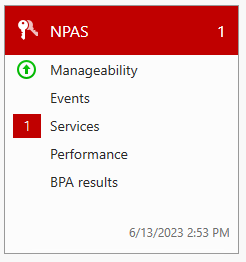
Open the Server Manager again, and you will see the NPAS (Network Policy and Access Services) service up and running.

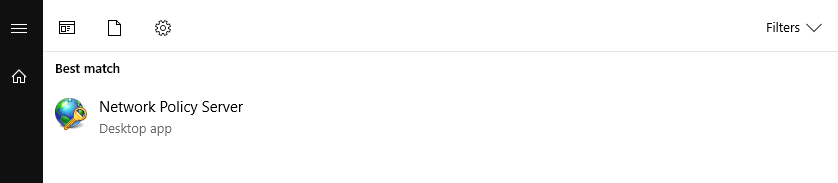
To manage the NPS service, click on the Start menu and type “NPS”. You will see a program called “Network Policy Server”.
Click on “Network Policy Server” to open it.
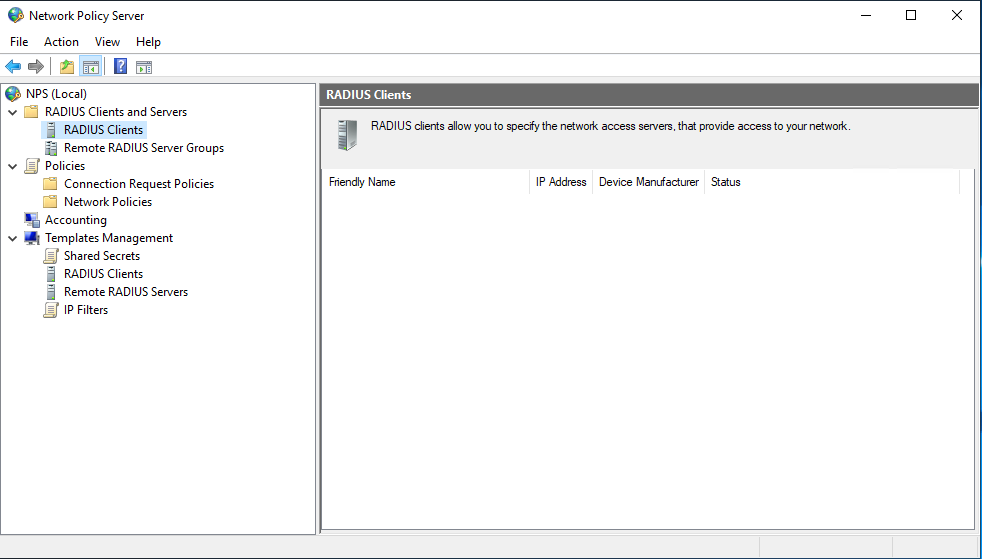
This will open the Network Policy service window, where you can see multiple menus on the left pane.
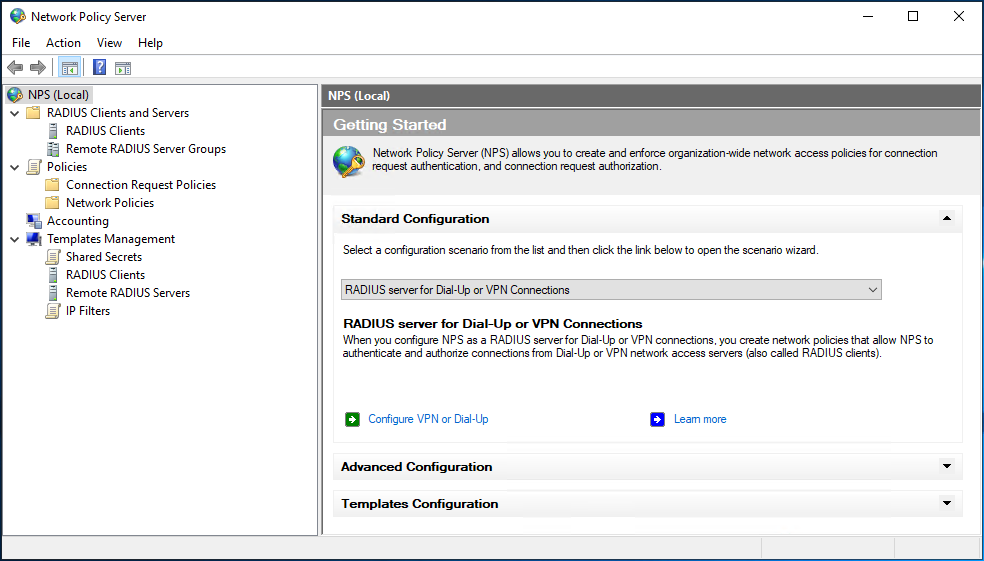
Radius clients: This is where you can add all the RADIUS clients that you want to connect with the Windows NPS server.
Remote Radius Server groups: NPS can also work as a proxy, forwarding all RADIUS requests to another RADIUS server. This option is useful when you have an MFA provider configured.
Connection Request policies: Here, you can define which devices are allowed to send requests to the NPS server based on certain conditions. For example, you can specify a group of IP addresses or device vendors such as Cisco.
Accounting: This is where you can configure all your accounting logs.
Template management: Here, you can define the RADIUS secrets and other common parameters that can be shared among multiple RADIUS clients.
Allo the Radius requeset on windows firewall.
After the NPS deployment, when the authentication request comes to the windows firewall, it will not be permitted because of the windows built in firewall, so depending on your enviroment, you need to allow the radius ports on the NPS server, that way you can allow the communication to happen.
How to start and stop NPS service?
During troubleshooting or maintenance, you may need to start or stop the NPS service on your Windows server. To stop the service, follow these steps:
Open the NPS service.
Right-click on NPS and select “Stop NPS”.

You will notice that the NPS service is now shown in red colour in the Server Manager, indicating that it has been stopped.
Similarly, if you want to start the service again, you can follow these steps:
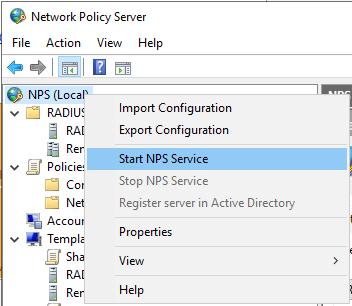
Open the NPS service.
Right-click on NPS and select “Start NPS”.
How to Import Configuration from Another NPS Server?
If you want to deploy a brand new NPS server and import all the configurations from an existing server, follow these steps:
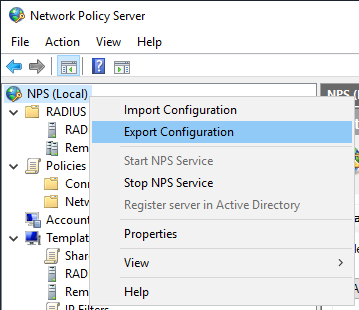
Open the NPS role in your old NPS server.
Right-click on NPS and select “Export configuration”.
You will receive a warning about the shared secret. Check the box and click “OK”.
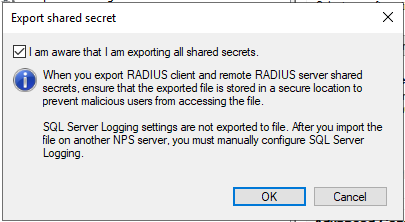
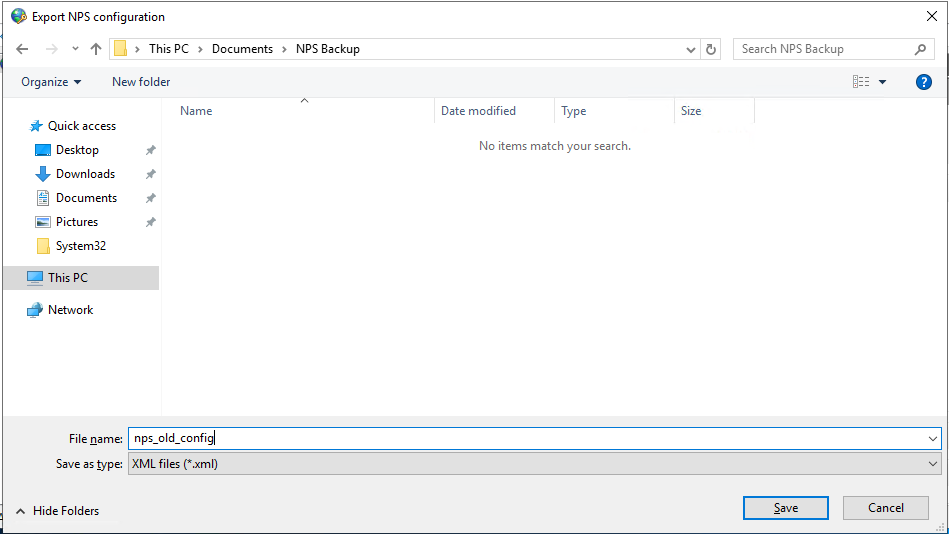
Save the configuration file in XML format to your desired location.
How to Import Existing NPS Configuration to a New NPS Server?
After exporting the NPS configuration file from the old server, you can import it to the new installation. Here’s how:
Open the new NPS server where you want to import the configuration.
In the NPS console, ensure that there are no existing Radius clients or configurations. If it’s empty, proceed with the import.
Right-click on “NPS (Local)” and select “Import configuration”.

You will receive a message confirming the successful import of the NPS server configuration. Click “OK”.

You can now view the imported configurations in the Radius clients and policies section.

How to remove the NPS role in windows?
To remove the NPS role from your Windows server, follow these steps:
Open the Server Manager and click on “Manage”. From the dropdown menu, choose “Remove Roles and Features”.
Click “Next” on the initial screen.

Choose “Select a server from the server pool” and click “Next”.

Uncheck the “Network Policy and Access Services” option.
A popup will appear. Click on “Remove Features”.

The “Network Policy and Access Services” role will now be unselected. Click “Next”.
On the Features screen, there is nothing to select. Click “Next”.

When I checked the option Restart the destination server automatically if required I got a warning that says, the server will reboot without any warnings if required. So you need to be a little careful if this server is in production.
I click on yes here, because of course it is a lab, and click on remove.

The NPS role removal process will begin and take a few seconds to complete. Once done, you will receive a message confirming the successful removal of the role.