
The other day, I was trying to set up a radius client to talk to the NPS server in windows, and everytime when I try to authenticate against the windows NPS server, it fails.
Finally I was able to find the issue, and it was related to the windows firewall blocking the radius request, hence the authentication was failing. so let’s look how I was able to fix the issue by allowing the radius request on the firewall.
If you want to know how to setup radius server using NPS in windows server, you may checkout the article here
At times, users would configure the radius client and policies and ended up unable to authenticate with the radius server.
By default, when you send a radius request on port 1812 and 1813 it will be blocked by default, because of the windows firewall configuration.
I wish microsoft added a feature, where when you enable any services on the server side, for example radius, it should prompt “Do you want to allow the communication on windows firewall ?” Unfortunately, it doesn’t do that.
As a result, we keep troubleshooting and later realise that the windows firewall is not allowing the connection, not the nps server itself.
The only way you can get this to work is by either disabling the firewall, which I don’t really recommend unless it is a lab, or setting up a policy in the windows firewall for the radius protocol, we will look at both the options.
Before we proceed we need to first check, whether the windows firewall is blocking the connection or not, once we verify that, we can go ahead and configure the policies in the firewall.
Verify the radius access.
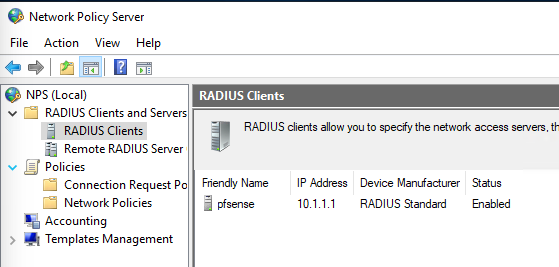
As you can see, I already configured the radius client with the radius key and network policies.

The same has been configured on the radius client as well.
And I also verified that the NPS service has started and it is working fine.
However, when I try to login with the windows AD account ‘saif’ I get username or password incorrect message.

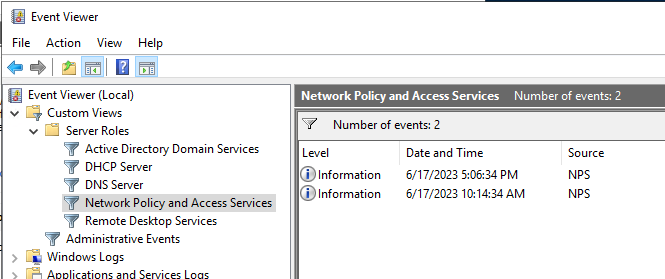
I have looked at the event logs, and I don’t see any request that is coming into the server.
Neither I see any logs related to my radius client, which means, the client is not talking to the windows server when it comes to the authentication.
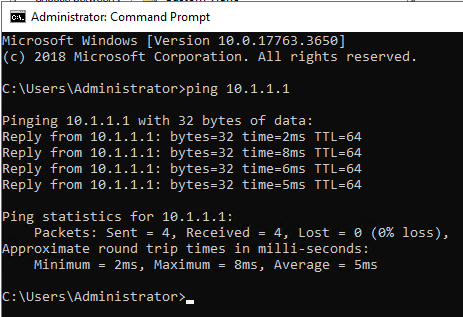
Since I have ICMP enabled on the client, I verified that the Radius server can talk to the radius client using ping, as you can see that is working fine as well.
What does the radius packet capture say ?
When I did packet capture that’s when I realised that the radius client is sending the radius request to the windows NPS server, however the server is not responding back.
As you can see, there are multiple radius requests gone out from the client, however no response from the windows NPS server.
Which means something in the radius server is blocking the connection. Which is nothing but the default windows server firewall.

Disable the firewall and check.?
Since the windows firewall is blocking the connection, I decided to disable it for the time being and see whether it gets successful or not.
Note: Because this is a lab, I decided to disable the firewall on Windows server. If you ever plan to disable the firewall on windows server, ensure that you enable it back, especially in production environments.
Although, you may not be connecting radius clients on the public facing network directly, don’t even think about disabling the firewall if it is directly connected to the public internet.
In that case, read along and only allow the specific port on the firewall when needed.
As I am using a lab network, I should be alright.
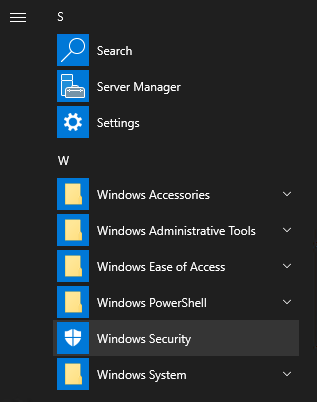
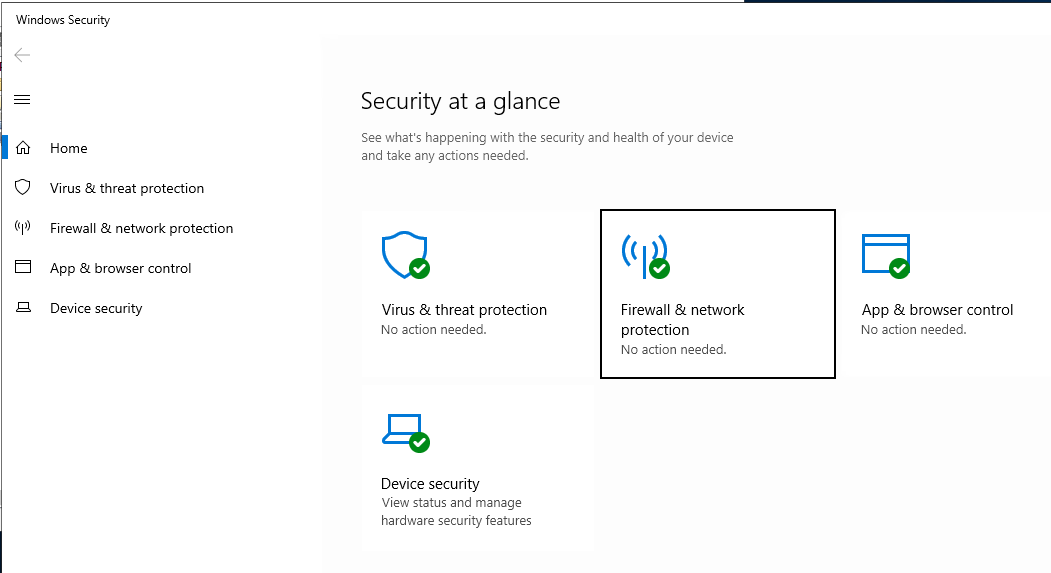
To disable the firewall, goto start -> Windows security.
Firewall Network protection
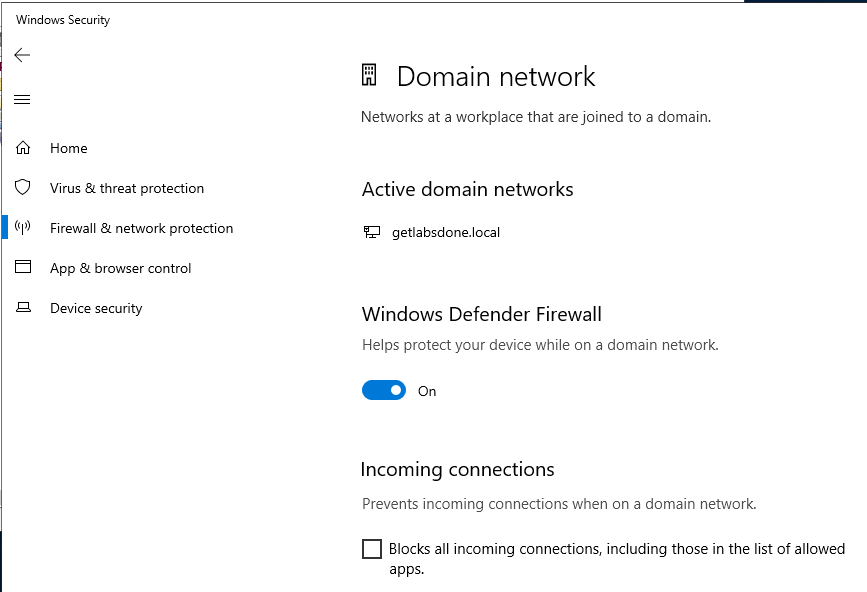
Click on Domain network.
The reason I clicked on Domain network, because that is what is showing active, so depending on the network type, you need to click on the specific network.

Turn off the windows defender firewall.
I now tried to login to the radius client, and as you can see from the packet capture, the authentication was successful.
In the packet capture, we now see the authentication is now accepted.

Which is great.
How to enable radius ports on the Windows server ?
By disabling the firewall we came to the conclusion that the firewall is causing the problem, which is blocking the radius traffic, so we shouldnt be keeping the firewall off in the windows server. Instead we should unblock all the radius traffic that is coming into the server.
In windows radius service uses port 1812 for authentication, and 1813 for accounting, so it is important that you allow both these ports only from the trusted sources.
In my case, all my radius clients are on 10.1.1.0/24, so I should allow the source address 10.1.1.0/24 going into the destination ports 1812/1813 to allow the traffic in windows firewall.
Since the windows firewall is stateful, you only need to to edit the inbound rules, using the state table, the windows firewall will allow the return traffic.
Open the firewall.
Click on the start menu, and type firewall and click on Windows Defender firewall with advanced security.

In the Windows Defender Firewall with advanced security, you will see inbound rules , which means it manages the traffic that is coming into the server and outbound rules manage the traffic that is going off of the server.
Since the radius client is connecting into the windows server, it is the inbound traffic, we need to manage inbound rules.
Click on the inbound rules, and click on new rule.

In the new rule type, choose port and click on Next.

As you may know, and we also have seen from the packet capture, radius authentication uses UDP protocol, in which port 1812 and 1813.
Select the protocol UDP and the port 1812 and 1813 with comma.
Click on Next.

Here you may allow the connection and click on NExt.

Choose the Network profile.
Here choose all the network profiles and click on Next.

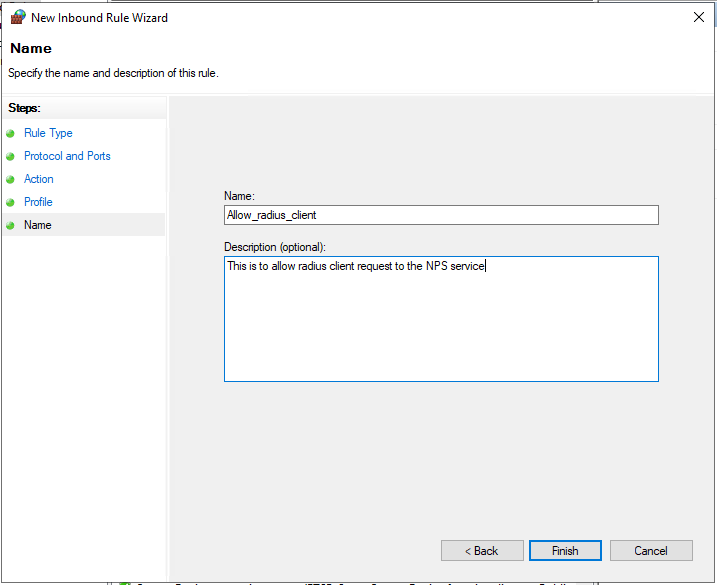
Provide a descriptive name and description and click on Finish.
Add the source IP address that you trust.
As I mentioned before, we are going to allow radius requests coming from the specific IP or subnet, this will ensure the proper security.
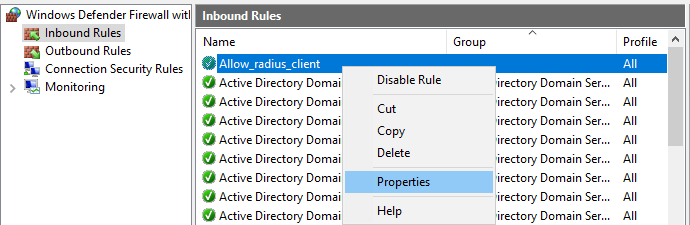
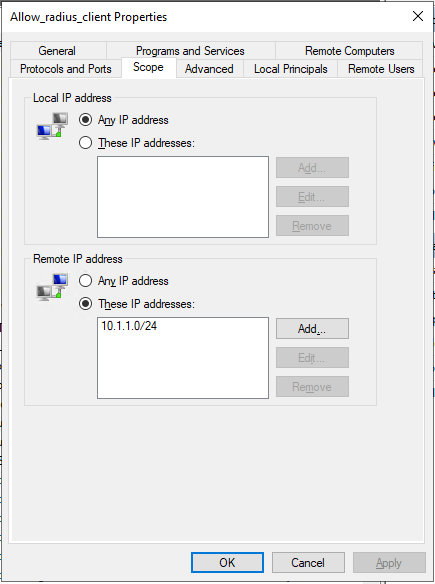
While in the inbound rules window, select the policy that we defined. Right click and click on properties.
Click on Scope tab, add the radius client Ip address under the Remote IP address.
The remote address is nothing but the source Ip address that the client is sending the request from.
If you have noticed in the packet capture, I have 10.1.1.1 as the source IP, so I could add 10.1.1.1 as the remote IP, or 10.1.1.0/24.
As the subnet 10.1.1.0/24 has all the management network of my radius clients, I am adding 10.1.1.0/24.
So whenever you design the network, this is one of the reasons to use the same management IP address across the board, it will ease our management.
Test the radius request.
We have successfully opened the radius ports on the windows firewall, lets now go ahead and test the connectivity.
I was able to login to my radius client this time using the radius user saif.
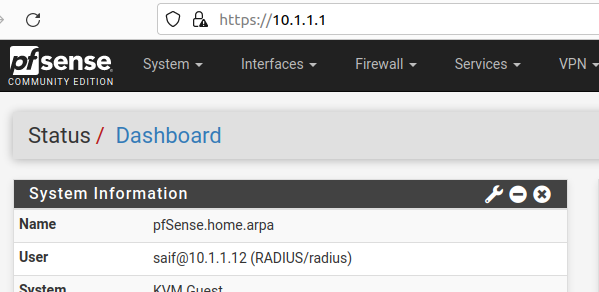
In the event logs, it says Successful authentication, and it uses the right policy to authenticate as well.
