Unlike Windows 10, in Windows 11, Microsoft increased the security on the operating system by adding TPM and Secure boot as the mandatory requirement to install the operating system. The problem is that most of the servers out there don’t support TPM out of the box, and you need to buy separate hardware and install them on the server. So if you proceed to install Windows 11 on ESXi and fail to meet the system requirements, you will get an error that says your pc can’t run Windows 11.
I have been using windows 10 in my home lab for quite some time now. When Windows 11 came out, I decided to spin it up on my ESXi server. However, they didn’t release the Windows 11 iso to the public. It was only announced through the windows insider program later on. However, a leaked version of Windows 11 was floating around, and I thought to give it a try. I installed it just like windows 10, and the installation went flawlessly, and it didn’t even throw an error message. But later, when the Windows 11 iso was officially released back in October 2021 from Microsoft, I decided to try it out again. I couldn’t complete the installation causing the error message to appear every single time.
So in this blog article, we’re going to install Windows 11 on the ESXi host, bypassing the system requirement check for TPM and Secure boot.
Before you begin, you need to have;
- An ESX I host.
- You also need to have Windows level ISO image, which you can download from Microsoft. Follow the article here to know how you can officially download the Windows 11 ISO from Microsoft.
1. Create a virtual machine.
Login to VMWare ESXi.
Virtual machine -> create /Register VM.
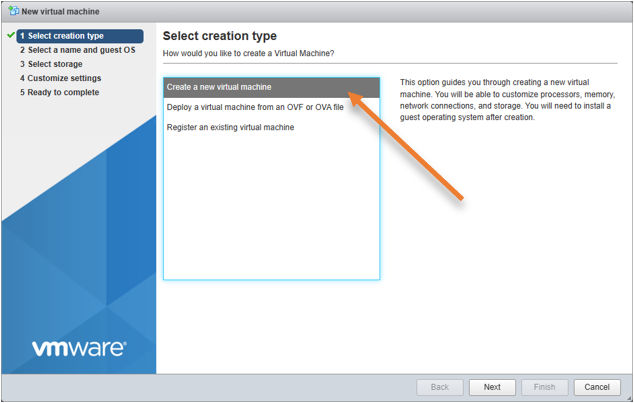
A new Virtual machine creation wizard will open up.
Choose to Create a new virtual machine option and click on next.

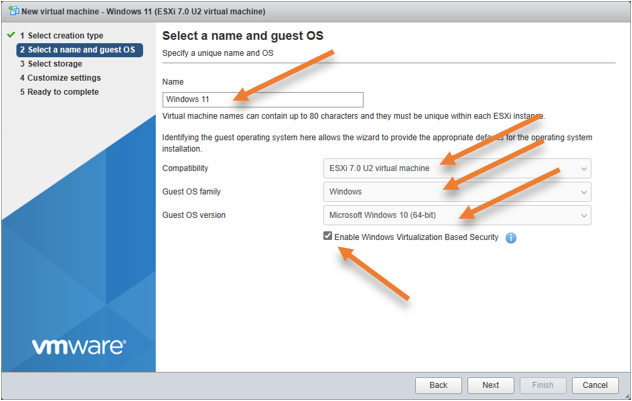
Specify the name and the Guest OS.
In Select a name and the guest OS. You will have to name the VM, which is Windows 11
Compatibility: you will have to choose your version of ESXi, which is 7 in my case. If you have the older version, you may select that instead.
Guest OS family: You’ll have to choose Windows.
And guest OS version: Since we don’t have the Microsoft Windows 11 available yet on the ESXi 7, you may choose the Windows 10 64bit instead.
And you also need to check the option “Enable Windows Virtualization based security” which will help you enable the secure boot option, which is one of the primary requirements for Windows 11.
If you don’t have this option available, don’t worry, We’ll get that taken care of later on with secure-boot bypass in Step3.
Click on Next.

Select storage.
Choose your datastore where you want to keep your virtual disks.
2. Customize settings.
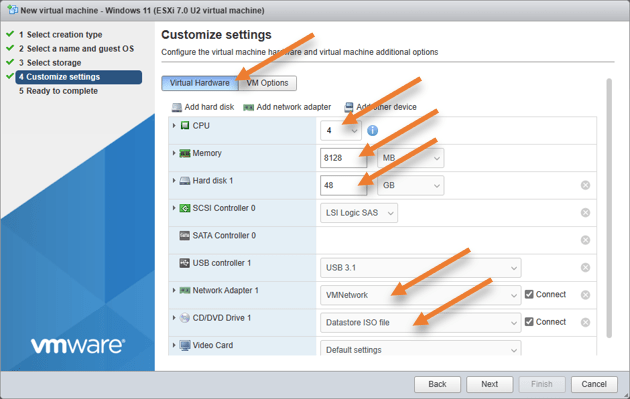
Based on the operating system we have chosen, ESXI has already defined the hardware resources for the Windows 11 virtual machine. We are going to make changes to the following.
CPU : 4. By default, it has picked up 2 CPUs. For better performance, I have chosen 4 CPUs instead.
Memory : The default one is 4096, which is enough for most people; however, I am using 8GB, so based on your requirement, you may choose the memory.
Hard disk : 48 GB
Network adapter 1 : You need to choose the network that provides network connectivity.
CD/DVD Drive1 : I have already uploaded Windows 11 iso image into my datastore; hence, I have chosen the Datastore ISO file and selected the uploaded Windows 11 iso-image in the pop-up. This ISO image will be used for booting when you start the machine for the first time.
After that, click on Next.
How to use a Local Account in Windows 11?
Microsoft is recently pushing heavily to use Microsoft account with the Windows operating systems, but some users like the old way. Configuring the local account and using it.
If you plan to use windows edition except for home and set up a local account, you shouldn’t connect to the network. So when you install the Windows 11 VM, you should either disconnect the network adapter or use the static IP address for the VM.
If you are using network with DHCP;
Next to the network adapter, you may click on the x icon to disconnect the network connection in the customize settings. To add the network connect back after the VM installation, you could go to Edit VM settings and attach the network back after the installation.
Add a network adapter and have a DHCP service running in your network, During the Windows 11 installation. The operating system will get the IP address automatically from the DHCP server. Once it gets the IP address, it can connect to the internet and ask you to link Microsoft account instead of a local account. Honestly, I don’t like it.
So the best way to not to connect to the network is by disconnecting the network adapter.
Using network with Static IP configuration;
You should be good if you don’t have DHCP service enabled on your network. Even though you have connected the network adapter, the windows cannot connect to the internet because it doesn’t have any IP address. So you should be able to continue with a limited setup and configure your local credentials.
If you are not worried about the local account and plan to use a Microsoft account, you don’t have to bother much about the network part.

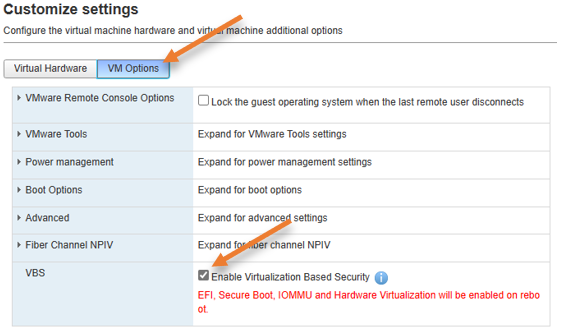
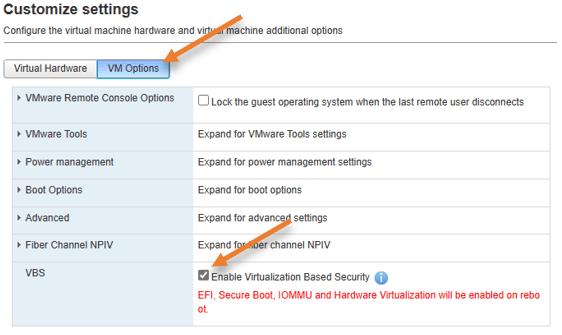
You also need to verify that the secure-boot is enabled by clicking on the VM options tab
You should see “Enable virtualization based security” is turned on.
What if I don’t have a secure boot in my ESXi?
As you know, the TPM and the secure boot is the mandatory requirement for you to proceed with the windows installation. If you don’t have secure-boot on your ESXi host, don’t worry. You have to bypass the secure boot check during the Windows 11 installation along with the TPM.
If you have secure boot, but don’t have TPM, you have to bypass only the TPM check during the Windows 11 installation.
Which I will show you later on.
Click on Next. You will get the summary of the Windows 11 installation, and you may click on finish.
3. Proceed with the Windows 11 installation on ESXi.
After you click on finish, you will see the Windows 11 VM has been added under the virtual machine list. Just double click on Windows 11, it will start the Windows 11 installation in a few seconds.
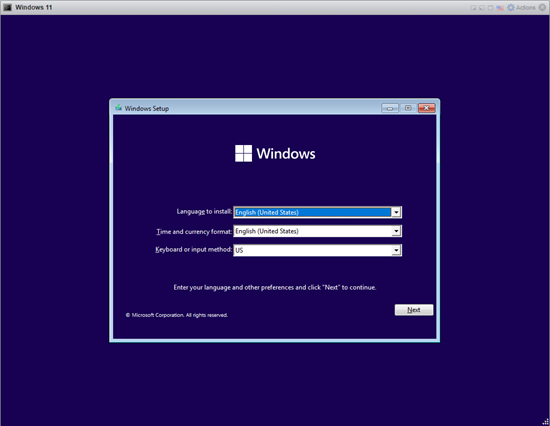
Open up the console in ESXi, When you get ‘press any key to boot from CD/DVD’. You may press any button and the installation will begin.
You may choose the Language and keyboard of your choice and click on next.

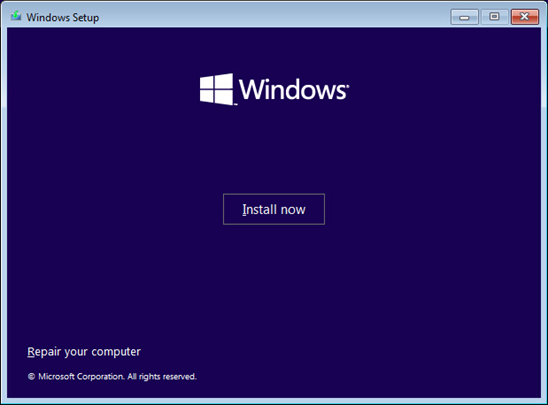
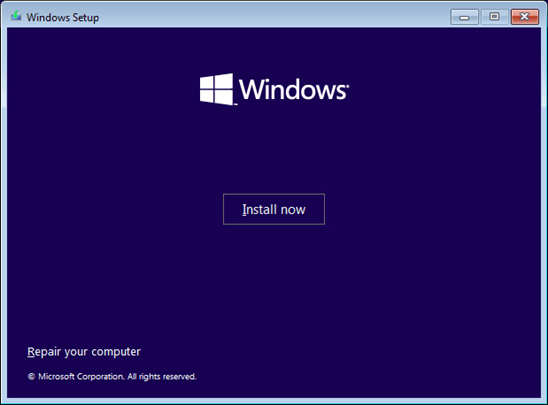
Click on Install now.
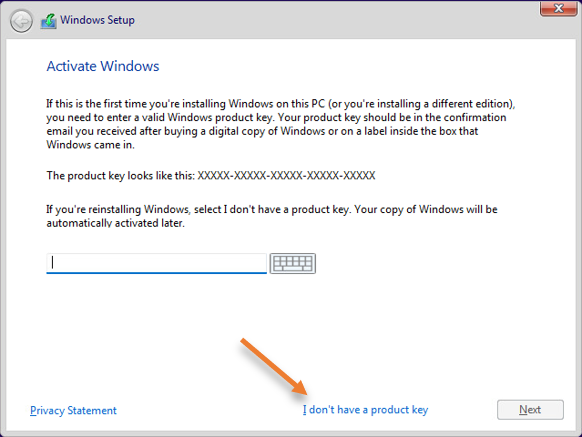
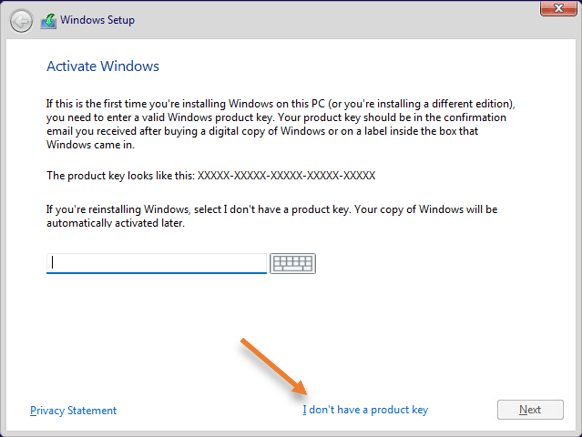
Click on I don’t have a product key.
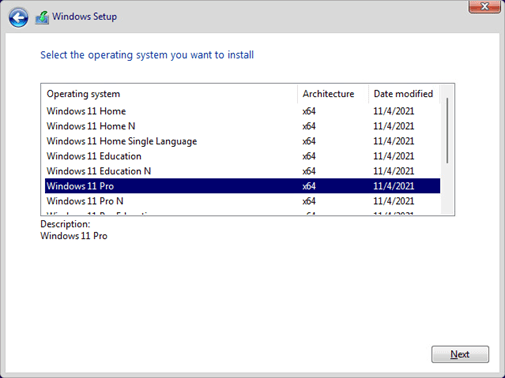
You will have to choose the version of Windows 11 you would like to install, I am selecting the Windows 11 pro and click on next.

So if you have not met the minimum requirement to install the Wndows11, you will get an error message as below. This PC cant run Windows 11.

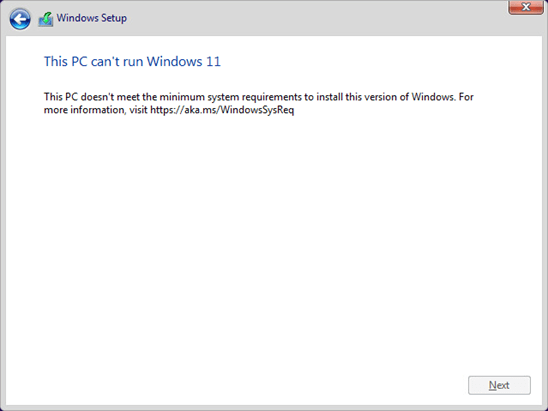
Don worry, in the TPM and secure boot pre-requisite, the only option I don’t have is the TPM, which we will have to bypass during the window11 installation.
I have provided an easy step-by-step guide here to bypass the TPM and secure boot here.
Since I don’t have only the TPM option, I have to tweak the registry settings for only TPM, not for secure boot.
So based on what is missing in your environment, you may make the changes to the registry. After you made the changes, you may come back here.
4. Accept the license agreement.
Great!, you just bypassed the TPM (and secure boot if you don’t have it already)in your Windows 11 installation. You may click on the back button and choose the version of your choice and click next.
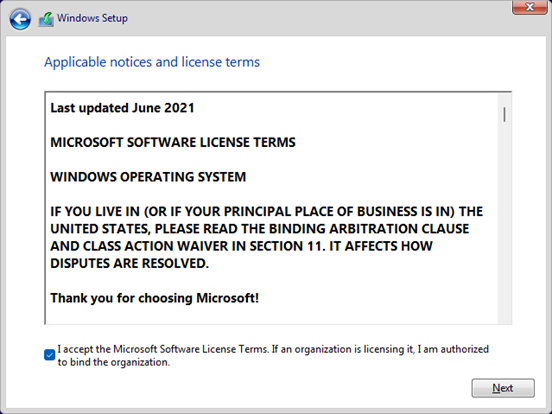
You no longer will get the error message. Instead, You will get a license agreement page to proceed, accept that and click on next.

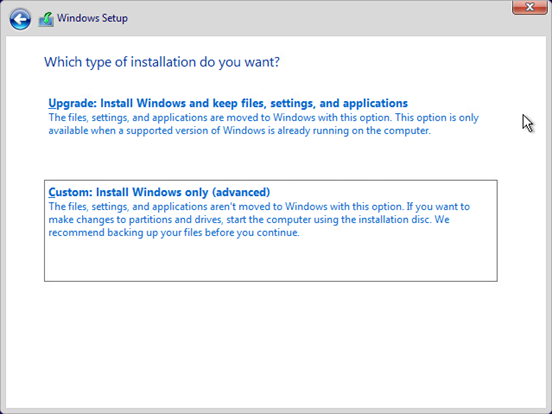
Which type of installation do you want.
Choose Custom here as it is a brand new installation.

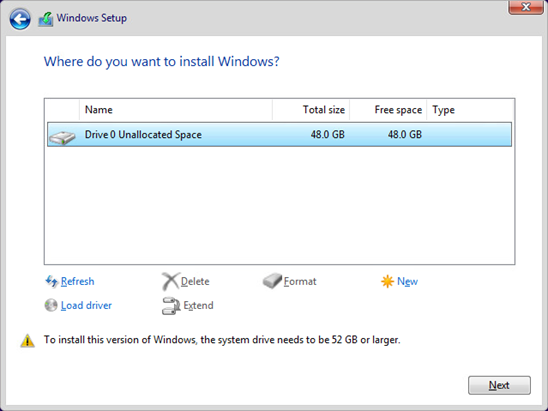
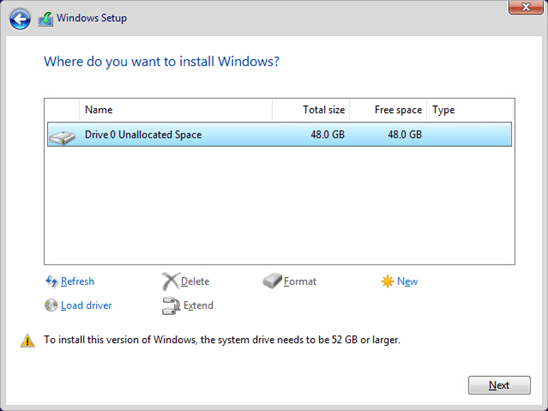
You will see the virtual hard disk that we added in our previous step here. Choose that and click on Next.
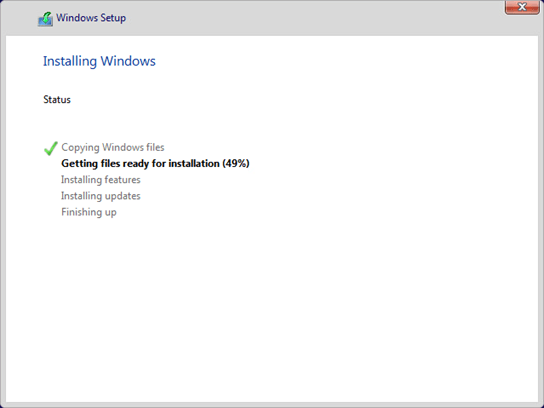
The installation will now begin, wait for some time. After a couple of restarts the installation will be completed, and you will be taken into Windows 11 initial setup wizard.

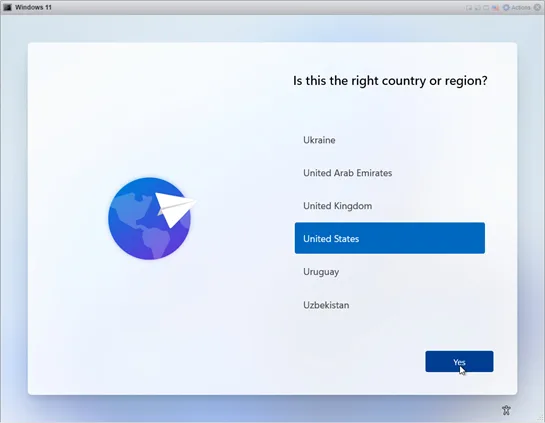
5. Windows 11 initial setup wizard.
You may go ahead and complete the Windows 11 initial setup wizard, choose your country and click on next. You will be required to set the keyboard layout and so on, in the next few steps.

6. Setup Windows 11 local account.
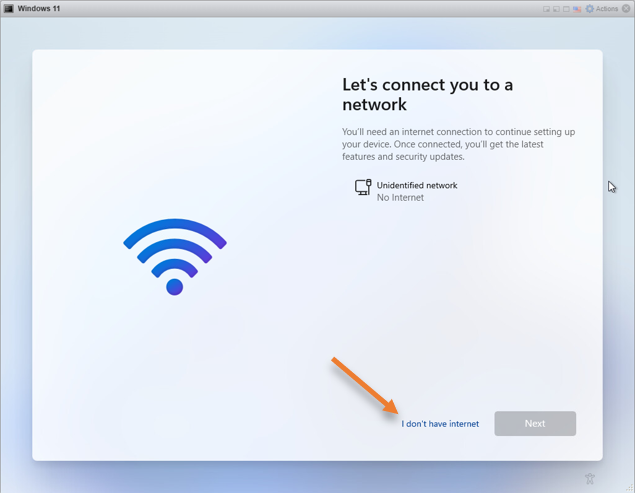
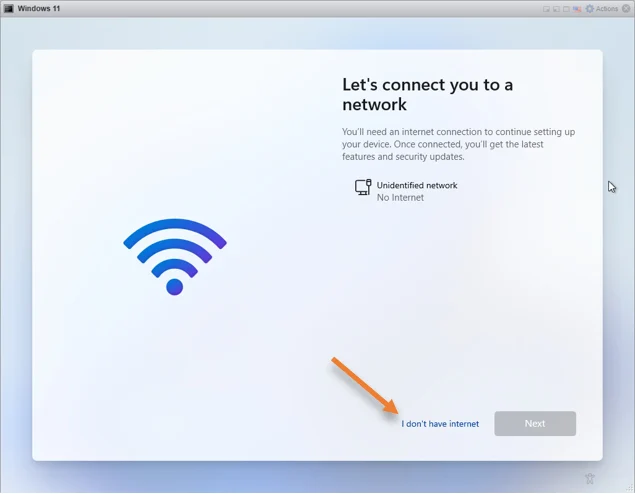
Eventually, you get to a screen where Windows 11 asks you to connect to the internet.
Since I have a network adapter connected and I don’t have an IP address configured on this machine, it didn’t let me connect to the internet, as I said before. This is good in my case so that I could create a local account in my setup.
Click on I don’t have internet.
Note: If you don’t require a local account and wanted to connect to Microsoft account, you will have to have internet access in your network and the IP address should be assigned automatically with DHCP.
And continue with a limited setup.
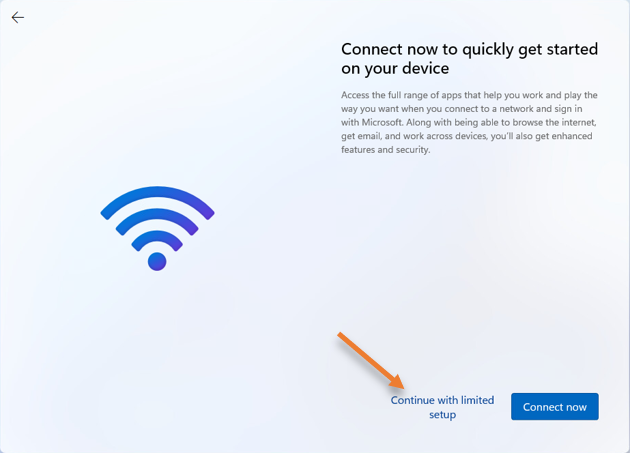
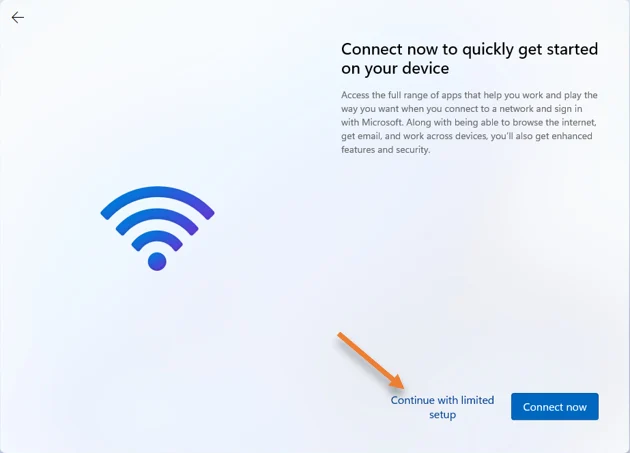
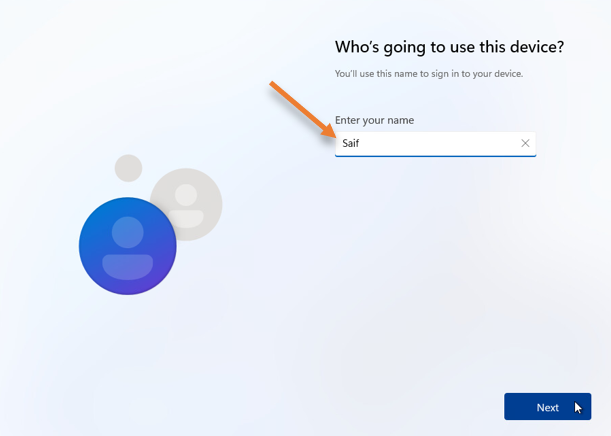
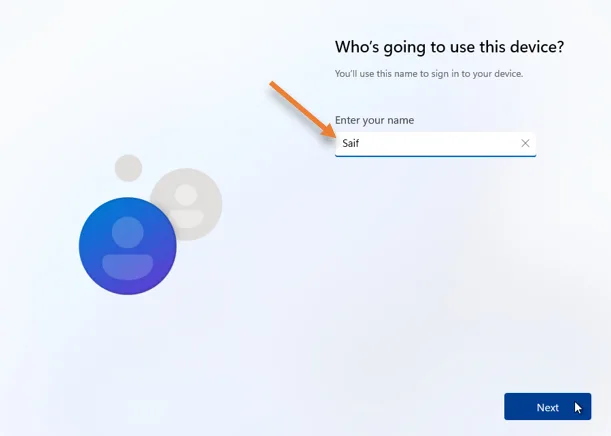
When you click on continue with limited setup, you will be required to create an account.
Enter the username and password for your account.
After a few minutes, your installation will be completed and you will be taken back into your Windows 11 machine. I have set up an Ip address on my Windows 11 machine, and I could connect to the internet just fine.
If you had disconnected the network adapter during the installation, you might add them back now to access the network and be able to RDP into the system.