I have a CentOS machine but there are times I would wanted to switch from CentOS to Ubuntu, how do I do that ?
You can have a dual boot with both the Centos and the Ubuntu but if you wanted to switch from Centos to Ubuntu then you would have to shut down the Centos and during the boot select Ubuntu Desktop OS.
The problem with this method is that you cannot switch from one Operating system to another at the same time. That’s when virtualization comes to your rescue.
You can use Virtual-box or VMware workstation player in Linux but that doesn’t provide a better performance and we have VMware workstation pro which is good but it’s not free. Then we have Kernal based Virtualization manager known as KVM, which is free as its an opensource and moreover it works great.
In my previous blogs I had covered installation of Windows machine and Centos on KVM.
In this article lets go ahead and install Ubuntu virtual machine in QEMU KVM
Prerequisite for this lab
1. Install qemu KVM and its dependencies.
I am using Centos as the KVM host, and you may enter the command below to install qemu KVM and its dependencies.
Note: If you have other flavor of Linux , I have also provided the command for that as well.
Centos
yum install qemu-kvm libvirt virt-install virt-manager virt-install -y
Ubuntu
sudo apt updatesudo apt install qemu-kvm bridge-utils virt-manager
RedHat
yum install qemu-kvm libvirt virt-install virt-manager virt-install -y
2. Download the Ubuntu iso file
You can either use Ubuntu server or Ubuntu Desktop for this setup and installation is same for both you may download the appropriate version of the Ubuntu by clicking here.
Steps to install Ubuntu Desktop on KVM.
Once you have all the prerequisites ready, let’s go ahead and install the Ubuntu virtual machine in the KVM hypervisor.
- Cration of the Ubuntu Desktop VM.
- Attach the Ubuntu ISO.
- Configure the RAM and the CPU.
- Configure the Hardidsk.
- Finalize the VM parameters.
- Begin the Ubuntu KVM installation.
- Setup the credentials.
Step 1. Creation of the Ubuntu Desktop VM.
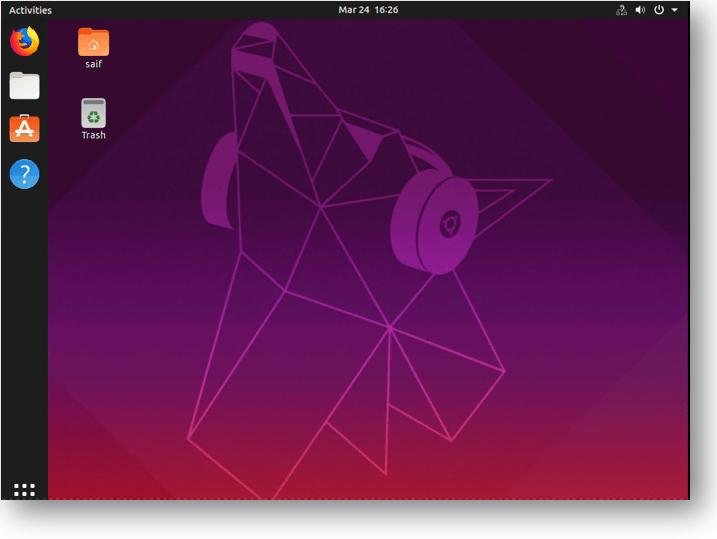
Open KVM virtualization manager by typing virt-manager in the terminal.
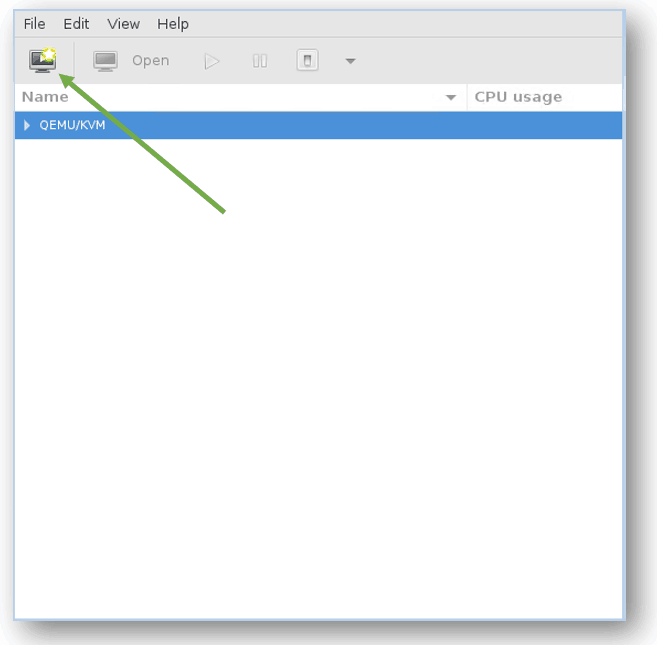
The virtualization window now open. Click on Create new virtual machine icon.

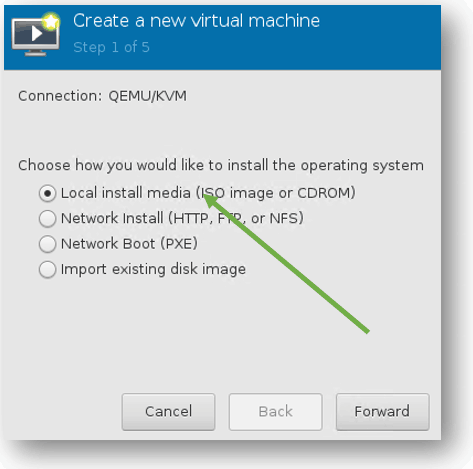
On the new windows select Local install media and click Forward.

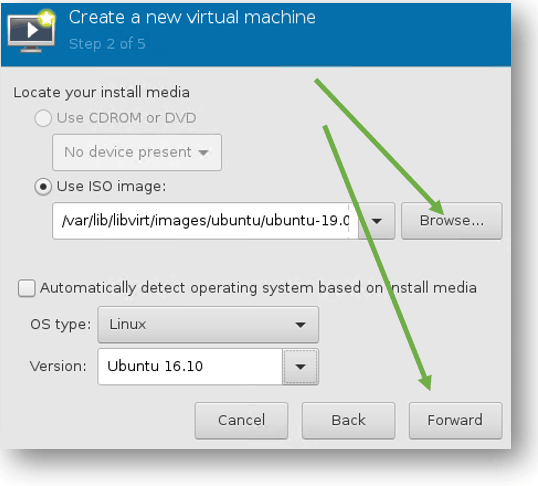
Step 2. Attach the Ubuntu ISO.
You would have to now attach the downloaded Ubuntu ISO file to the virtualization manager, browse for it and click on forward.
For some reason the Operating system wasn’t detected automatically, hence I had to manually select the operating system.
Note : Though I am installing Ubuntu 19.10 and at the time of this writing I hadn’t updated my KVM packages, I could see the package only up to 16.10. If you have the 19.10 or your specific version you may select the same.

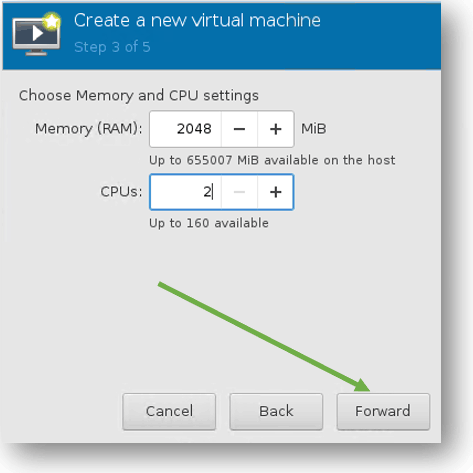
Step 3. Configure the RAM and the CPU.
Provide the RAM and the CPU this new Ubuntu guest VM going to use and click on forward.

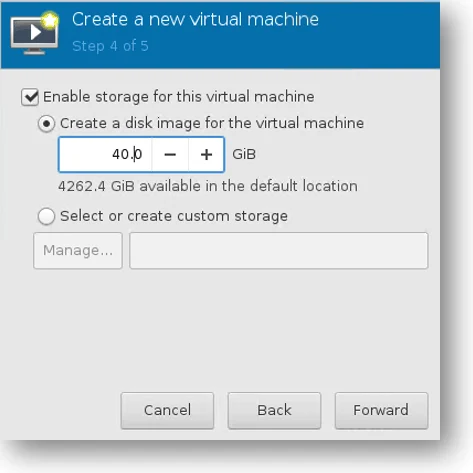
Step 4. Configure the Hardidsk.
On this screen you would have to mention the size of hard disk.
By default KVM would pickup 15 GB, since I may need some room to save some file I have chosen 40 GB.

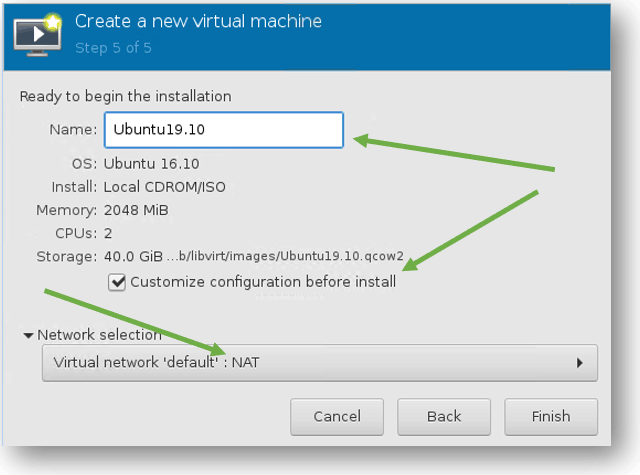
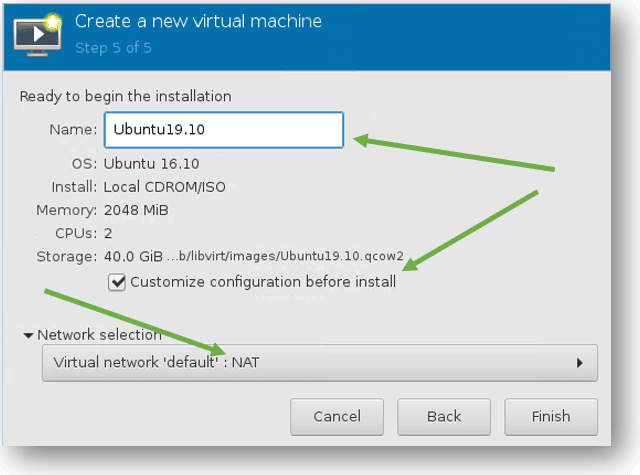
Step 5. Finalise the VM parameters.
Name the VM and choose the network you wanted to connect.
If you wanted your VM to connect to the internet then use NAT otherwise use bridge interfaces if you have any.
You may also check the option Customize configuration before install in case if you would wanted to change something before the installation.
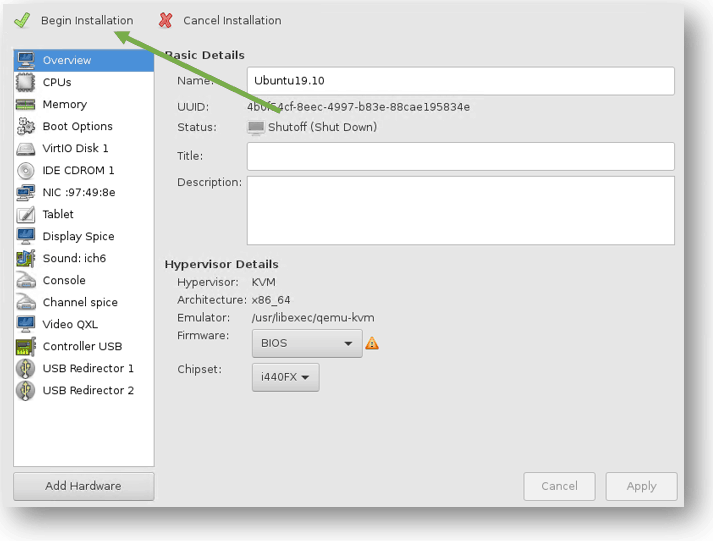
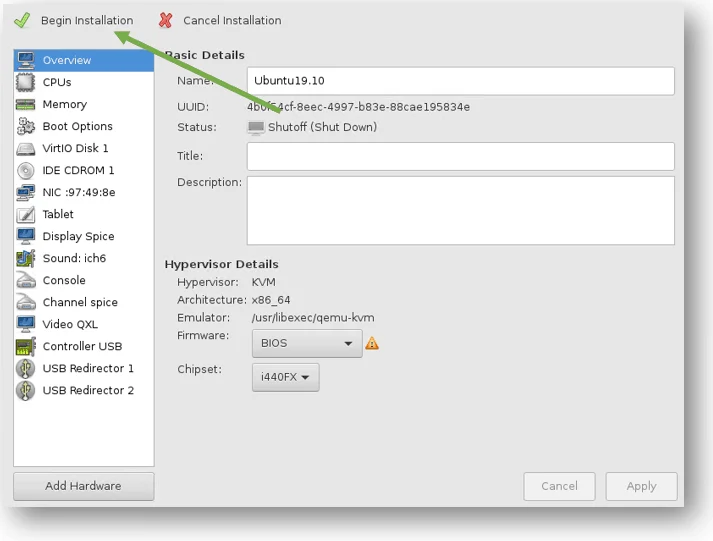
Step 6. Begin the Ubuntu KVM installation.
If you would like to change any parameters, you may do so here. If none you may click on Begin installation.
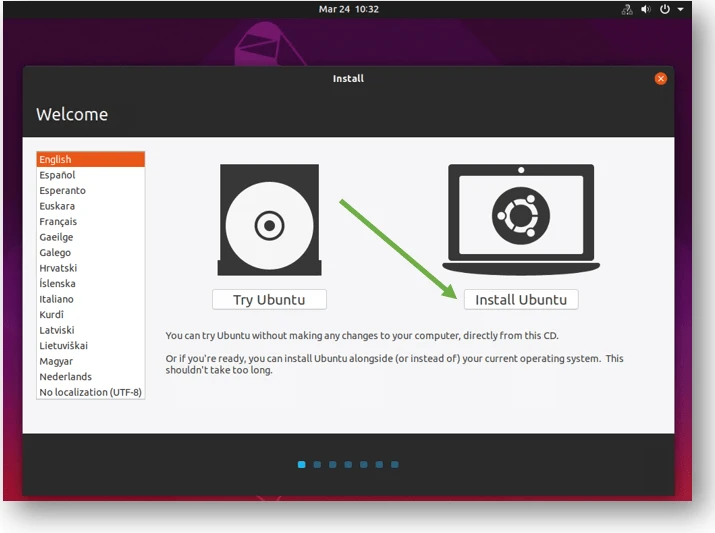
The Ubuntu installation now appears, you can click on install Ubuntu to begin the installation.

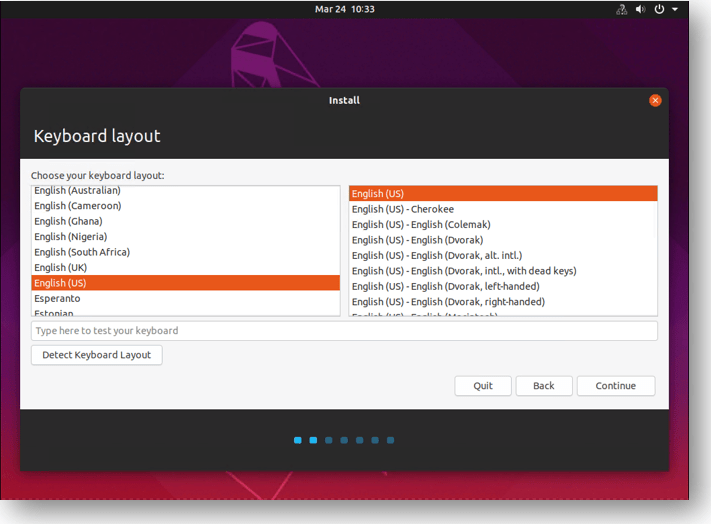
- Select the preferred language of choice and continue.

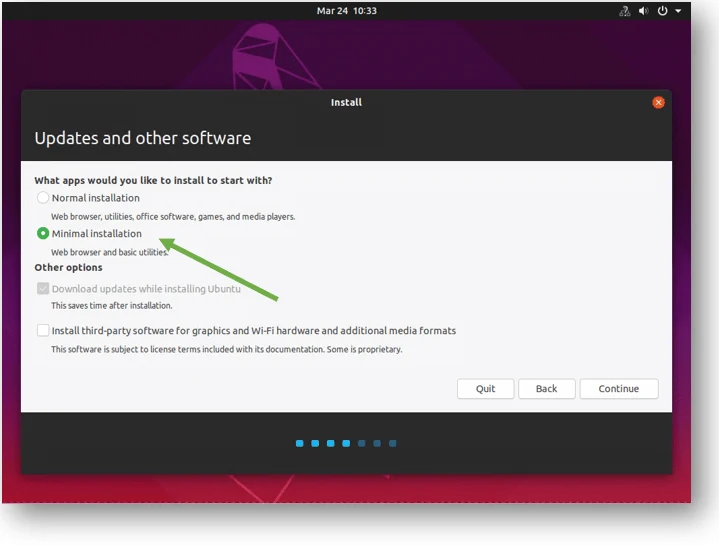
I really no need a lot of application to be installed on this machine, hence I selected minimal, if you really wanted office applications and media players and all, you may choose Normal installation.

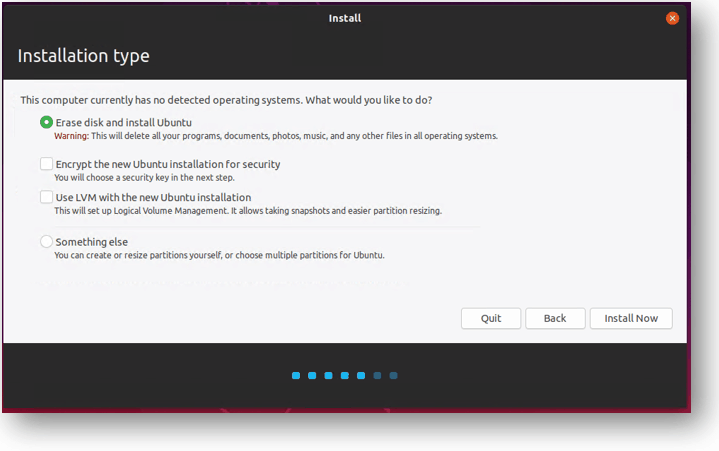
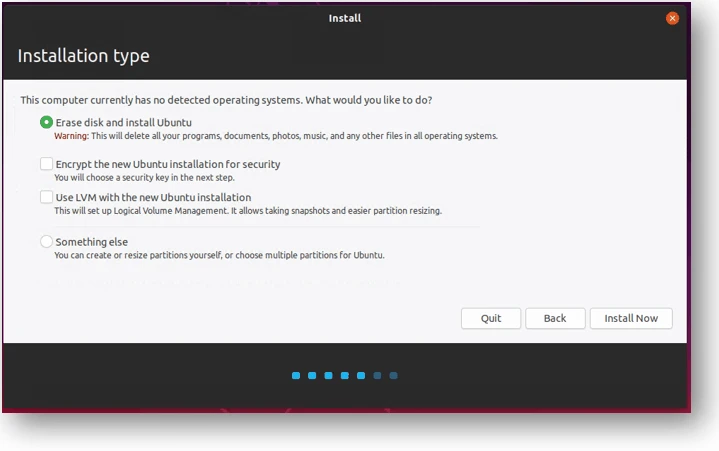
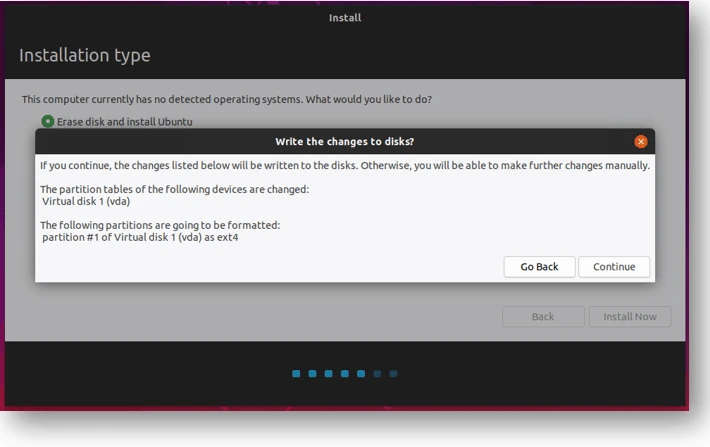
You would get a windows asking how you wanted to proceed with the insallation, since I know there is nothing in the harddisk I can click on Erase disk and install Ubuntu and click on install now.
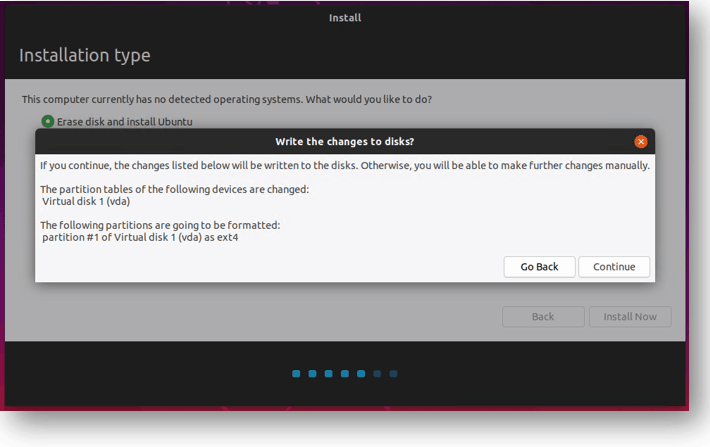
You would get a warning for the disk format click on continue.
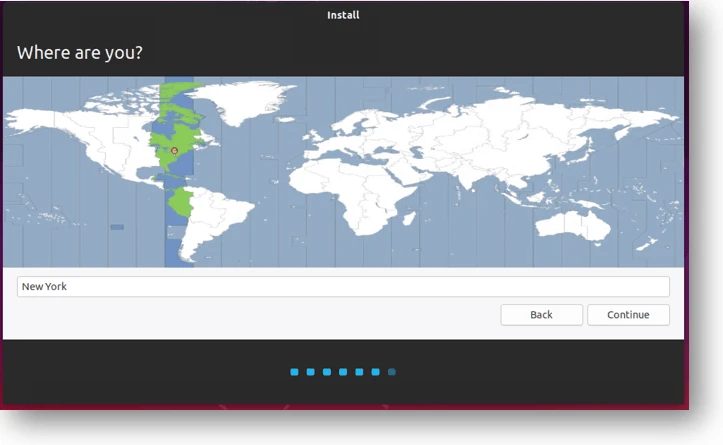
Choose your timezone and continue

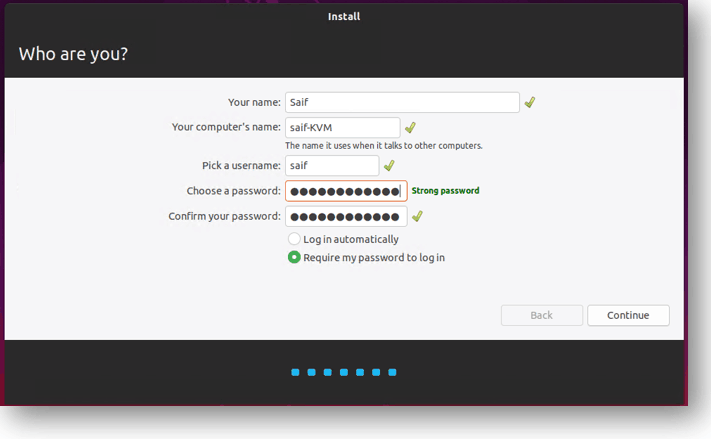
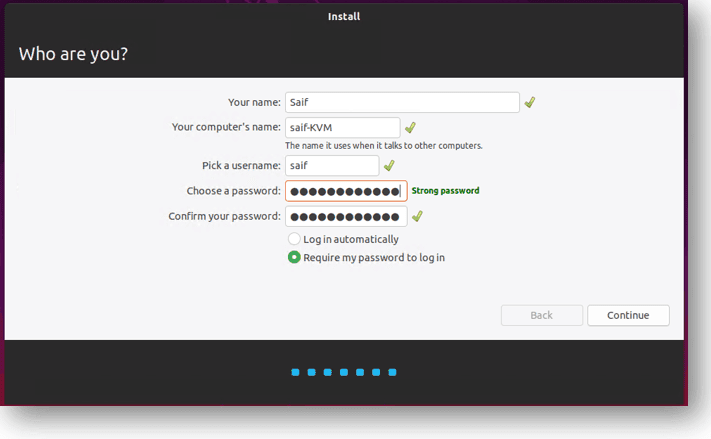
Step 7. Setup the credentials.
On this screen you would have to assign the username of your machine and the password once done click on continue.
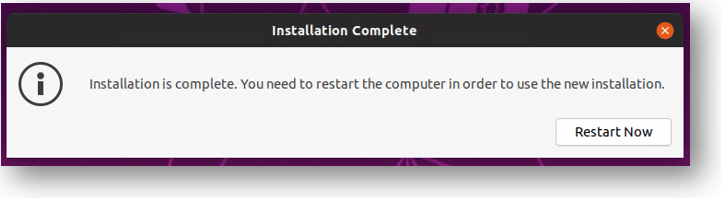
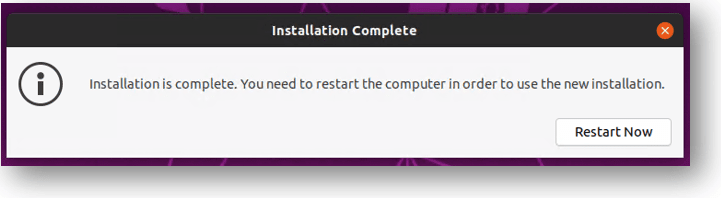
After couple of minutes you would get a prompt that says installation is complete and asking you to restart, click on Restart now.
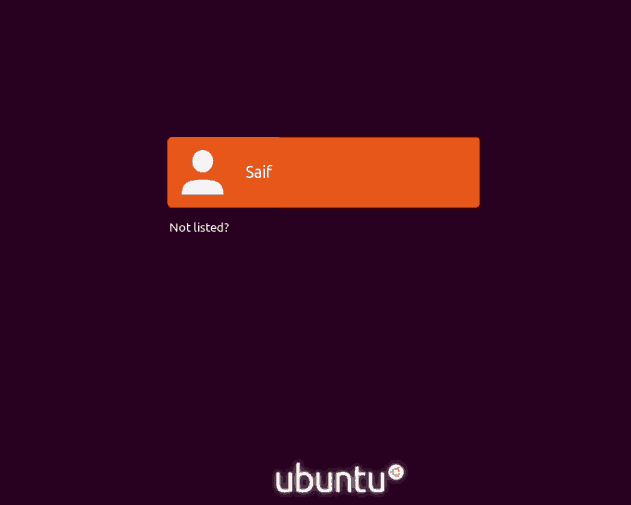
Once you are restarted you would be presented with the login screen, enter the credentials that you have specified.

That’s it, you just installed the Ubuntu desktop VM on KVM hypervisor and you would be presented with the Ubuntu desktop now.