CentOS is one of my favorite Linux distros, I have been using them for quite a while for my labs as well as in POC’s. If I have to do some testing in the Redhat production servers I would prefer to use Centos as an alternate as both are identical and configuration looks the same and Centos doesn’t require a license to download its package and libraries.
In this article, I am going to show you how you can install CentOS in the KVM hypervisor and bring it to the network by following steps.
Prerequisite for installing CentOS in KVM
Download and install the KVM libvirt libraries.
Ubuntu
sudo apt updatesudo apt install qemu-kvm bridge-utils virt-manager
Centos
yum install qemu-kvm libvirt virt-install virt-manager virt-install -y
RedHat
yum install qemu-kvm libvirt libvirt-python libguestfs-tools virt-install
Download the CentOS image.
Click here to download the CentOS image, Download CentOS Linux DVD ISO.
How to install the CentOS in KVM Linux.
Before we begin CentOS VM installation in KVM, first we would have to create the interface that the VM can connect to, that way we can bring the CentOS VM to our network and other devices on the network can talk to.
Step 1. Creation of the bridge interface for the CentOS VM.
You may skip this section, if you are planning to use internet from the host machine. If you are planning to use internet then you can just use NAT interface, and you don’t have to follow this bridge interface creation.
a. On the KVM host where we are going to install the VM, go to the network configuration folder in CentOS by entering the below.
cd /etc/sysconfig/network-scripts
b. Create a bridge interface named br1
vi ifcfg-br1
c. Add the below config to it
DEVICE=br1
STP=yes
BRIDGING_OPTS=priority=32768
TYPE=Bridge
NAME=br1
ONBOOT=yes
d. Attach bridge interface to the physical network interface
vi ifcfg-eth0
e. Add the below line in it.
BRIDGE=br1
f. Save the config and restart the network.
service network restart
g. Verify the bridge interface has been attached to the physical network interface of the KVM host by entering the command brctl show
[root@localhost network-scripts]# brctl show
bridge name     bridge id               STP enabled     interfaces
br1          8000.5254005254f4            yes            eth0
[root@localhost network-scripts]#
Alright, now we have installed the bridge interface and it has been attached to the physical interface eth0 of CentOS.
Let’s go ahead and start the CentOS VM installation in KVM.
Step 2. Creation of the CentOS VM and its properties.
a. Open Virtualisation manager by typing virt-manager on the linux terminal.
b. Click on Create new Virtual Machine.

c. Select Local Install media and click forward.

d. Select the option Use ISO image and click on Browse to attach the CentOS image you just downloaded.
- Make sure automatically detect operating system based on install media is checked, which should detect the operating system automatically.

e. You can define the Memory (RAM) and the CPU at this step. I have given 2048 as RAM and 2 virtual CPU and click forward.

f. You need to define the storage space for the CentOS VM, by default I have 9GB of storage and I am leaving as default, you may change the size if you want to.

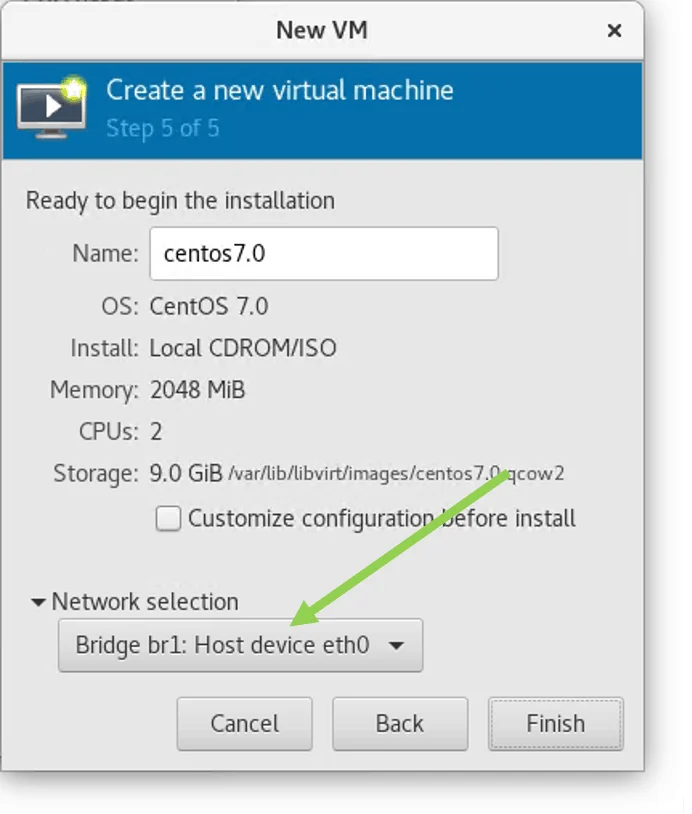
g. Name your VM, and select the bridge interface that you had created in step1 and click Finish.
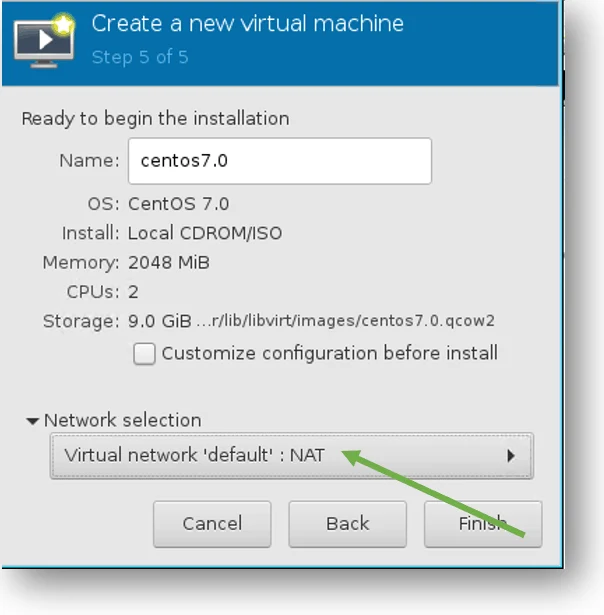
- If your machine wanted to access the host internet then you may use NAT interface.
Step 3. The installation process will begin now, you can click on install CentOS 7

a. Select your language of choice and continue.

b. You would be presented with the below screen. By default, Centos will install with minimal software, so make sure you select what precisely that you are are looking for on this CentOS VM.

c. So click on Software Selection and select the appropriate software, I am going to use CentOS as my DNS server, so I selected Server with GUI and selected DNS Name server.

- If you not needed GUI with DNS server you may select Infrastrature server and DNS Name server from the Sub menu.
- Click Done

d. Click on Installation Destination and select the Disk where you wanted to install the software and click Done.

e. Click on Begin installation, Installation will begin now.
- On the next installation screen, you can set the root password, Click on Root password and set the password.

f. You can also create another user by clicking User Creation.

- Type the username and the password and click on Done.

g. Once the installation is done you are required to reboot the system, click on Reboot.

h. If you have installed CentOS non-gui version you will be presented with the CLI prompt asking for you to enter the credentials.
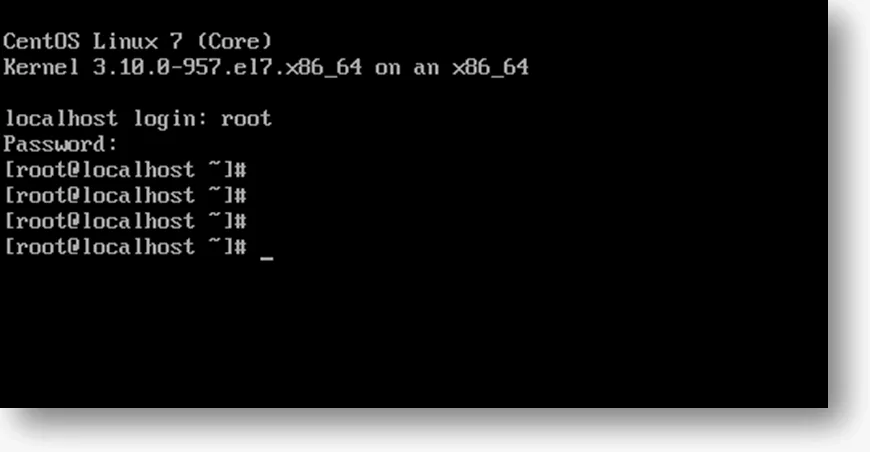
- For the GUI version, you will get below the screen and you have to accept the license agreement to continue.


- Centos will ask you to enter the password to login to the account that you had created earlier.

- Select the Language and keyboard preferences, click next.

Note : If you have missed out to create the account in the step2-f, It would ask you to create the account with your username and click next.

- Enter the password, and click next, you are all set.

Step 4. Connect the CentOS host to the KVM network.
- If you have selected NAT interface then you would automatically get an IP address to your machine and everything should start to work now. Follow the steps below if you are planning to bring the device to the network using the bridge interface.
a. My VM network should be in 10.1.5.0/24 network and the default gateway is 10.1.5.1, let me try to ping the gateway.
You get the message network is unreachable. Because we haven’t set up the network on the host, let’s do that now.
b. Goto /etc/sysconfig/network-scripts
cd /etc/sysconfig/network-scripts
c. Type ls to list of interfaces and other network config files, and you would be able to see the list of interfaces on the centos VM host and its network configurations, I can see my physical interfaces as ifcfg-eth0
By default, network is configured with DHCP unless you don’t have DHCP setup you have to change to static.
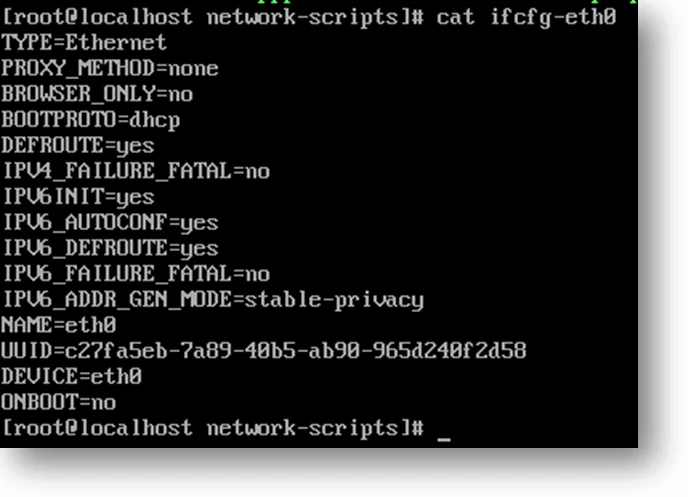
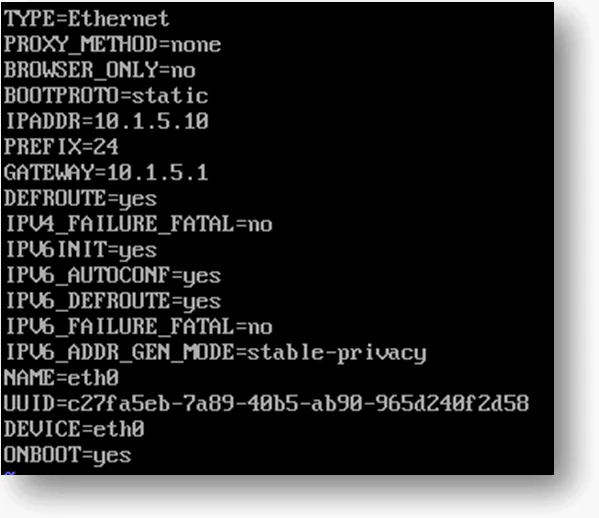
d. type vi ifcfg-eth0 and add the below values.
IPADDR=10.1.5.10
PREFIX=24
GATEWAY=10.1.5.1
- Also, change the onboot to yes
- It would look like below.
e. Restart the network by entering the command below to take the changes to affect and bring up the network.
service network restart
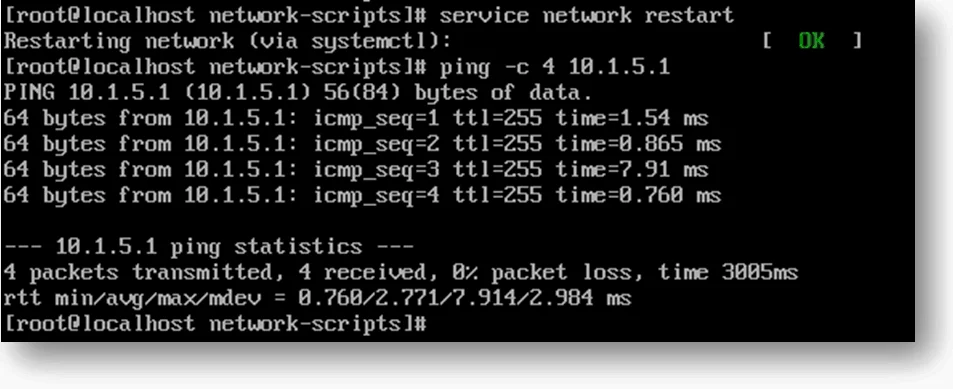
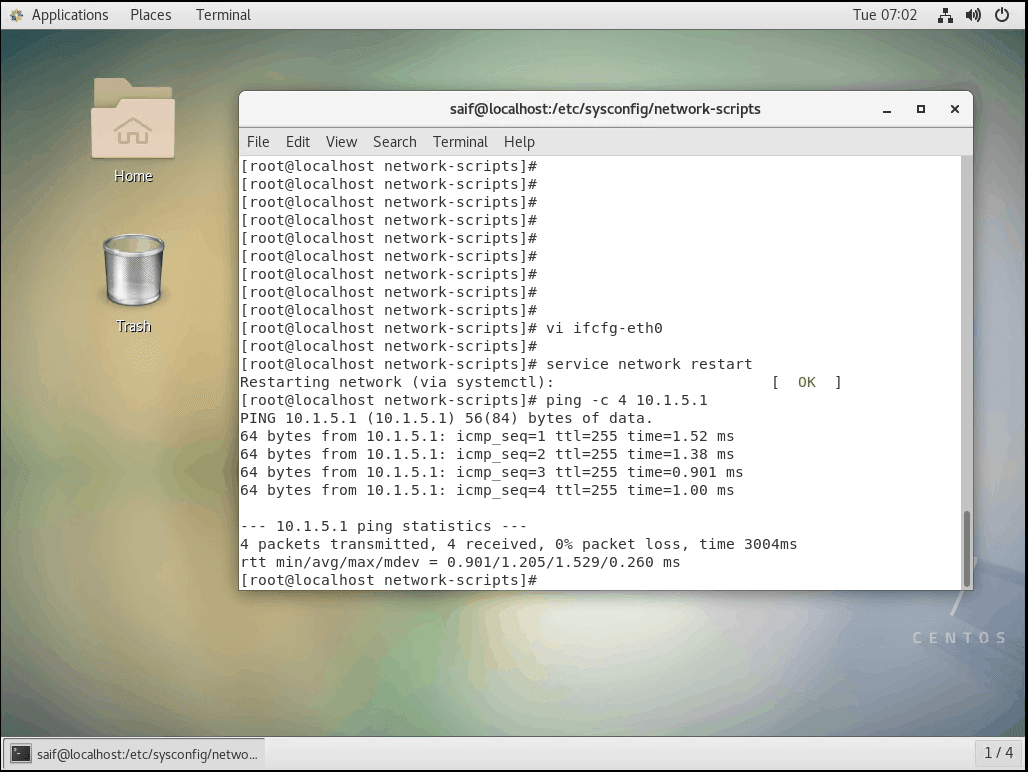
f. Verification: try to ping the gateway and you should be good to go.
