
I was working on a topology where I had to add a Ubuntu desktop client to simulate the end-user machine. I tried to install Ubuntu on the KVM hypervisor. Downloaded the Ubuntu ISO file, moved the Ubuntu-desktop ISO file to /var/lib/libvert/images folder on the KVM server I was working on.
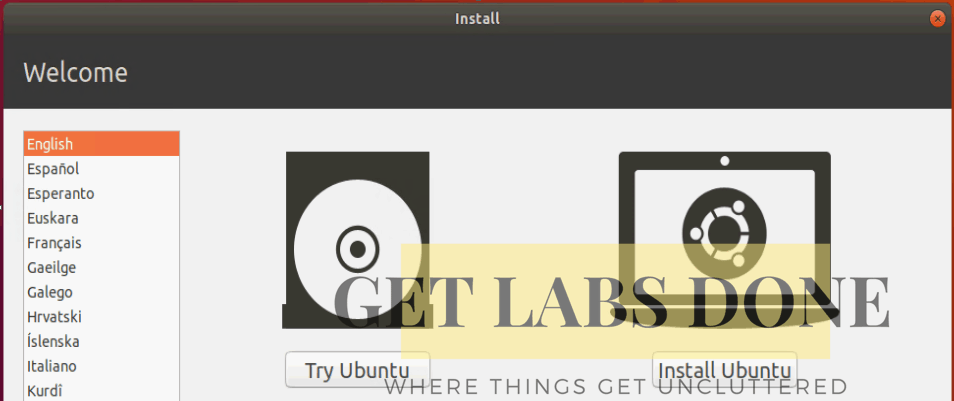
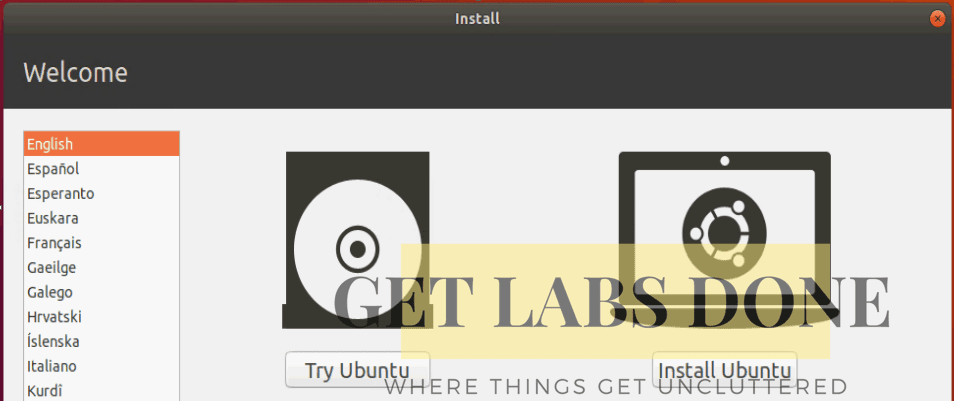
Selected network configuration and started the VM installation. There were two options chose for me during the installation either try the Ubuntu-desktop or install it.
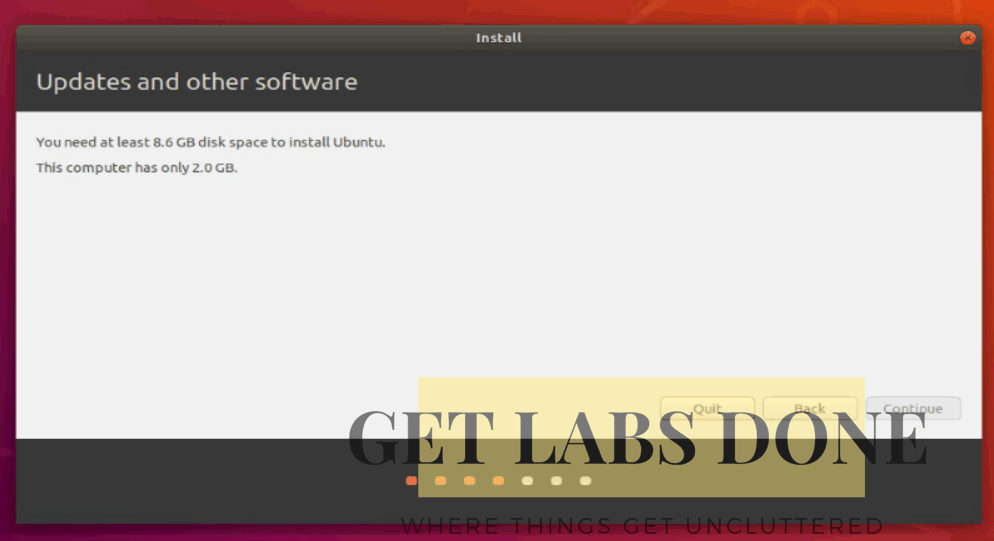
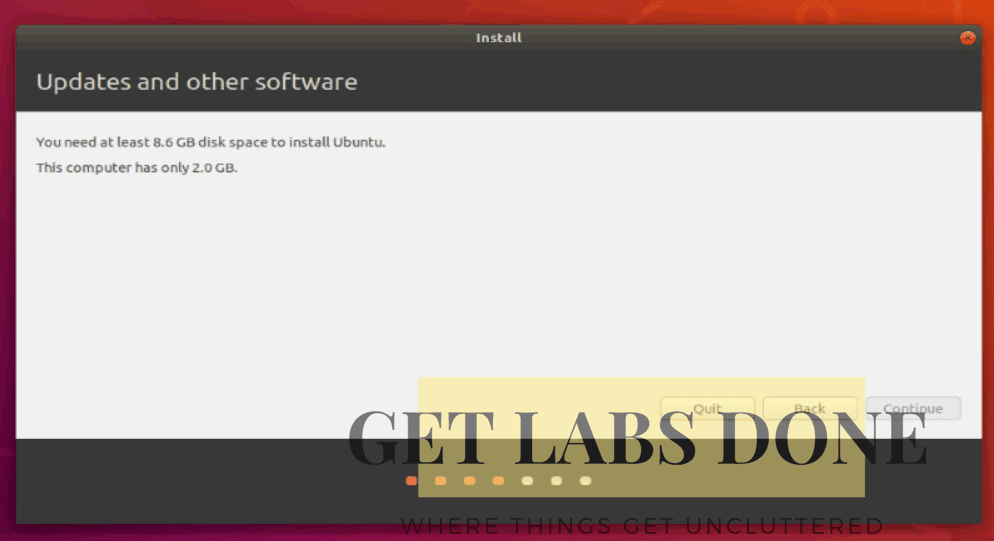
Of course, I wanted to install it, I started the installation, but I got an error. “you need at least 8.6GB disk space to install Ubuntu. This computer has only 2.0GB.”
Note: If you are getting the same error in Virtualbox, then you may follow the guide here on how to install Ubuntu on Virtualbox, or if you are on VMWare, you may follow these steps. Following these installation guides never got me to the place where I am getting an error.
In this guide, I am trying to resolve this issue on the Linux KVM environment. If you wanted to learn more about KVM, you could check out this book.
Read also,
How to Dual Boot Ubuntu Windows 10?
How To Set Static IP On Ubuntu? (GUI and CLI)
How To Install Ubuntu Desktop On KVM?
How to Configure SSH Access on Ubuntu? SSH &SCP
Top 10 Virsh Commands That You Can Use in Linux KVM.
Now how do I get around this Ubuntu Disk space issue?
There are two easy fixes for this. First, what you can do is to initiate the ubuntu installation as install as local install media and set the image size during the installation. Second, increase the size of the VM disk image.
Let’s look at each of them now.
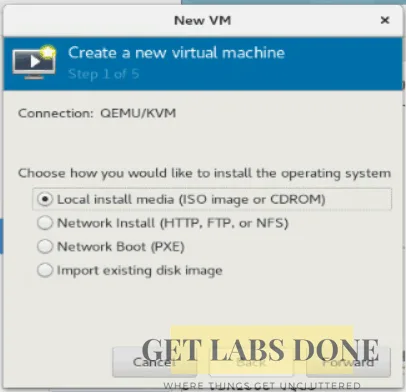
Install as Local install media
By default, when you download the Ubuntu iso file, it would have the size of 1.9Gig. Unfortunately, when you try to install the image using ‘import existing image’ in KVM, it considers the file size the same as storage, and you won’t get the option to edit the storage.
So when you have iso file need to be installed in the KVM, it’s important that you chose the option ‘install as local install media’ instead of ‘import existing disk image.’

and set the storage
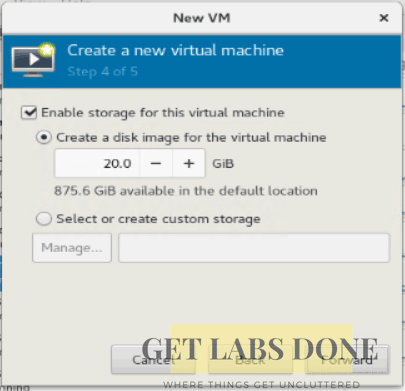

Now when you begin the installation you would be able to install without any issue at all. Let’s look at the next option.
Increase the size of the VM disk image
Suppose you have already tried installing the VM, and profile got created but just because of the error you couldn’t complete the installation, now what is the other options that you have?
The only option you have is to resize the Ubuntu VM hard disk. So let’s see how we can resize the disk for Ubuntu VM.
Check the VM image disk size
Step 1. Make sure that you have shut down the VM and closed the virtualization manager.
Step2. Check the storage location either through GUI or CLI.
Checking the VM storage location through CLI
[root@getlabsdone /]# virsh domblklist ubuntu18.04
Target     Source
------------------------------------------------
vda        /var/lib/libvirt/images/ubuntu18.04-2.iso
[root@getlabsdone /]
Checking the VM storage location through GUI
- Click on show virtual hardware details

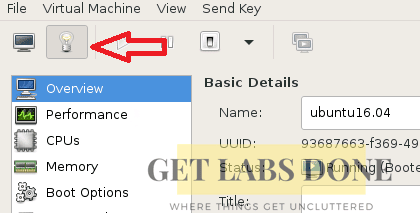
- Click on VirtiO Disk 1, It would show the storage location as below.

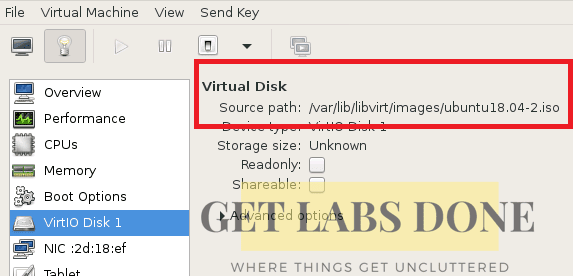
Step 3. Go to the location /var/lib/libvirt/images where we have the Ubuntu iso file.
Step 4. Right-click and click inside the window and click Open terminal, which would open the terminal on that location.

Or you could use the CD (Change Directory) command to get there.
[root@getlabsdone~]# cd /var/lib/libvirt/images/
[root@getlabsdone images]#
Step 5. Type below command,
ls -l -h
This should show the list of images that we are using on this KVM. As you can see, there are two Ubuntu ISO images. In some scenarios, this could be qcow2 images; However, these steps I am going to show you would work fine for all of them.
–h represents the list with the human-readable formats, like 1MB, 2G, 1T.
[root@getlabsdone images]# ls -l -h
total 3.9G
-rw-r--r--. 1 root root 1.9G Nov 12  2018 ubuntu-18.04.1-desktop-amd64.iso
-rw-r--r--. 1 root root 1.9G Jul 20 21:04 ubuntu18.04-2.iso
[root@getlabsdone images]#
You can resize the VM disk in two ways, either through virt-manager or qemu image utility.
Resize the Disk image using qemu-img
Step 1. Let’s resize the Ubuntu-18.04.1-desktop-amd64.iso with qemu-img utility.
[root@getlabsdone images]# qemu-img resize ubuntu-18.04.1-desktop-amd64.iso +10G
Image resized.
[root@getlabsdone images]#
Step.2 Let’s check the image size now, you can type the same command ls -l -h
You can see the first image size has increased from 2Gig to 12Gig
[root@getlabsdone images]# ls -l -h
total 3.9G
-rw-r--r--. 1 root root  12G Jul 20 21:35 ubuntu-18.04.1-desktop-amd64.iso
-rw-r--r--. 1 root root 1.9G Jul 20 21:04 ubuntu18.04-2.iso
[root@getlabsdone images]#
Now if you start the installation, you would be good to go.
Resize the Disk image using vol-resize in virt-manager
Let’s also resize the image using the second method, which is with the help of a virtualization interactive terminal.
Step 1. Enter the command ‘virsh‘ that would take you to KVM virsh console.
[root@getlabsdone images]# virsh
Welcome to virsh, the virtualization interactive terminal.
Type:  'help' for help with commands
       'quit' to quit
virsh #
Step 2. Now you type the below command that would list all the VM disk images.
We already worked on the first image, and you could see its image capacity got increased. Let’s try the second one now which is ubuntu18.04-2.iso.
virsh # vol-list --details --pool default
 Name                              Path                                                      Type   Capacity  Allocation
-------------------------------------------------------------------------------------------------------------------------
 .Trash-0                          /var/lib/libvirt/images/.Trash-0                          dir      0.00 B      0.00 B
 ubuntu-18.04.1-desktop-amd64.iso  /var/lib/libvirt/images/ubuntu-18.04.1-desktop-amd64.iso  file  11.82 GiB    1.82 GiB
 ubuntu18.04-2.iso                 /var/lib/libvirt/images/ubuntu18.04-2.iso                 file   1.82 GiB    1.82 GiB
virsh #
Step 3. To increase the size, you need to type the command ‘vol-resize’ and provide the ‘image location’ and the ‘Capacity.’
virsh # vol-resize /var/lib/libvirt/images/ubuntu18.04-2.iso 10G
Size of volume 'ubuntu18.04-2.iso' successfully changed to 10G
Step 4. You just increased the size of the VM disk, let’s see the change.
virsh # vol-list --details --pool default
 Name                              Path                                                      Type   Capacity  Allocation
-------------------------------------------------------------------------------------------------------------------------
 .Trash-0                          /var/lib/libvirt/images/.Trash-0                          dir      0.00 B      0.00 B
 ubuntu-18.04.1-desktop-amd64.iso  /var/lib/libvirt/images/ubuntu-18.04.1-desktop-amd64.iso  file  11.82 GiB    1.82 GiB
 ubuntu18.04-2.iso                 /var/lib/libvirt/images/ubuntu18.04-2.iso                 file  10.00 GiB    1.82 GiB
You can see that the previous size increased to 10Gig. Now if you try to install the VM, you no longer get the error messages.
Even though we used two methods to increase the size qemu-img and vol-resize, in the end, it uses the same qemu-img utility to increase the disk.
I hope this has helped you, and if you still have questions you may let me know in the comments section below. I also covered details instruction on how you can install Ubuntu on linux KVM, you may check them out here.